Hole Compensation Method - 7-Axis with Guidance
|
1238888 |
Perform the Hole Compensation using the FARO probe compensation cone. If the Guidance check box is selected for the current probe, use the following steps.
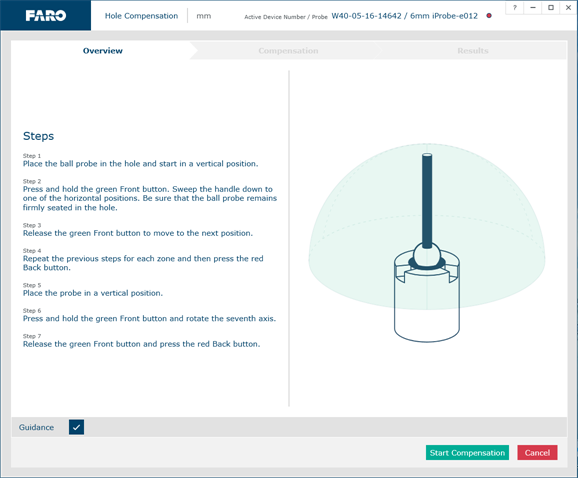
Hole Compensation - 7-Axis with Guidance
If you are using the
Collect all of the points in this method by holding down the green Front button. The
|
|
|
|
|
|
|
|
|
|
|
|
|
|
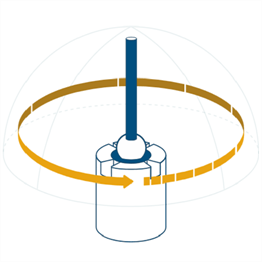
The probe must be well-seated in the hole when digitizing all compensation points. Even one or two poorly digitized points significantly affects the optimization process, which then has an effect on the accuracy of the
The digitized compensation points then calculate and the Compensation Status updates.
-
Click Save and Exit to store the probe compensation in the list. See Probe Compensation List.
If the probe passes, the current date and time is added to the probe information.
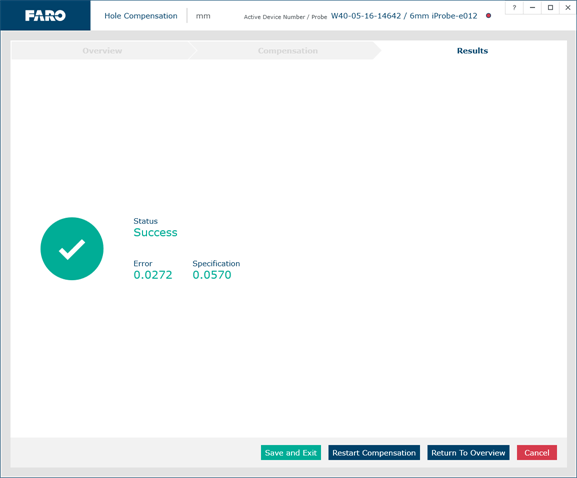
Hole Compensation Results - 7-Axis with Guidance
