Installing Probes
|
1238888 |
Remove the Probe Kit case from the Shipping case. In addition to probes, this case contains the compensation cone. The probe attaches to the handle at the end of the
-
Hold the end of the
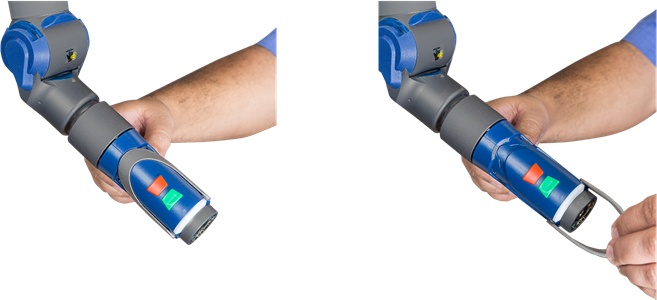
Opening the Probe Locking Lever
-
Slide the probe onto the end of the
Installing a Probe
-
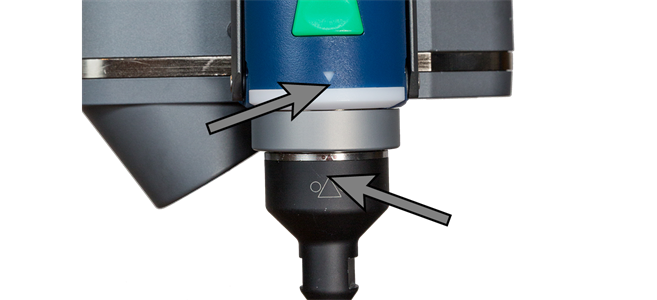
Close the probe locking lever.
Before measuring with the
All FARO iProbes have a unique serial number. After compensating an iProbe, the compensation information stores on your computer. If you remove the iProbe and reinstall it later, the
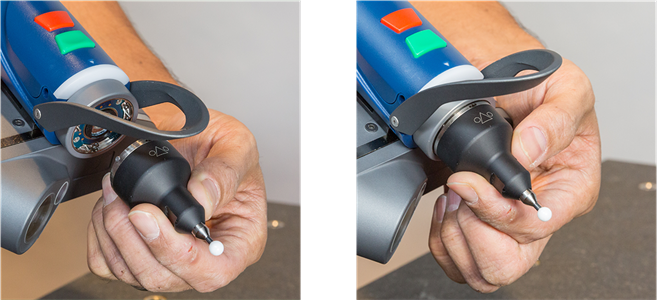
Probe Extensions
In addition to the probe tips, probe extensions allow you to increase the length of the probe. Each extension is designed to thread onto the Universal Probe Adapter and accept a probe tip. To install a probe extension:
-
Thread the probe tip onto the probe extension. Hand tighten the tip.
-
Remove the Universal Probe Adapter from the ScanArm and thread the probe extension onto the Universal Probe Adapter.
-
Insert the tool into the hole at the base of the probe extension and hand tighten the probe extension.
-
Install the Universal Probe Adapter onto the ScanArm handle.
Make sure to compensate the probe with this new extension. If the probe tip diameter has not changed, you do not need to edit the probe.
