Snap-In Scans
After scanning a complex object, you may notice some parts of the object are not scanned clearly, or are missing entirely. You can rescan these areas and register the scans later in SCENE, but the snap-in feature makes it easier. The snap-in functionality makes it possible to add one scan directly to another directly in the Freestyle 2 app. You will need to register the snap-in and the base scans later in SCENE, but snap-ins make it easier to ensure that the scans have enough overlap, and let you see in one place if you have captured everything you need. Markers can be used to improve the accuracy of this functionality or at areas where only a few natural features can be found. At difficult areas, make sure that at least four markers are visible.
Freestyle-to-Freestyle Snap-in Workflow
|
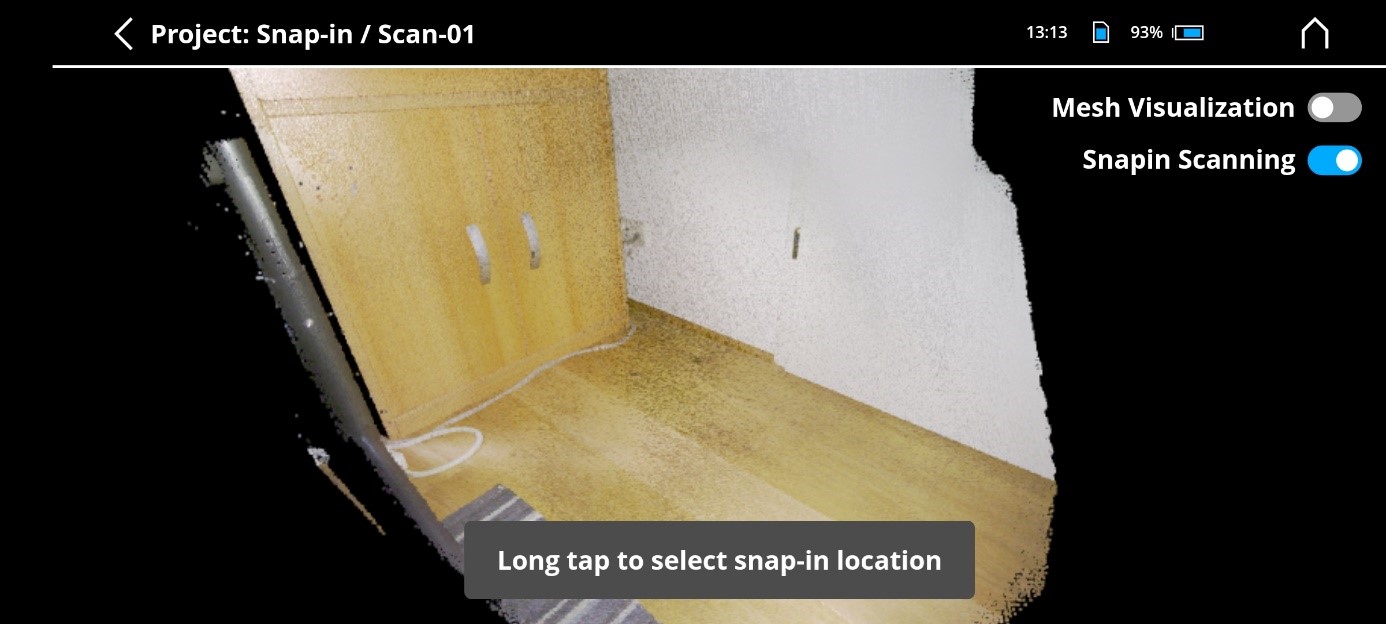
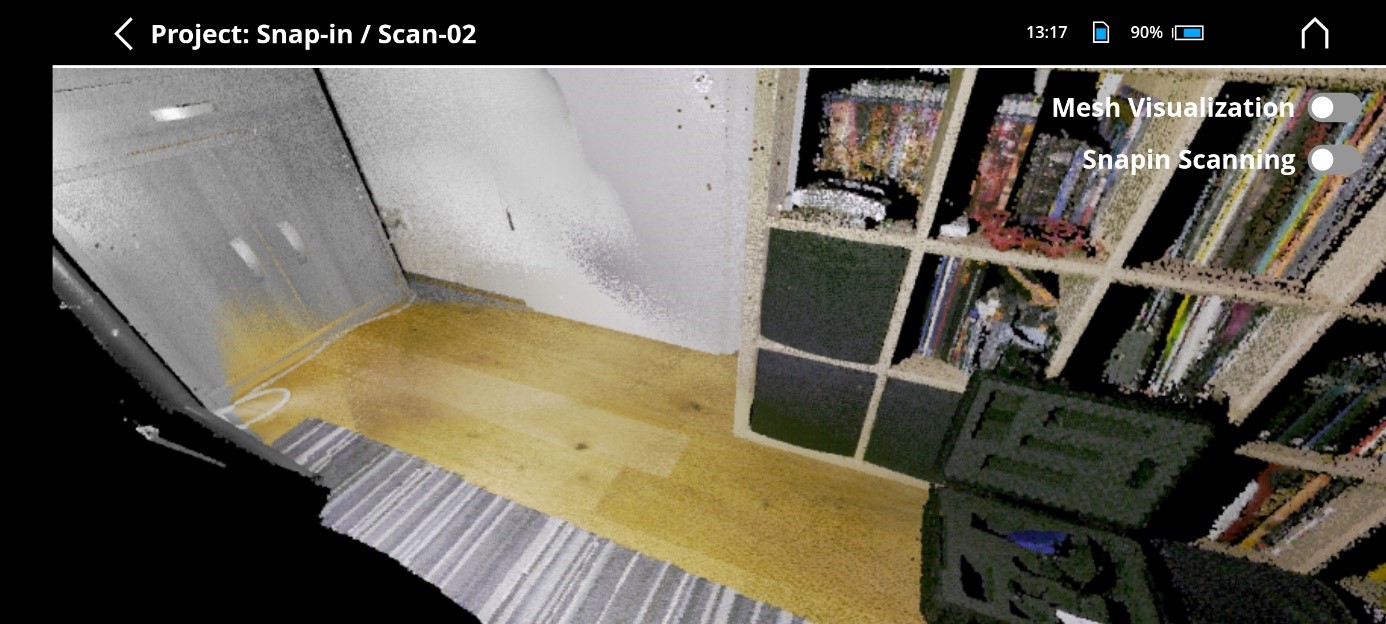
1. After having made a scan and realizing that the scan has an area where you want to add a scan, open that scan in the 3D viewer and tap Snap-in Scanning to activate the snap-in functionality. (If the option “Snap-in Scanning” is not visible, long-press the screen to make it visible.) |
|
|
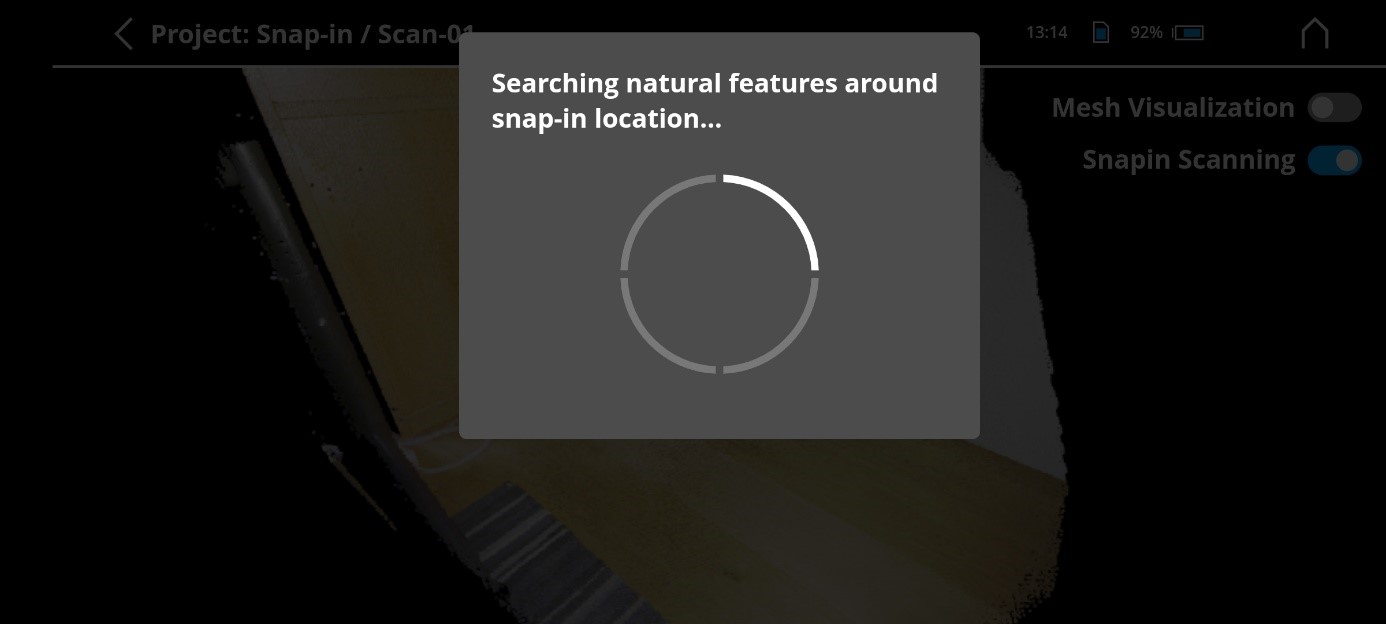
2. Move to the position where you want to add a"snap-in scan. Be careful that textured surfaces can be seen in that area, or that at least four markers are placed there. Press on the area that you want to use as the starting point for the snap-in process and hold it. After that, an information on the screen will appear and will show the processing steps. This is the preparation for the snap-in scan. |
 |
|
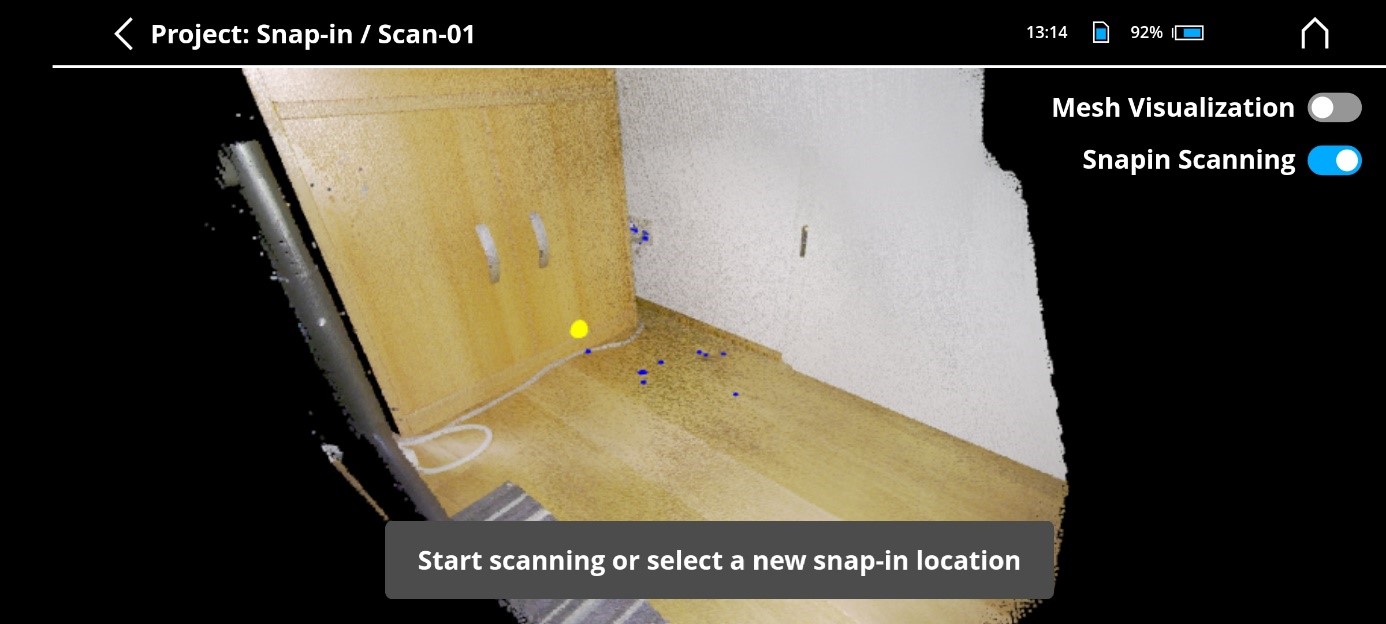
3. As soon as the system is ready for the snap-in scan, the message will appear: Start scanning or select a new snap-in location. |
|
|
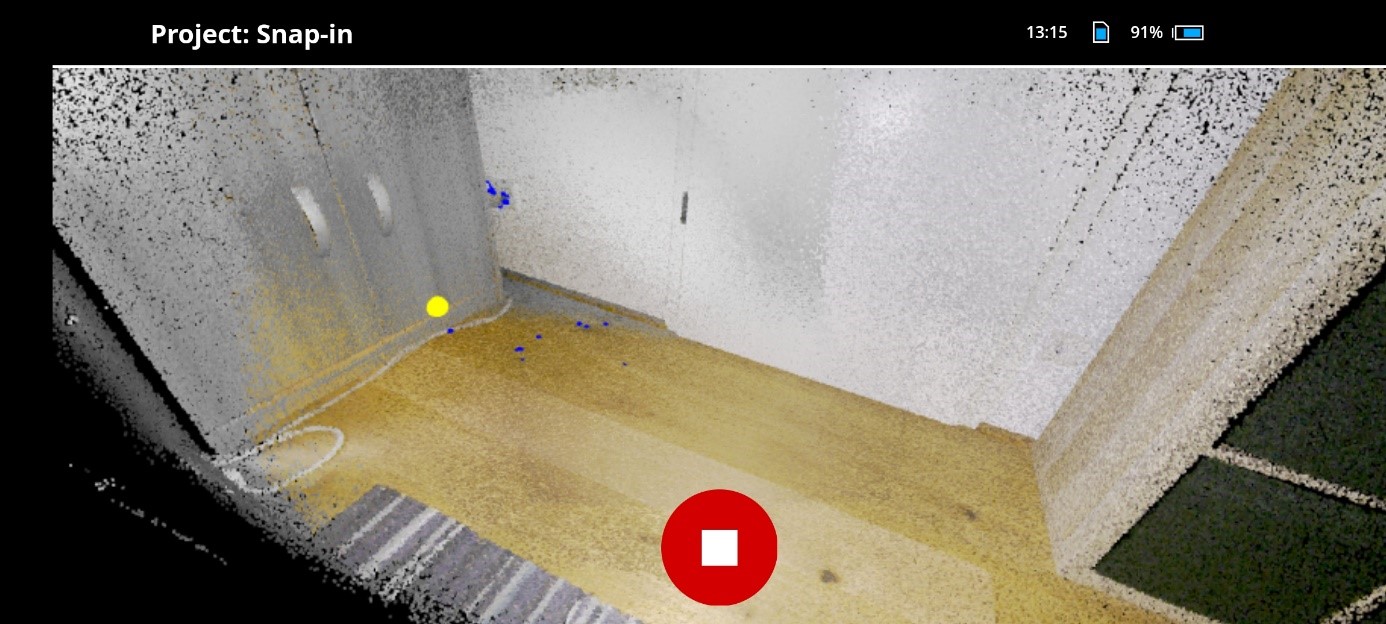
4. Now the scan can be started. Press the start-button of the scanner. Try to point the scanner at the same region that was chosen at the 3D view of the base scan. A symbol marks the snap-in location. As soon as the current scan is aligned, you will see that the snap-in scan fits to the base scan. The base scan is displayed with grey colors and the snap-in scan is displayed with natural colors. |
|
|
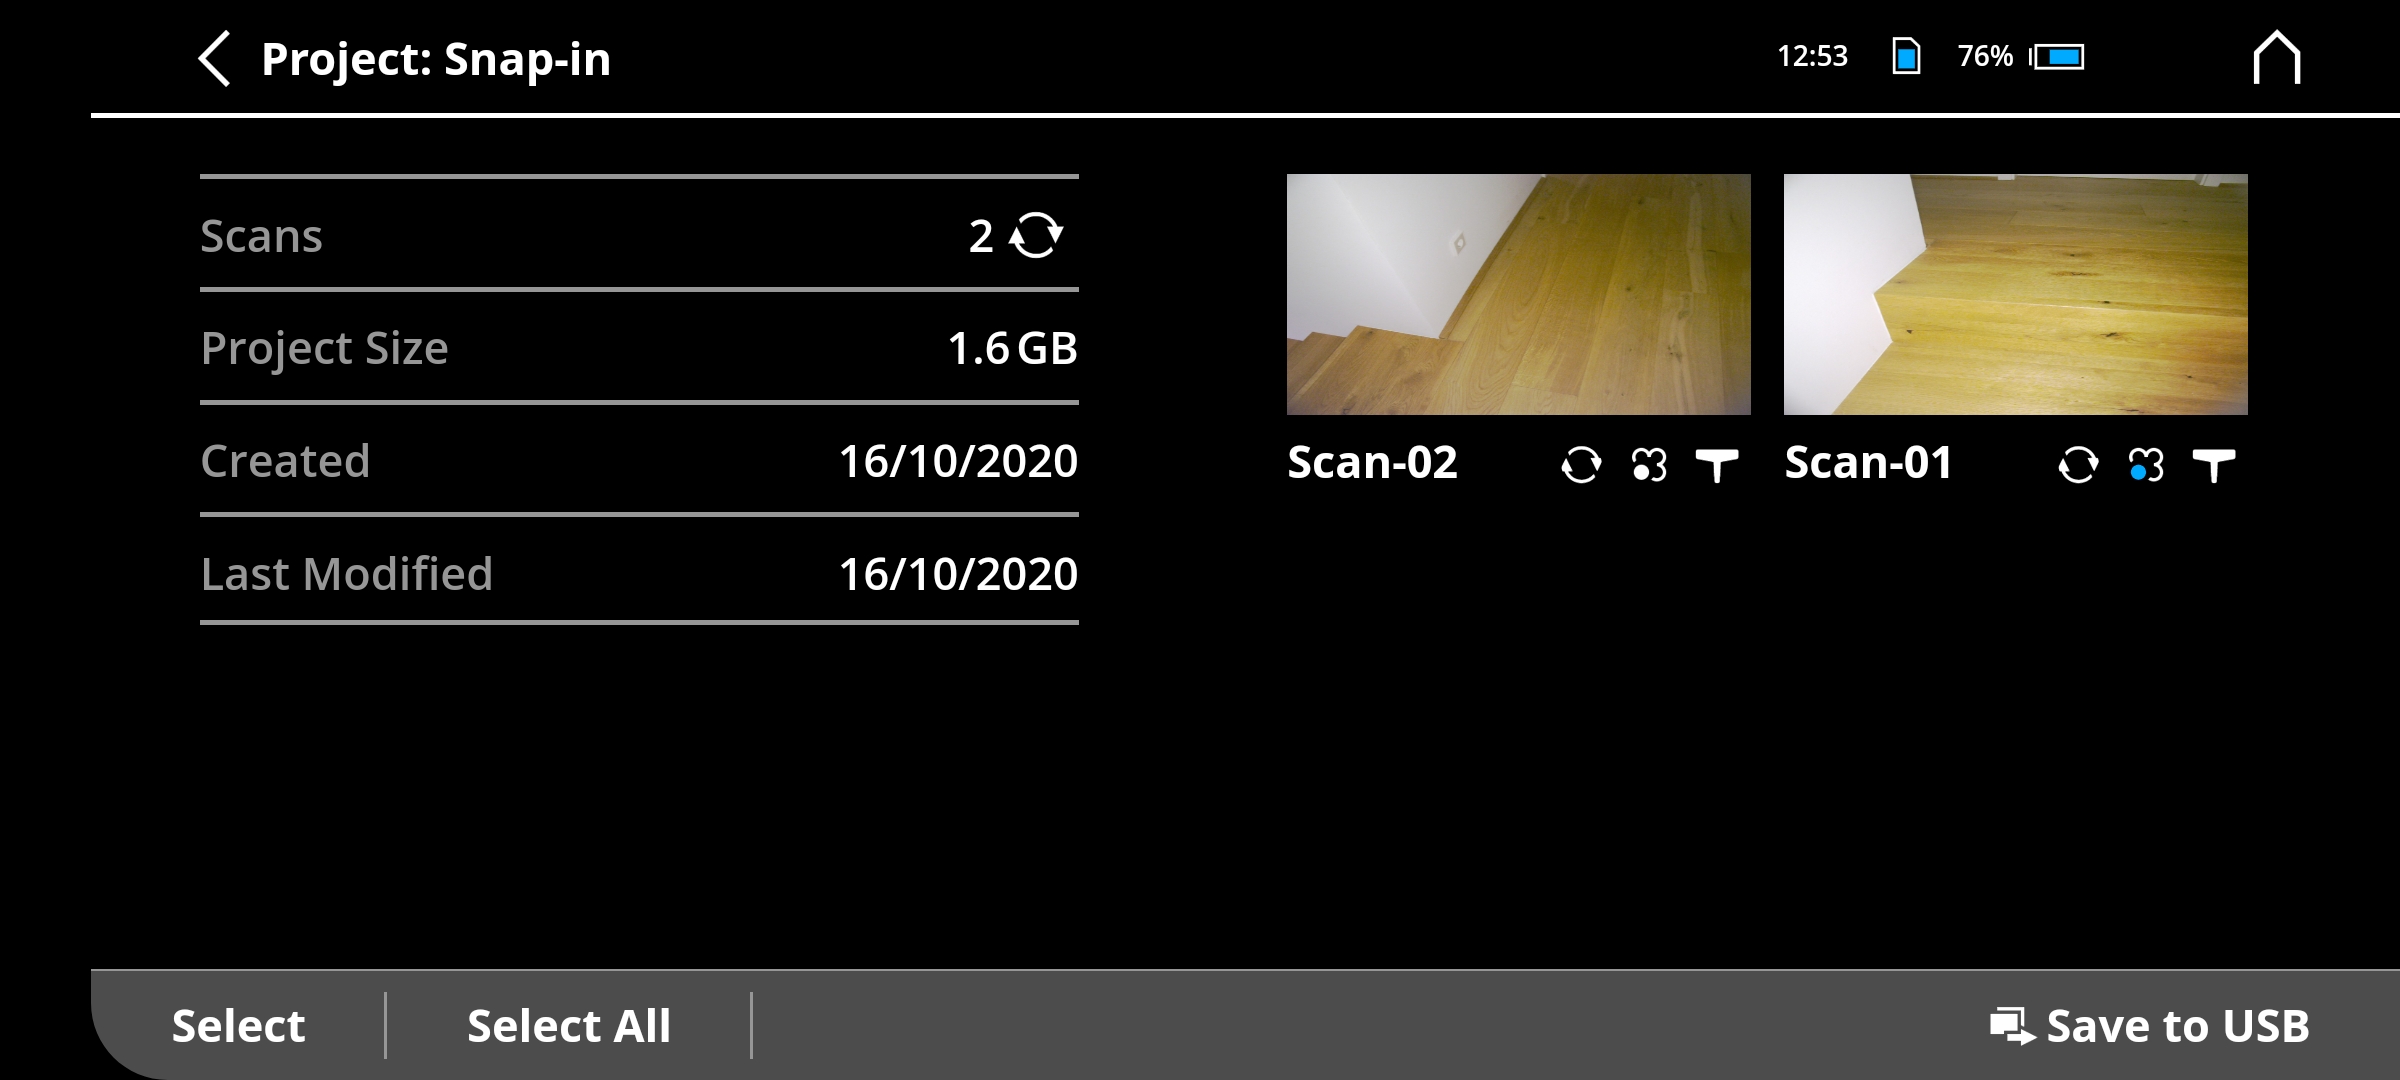
5. At the scan overview page, you can distinguish between base scans and snap-in scans. Base scans show a blue dot at the left bottom corner of the snap-in icon, snap-in scans are shown without. |
|
|
6. When you view a scan in the 3D view, all corresponding snap-in scans will be shown in grey colors and the base scan will be shown colorized in natural colors. |
|
Freestyle-to-Focus Snap-in
You can use Freestyle 2 to add detail to a Focus scan if markers or planes are present. For the Freestyle 2 scan, markers must be in the same position that they had when they were scanned by the Focus scanner. If only planes are available, make sure that at least 3 orthogonal planes were captured at the location where you want to snap-in with Freestyle 2. For detecting the markers in color images of a Focus scan, marker detection must be activated in the post-processing options. Manually picking markers does not activate the search at the color images.
Use the table below to determine the necessary marker sizes for reliable detection in Focus scans at different resolutions and distances. You can print the markers at a reduced size to cover up less of the area that you are scanning but this will change the maximum distance at which the markers can be detected. The table below shows the distances at which markers can be detected depending on scan resolution and marker size. Note that the markers must be placed orthogonally (at right angles) to the scanning direction to reach these limits. The distances shown in the table can be increased by 20% when fully processing scans that have color images.
|
Scan Resolution |
Marker size 100% 15.5cm (6 in) |
Marker size 75% 11.7cm (4.5 in) |
Marker size 50% |
|
1/16 |
4 m (13 ft, 1 in) |
3 m (9 ft, 10 in) |
2 m (6 ft, 7 in) |
|
1/8 |
7 m (22 ft, 12 in) |
5 m (16 ft, 5 in) |
4 m (13 ft, 1 in) |
|
1/4 |
13 m (42 ft, 8 in) |
9 m (29 ft, 6 in) |
7 m (22 ft, 12 in) |
|
1/2 |
23 m (75 ft, 6 in) |
17 m (55 ft, 9 in) |
13 m (42 ft, 8 in) |
Focus-to-Freestyle Snap-in Workflow
To transfer using an SD card:
-
Perform one or more Focus scans. The scan project data is stored automatically on the SD card that is plugged in the Focus scanner.
-
Remove the SD card from the scanner and insert into a USB adapter.
-
Insert the USB adapter into the Mobile PC.
-
Using the Freestyle 2 app user interface, chose the scans on the SD Card that you want to import.
While importing, an animated icon is shown in the title bar. When the import is ready, the new project appears in the projects folder and the projects list. -
Open the project. The imported scans are shown. The device icon is a scanner symbol.
-
Select scan, then choose Process. The Focus scans are examined for planes and markers .A point cloud is created. When processing is complete, the scan overview of the project is shown and the preview image of the scan is updated.
-
Open the Focus scan in the 3D view.
-
Navigate the view to the position where you want to start the snap-in process.
-
Select the snap-in button to activate snap-in mode, and select a location with a long press.
-
Push the Freestyle 2 start button. The Focus scan is shown in gray.
-
Move the Freestyle 2 hand unit to a position and viewing angle that is similar to the Focus scan as shown in the app.
-
The viewing position remains the same until the Snap-in process successfully completes. The 3D points captured with the Freestyle 2 are displayed in color.
To transfer via WiFi:
To transfer via WiFi, the firmware version of the Focus Scanner must be 6.8 or greater.
-
Perform one or more Focus scans. The scan project data is stored automatically on the SD card that is inserted in the Focus scanner.
-
On the Focus scanner, switch on the WLAN and set the mode to Access Point.
-
In the Freestyle 2 app, open Settings > Focus Network Settings.
-
For Network name (SSID), scroll through the available networks and select the network of the Focus scanner.
-
For Password, enter in the password of the Focus scanner
-
Tap Connect to establish the connection. as soon as the connection to the Focus scanner is established it switches from Connected - Off, to Connected - On.
-
Open the project into which you want to import the scans and tap Import Scans at the bottom of the screen. The available Focus scans will be shown. Select the scans you want to import and then tap Import Scans. You can also import a whole project by going to the Projects overview page and clicking Add Project. Then select the project you want to import and click Import Project.
-
Disconnect the Mobile PC from the Focus scanner: under Focus Network Settings, tap Disconnect.
-
After the import, the scans can be processed and used as described in To transfer using an SD card, above.
Snap-in Post processing
After the post-processing of scans that include snap-in scans, the alignment might be worse, because all scans are optimized for themselves, and the positions of the snap-in scan changed. It is recommended to register the processed scans in SCENE. There you can use larger overlapping areas than the snap-in features and the overall result of the project may be better.
