Manipulating a Clipping Box
|
1238888 |
You can change the transformation of a clipping box by rotating, moving, or changing its size.
For this, click the clipping box in the 3D view, or click its name in the structure view. A floating tool bar will appear which provides the manipulation functionality.

Figure 10-24 Clipping Box toolbar
Scale button 
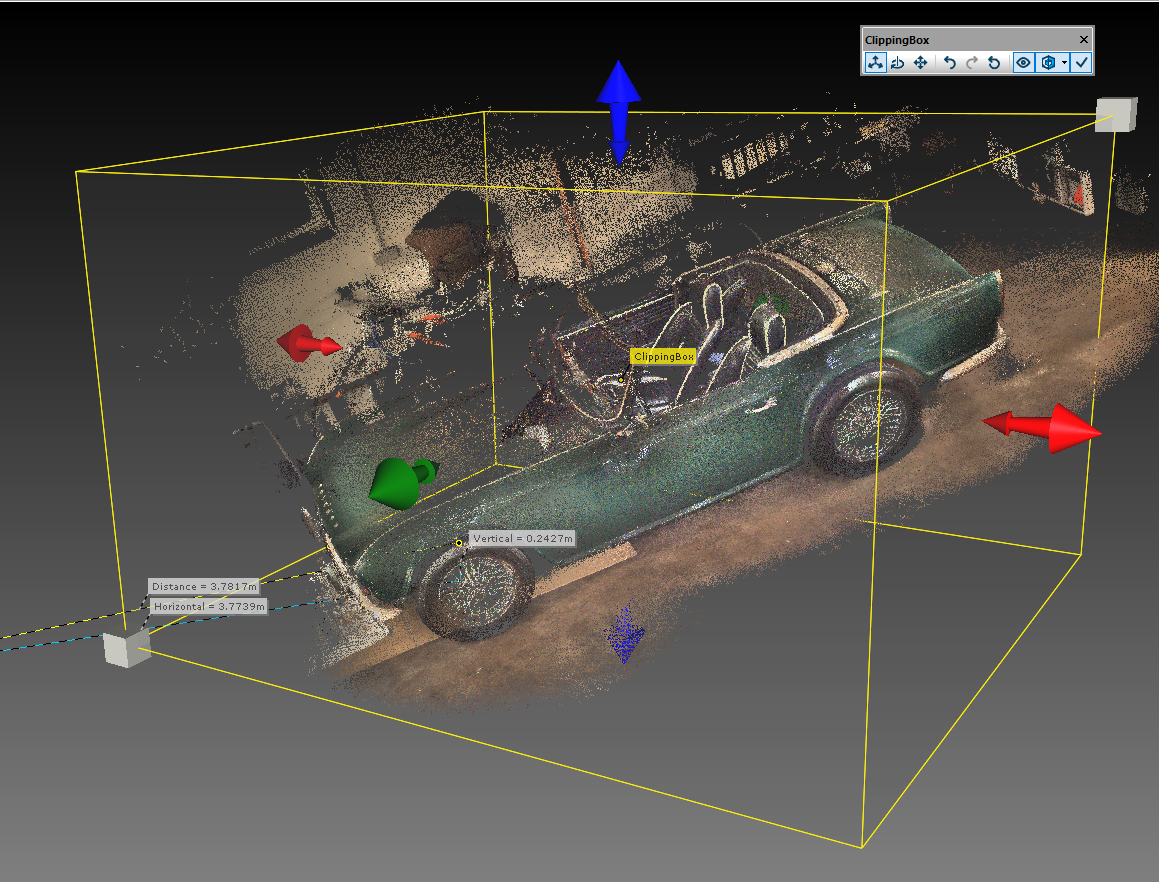
Figure 10-25 Resizing a Clipping Box
-
Select the Scale button
from the clipping box toolbar to resize the clipping box.
Handlers will appear on the clipping box allowing you to resize it. -
Drag one of the red, blue or green handlers to resize the clipping box.
The corresponding face of the box will move. -
Drag the gray cubes at the corners to resize the clipping box proportionally.
When dragging one of the handlers, the length of the movement will be indicated in the view as shown in the picture below.
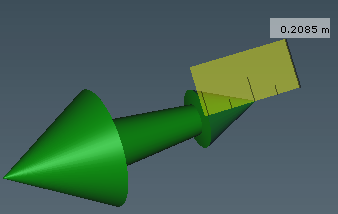
Figure 10-26 Length of movement
Rotate button 
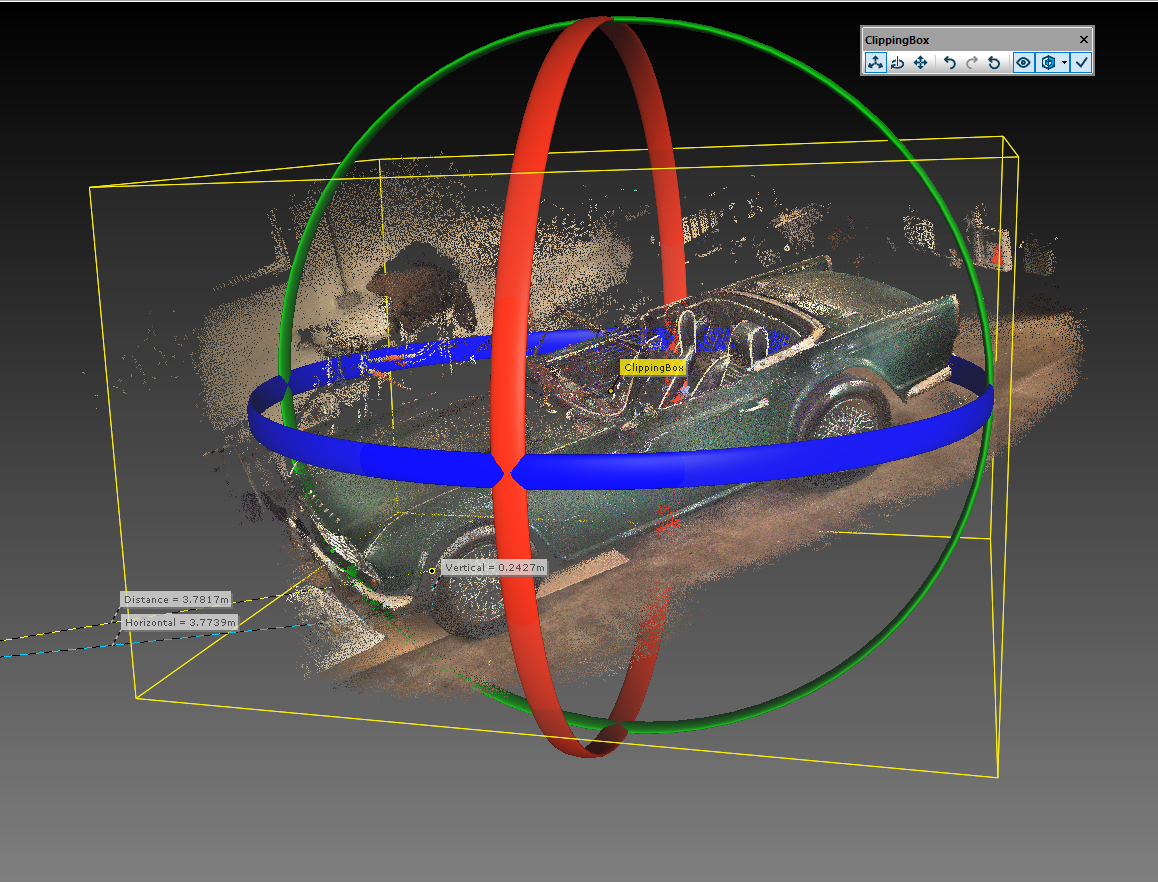
Figure 10-27 Rotating a Clipping Box
-
Select the Rotate button
from the clipping box toolbar to rotate the clipping box.
Handlers will appear on the clipping box allowing you to rotate it around different axes. -
Drag one of the red, blue or green handlers and rotate the clipping box along the corresponding axis.
Move button 
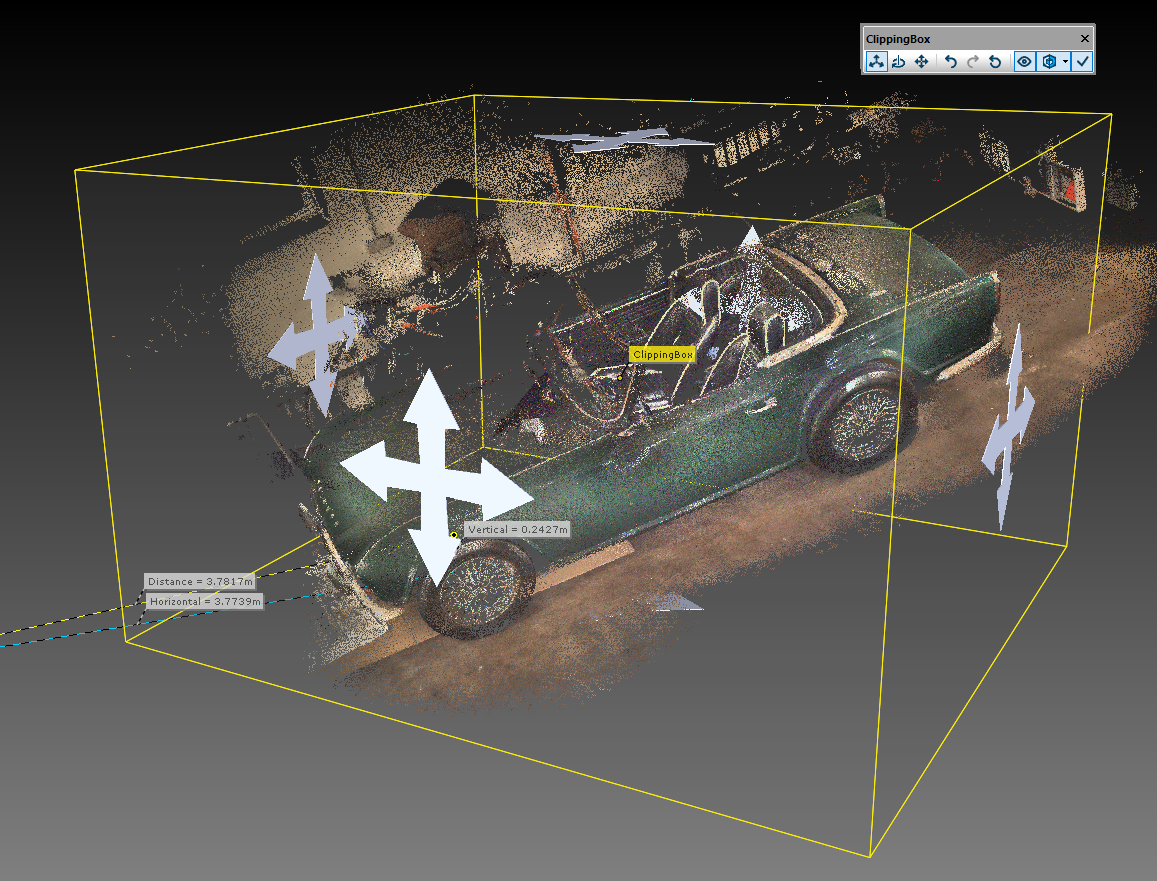
Figure 10-28 Moving a Clipping Box
-
Select the Move button
from the clipping box toolbar to move the clipping box.
Handlers will appear on the clipping box allowing you to change the position of the box. -
Drag one of the handlers (white arrows) and move the clipping box within two dimensions.
The dimensions depend on the used handler. You may also use the keys 2, 4, 6 or 8 on the number pad instead.
You can change the size of the handlers with the number pad + key (increase size) and - key (decrease size).
You may undo (and reapply) your transformation changes with the following buttons of the clipping box toolbar:
-
Undo the last transformation change with

-
Redo the last transformation change with

-
Restore the initial transformation of the clipping box with


