Enhancing the Color Overlay
|
1238888 |
As soon as the scans have been colorized, you may want to enhance the color overlay of the scans. You can do this automatically with the built-in color contrast filter or manually by manipulating the color overlay with a professional graphics editing program.
Color Contrast Filter
The color contrast filter automatically enhances the dynamic range of the scan’s color overlay. To apply the color contrast filter to a single scan or to all scans within a scan folder, execute the command Operations > Color/Pictures > Color Contrast Filter in the appropriate context menu.
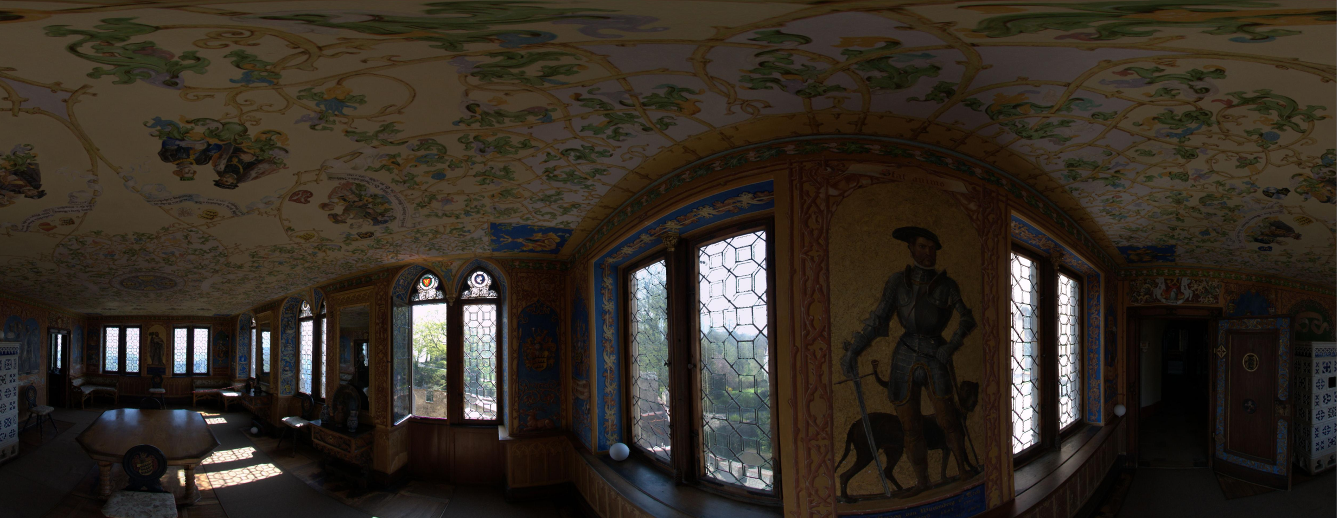
Figure 10-54 Colored scan points without color contrast filter
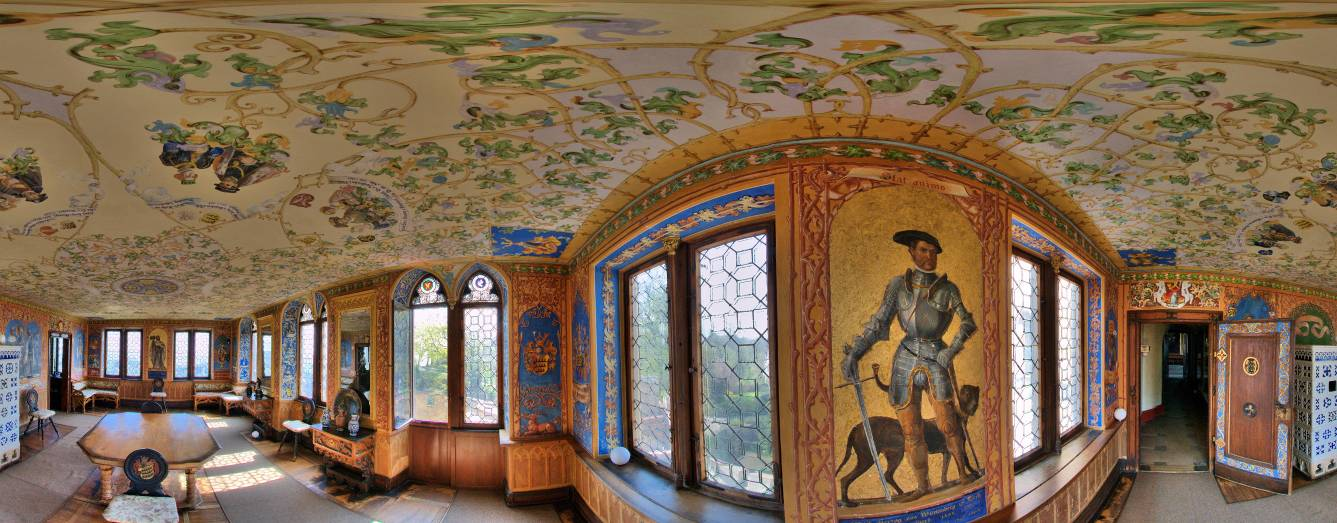
Figure 10-55 Colored scan points with color contrast filter
Manually edit the color overlay
To manually edit the color overlay of a scan, you may export its color overlay as a picture to your local hard drive, manipulate this picture in any way with a professional graphics editing software and then replace the initial color overlay of the scan with the manipulated picture.
Export the Color Overlay
To export the color overlay of an already colorized scan as a picture:
-
Select Operations > Color/Pictures > Export Color Overlay in the context menu of the scan.
-
Save the color overlay to your local hard drive.
-
Manipulate the exported color overlay.
Import the Color Overlay and Restore the Point Coud
The color overlay can be replaced with a picture in JPEG (.jpg), Bitmap (.bmp) or Portable Network Graphics (.png) format. Make sure that the manipulated picture has the same pixel resolution as the initial one.
-
Select Operations > Color/Pictures > Replace Color Overlay to replace the color overlay of the scan with the manipulated picture.
The scan point cloud icon changes to the modified scan icon
  .
(Saving the project now will change the modified scan icon icon to the scan icon
.
(Saving the project now will change the modified scan icon icon to the scan icon  . However, you can also first restore the scan point cloud and then save the project.)
To restore the scan point cloud you can either:
-
Process the scan again marking option Create Scan Point Clouds on the Processing settings page.
OR
-
Right-click the scan and select context menu entry Operations > Point Cloud Tools > Create Scan Point Cloud.
-
Save the project.
The modified scan icon will change to the scan point cloud icon .

