Measure Points
|
1238888 |
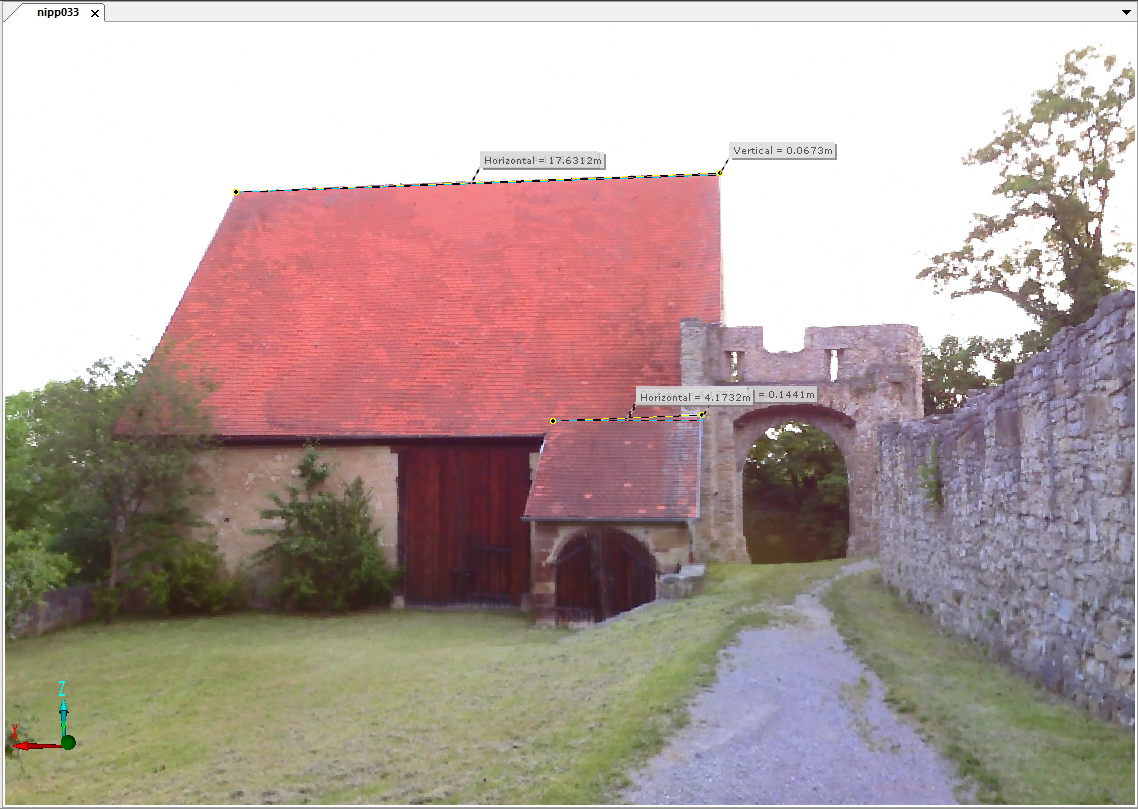
Figure 10-10 Point-to-point measurement
-
Open the Measure dropdown list in the toolbar and click Measure Points.
The appearance of the dropdown list depends on your previously selected measuring mode. -
Select valid scan points in the respective view with the left mouse button.
In the quick view, making measurements is made easier by the inbuilt magnifier tool, see further information below. -
Select the last measure point and finalize the measurement by a double-click with the left mouse button.
-
To leave the measurement process, click the right mouse button or press the Esc key.
Several keyboard commands are available in the quick view and the 3D view:
-
ENTER: Finalize the measurement without adding a last measure point.
-
Backspace: Remove the last measure point.
-
Home: Add a last measure point at the start position and finalize the measurement.A new point-to-point measurement gets added as a child object in the Measurements folder of the structure view.
A point-to-point measurement made in the 3D view is only visible in the 3D view. It is not linked to any individual scan. If the involved scans are changed later or transformed, the measurement stays in the same place. In this case you could delete the measurement and create a new one.
In the quick view and the 3D view, a yellow dashed line is drawn between the measure points. Labels show the overall distance and the length of each measure segment. In the planar view, only the overall distance is shown.
Invalid measure points of point-to-point measurements are indicated by a red outline.
Two additional lines show the vertical and horizontal distance between the first and last measure point.
Use the Magnifier Tool for 360°Photos in the Quick View
If you want to make a measurement in a 360° photo in the quick view, the magnifier is displayed automatically. This works for all 360° photos. The magnifier is also available for marking points in 360° photos in the quick view.
-
Move the cursor to the point in the quick view where you want to start the measurement.
-
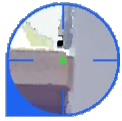
A green dot in the center of the magnifier means that a 3D point was found and that you can use this point for measurements.
-
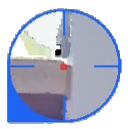
A red dot in the center of the magnifier means that no 3D point was found and that a measurement is not possible.
|
|
|
|
Figure 10-11 3D point found |
Figure 10-12 No 3D point found |
-
Optional: Press the CTRL key and scroll with the mouse wheel to zoom in and out.
-
Make the measurement as described above.

