Creating a Mesh in the 3D View
|
123-2026-04-28-888 |
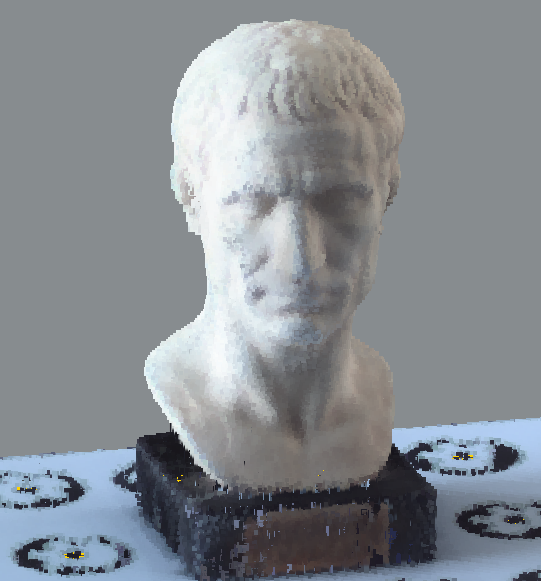
Figure 10-45 Meshing Object
Meshing in the 3D view is only available for point clouds.
There are two methods to create a mesh:
Mesh Selection: You can make a freehand selection of scan points.
Mesh Clipping Boxes: You can use one or more clipping boxes to select what you want to be meshed.
Meshing a Selection
-
Create a 3D selection as described in Selecting Scan Points (3D View, Planar View, Quick View)
-
Click the Mesh dropdown menu and select Mesh Selection.
The Create Mesh – Settings dialog is shown. You can also right-click the selection, then click Selection – Mesh Selection.
Mesh Clipping Boxes
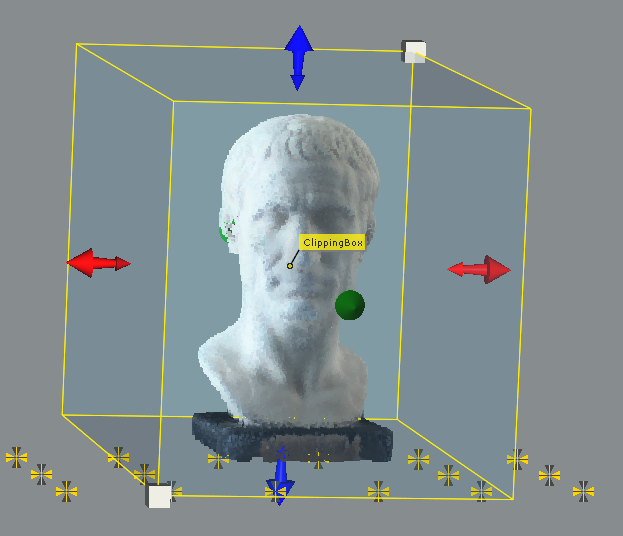
Figure 10-46 Object selected with a Clipping Box
-
Create and adapt one or more clipping boxes around the object as specified in Creating a Clipping Box.
-
Click the Mesh dropdown menu and select Mesh Clipping Boxes.
The Create Mesh Settings dialog is shown. You can also right-click the clipping box, then click Active Clipping Boxes > Create Mesh.
Settings
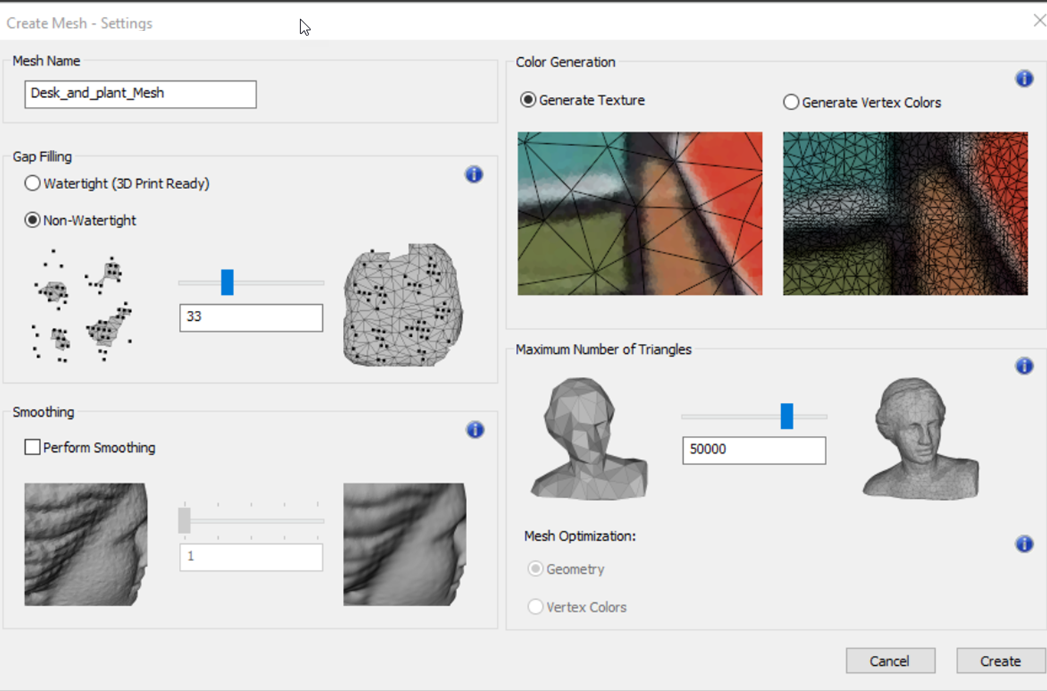
Figure 10-47 Create Mesh Settings
Mesh Name
Specify a name for the mesh.
Gap Filling
Watertight (3D Print Ready)
Select this option if the mesh will be used for 3D printing. The mesh will then be generated “watertight”, which means, it has a solid surface.
Non-Watertight Mode
Select this option if the mesh will not be used for 3D printing.
Slider – Meshing Mode
The slider in the Meshing Mode box, allows closing holes and expanding the mesh beyond the points. This option is available when Non-Watertight mode is selected.
Smoothing
Perform Smoothing
Select this checkbox to apply a post-processing operation to make the mesh smoother.
Slider – Smoothing
The slider in the Smoothing box allows making mesh smoother.
The higher the slider value, the smoother the mesh will be.
Color Generation
You can color the mesh as follows:
Generate Texture
This creates color in the texture by applying a graphic file to each triangle. It is the method supported by most 3rd-party software products and will likely have the best results.
Generate Vertex Colors
This method creates color in the texture by applying color information to the vertices in the mesh.
Maximum Number of Triangles
Slider – Maximum Number of Triangles
The slider under this category allows you to control how many triangles will be created in the mesh, if non-watertight mode is active.
If you know the maximum number of triangles which your software is able to process, enter this number. Otherwise, the default value is recommended.
Mesh Optimization
Geometry vs. Vertex Colors
Geometry is selected by default if you have selected Generate Texture. If you have selected Generate Vertex Colors, choose Geometry if you want the mesh to have the most accurate shape even at the expense of color. Choose Vertex Colors if accurate color is more important.
Create
Click the Create button to start the mesh creation. The created mesh will be added to the structure view and displayed in the opened 3D view. It is also possible to open a 3D view on the mesh, through the context menu.
Mesh Properties
You can review the mesh properties by right-clicking the name of the mesh in the structure view and selecting Properties. The surface area of the mesh is calculated by taking the sum of the surface area of all the triangles in the mesh.
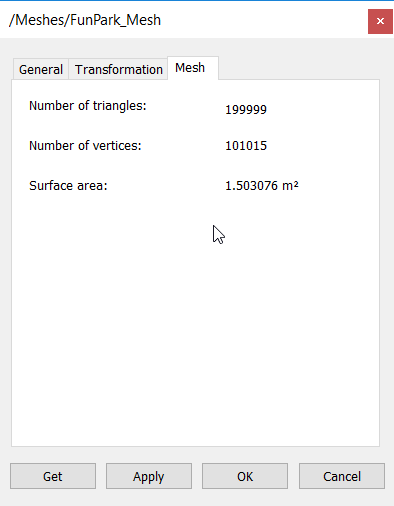
Figure 10-48 Mesh Properties Dialog

