AniBuddies
Use AniBuddies (Animation Buddies) to adjoin bodies or other objects with models for an animated scene. For example, you can insert body models into vehicles, add cargo to trucks, or combine objects with other objects or effects like smoke and lighting.
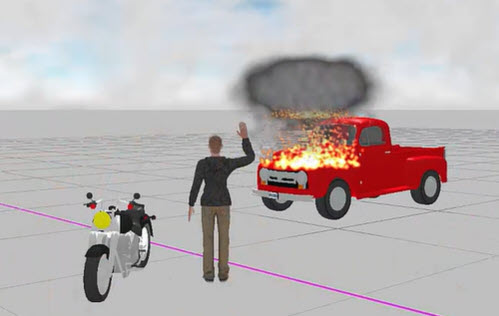

You can also create a complex scenario, such as a driver being ejected from a car during the animation.
To link objects as AniBuddies:
-
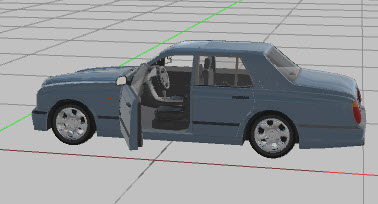
Place a symbol (such as a vehicle) in the drawing. In the AniBuddies scenario, this is the host.
-
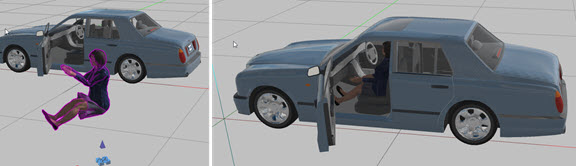
Insert an object (such as a body) in the drawing. This is the AniBuddy. Pose the AniBuddy, and then position it in, on, or next to, the host.
-
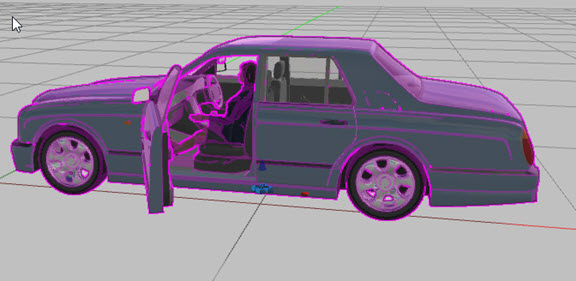
Select the animation host, and then press and hold Ctrl and click the AniBuddy. You can select multiple AniBuddies. This groups the objects so they move together in the animation.
-
To decouple AniBuddies or make other adjustments, select the grouped object and from the tool panel, select AniBuddies Settings and then click Explode AniBuddies.
-
From the tool panel, click AniBuddies Settings to make other adjustments.
AniBuddies Settings
Use AniBuddies Settings to create a complex scenario, such as a driver being ejected from a car during the animation. For that example, you would combine two animations:
-
The driver in the car
-
The driver ejecting from the car.
The first animation is hidden, and the second synchronized animation appears for the appearance of a single, continuous complex animation.
To synchronize animation paths:
-
Set up two animations:
-
First, group the vehicle and the AniBuddy and animate to the point where the driver gets thrown from the vehicle.
-
Then, set up the second animation to the ejection point where the driver gets thrown from the vehicle.
The first two KEP of the second animation must be very close together because the first KEP is hidden.
-
-
Sync the last KEP of animation with the same sync number as the first KEP of the second animation.
-
Select the last KEP of the first animation and click AniBuddies Settings on the tool bar.
-
Enter the Sync ID and toggle the Hide slider for the last KEP.
-
Select the first KEP of the second animation and toggle Hide on the tool panel.
-
Run the animation and make adjustments, as necessary.
Connecting Vehicles and Trailers That Include Cargo
To attach vehicles to trailers with cargo (such as a trailer carrying a boat), you will need to use a combination of Articulation and AniBuddies.
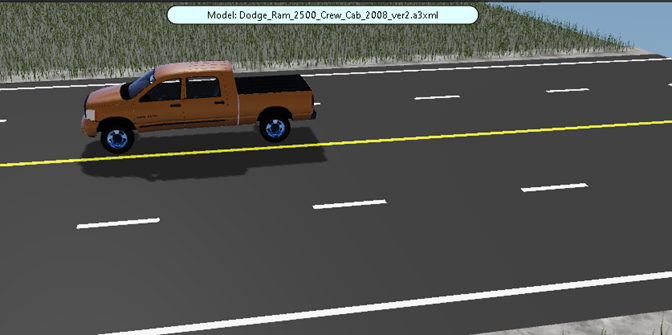
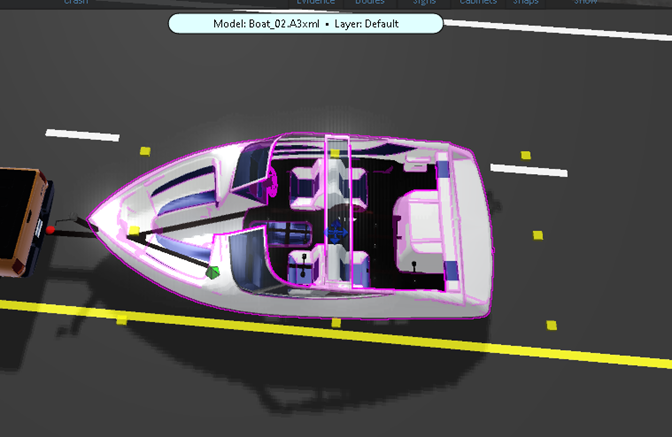
This is an example of connecting a vehicle, boat, and trailer.
-
From the Symbols ribbon, add a vehicle model.
-
Search symbols for a boat trailer.
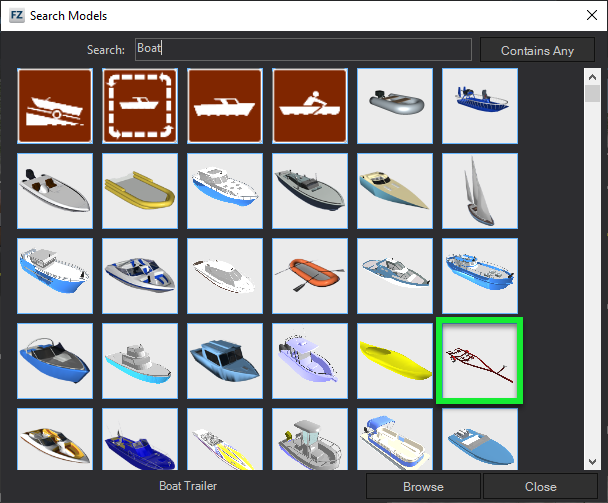
-
Insert the boat trailer and then position it in the drawing.
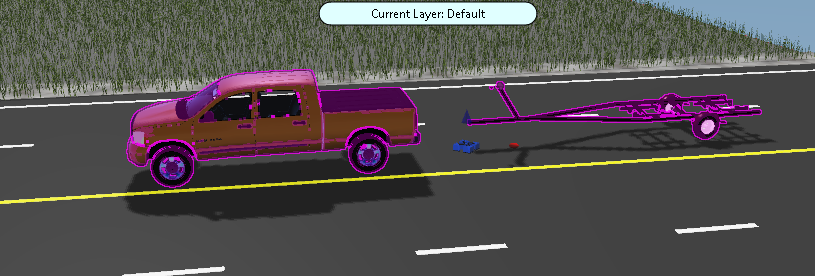
-
Search for a boat model and insert it into the drawing. Position the boat on the trailer with the grips and adjust the elevation with the grips, or in the tool panel.
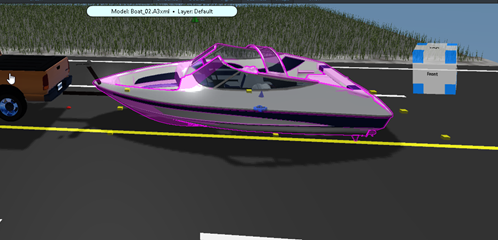
-
Select the trailer, and then <Shift + click> the boat and select AniBuddies from the tool panel.
-
Select the vehicle, and then <Shift + click> the trailer.
-
From the tool panel, select Articulation.
-
Draw the animation path and double-click, or press Enter to finalize the path.
