Placing Animation Cameras
You can place Animation cameras in the scene in the following ways:

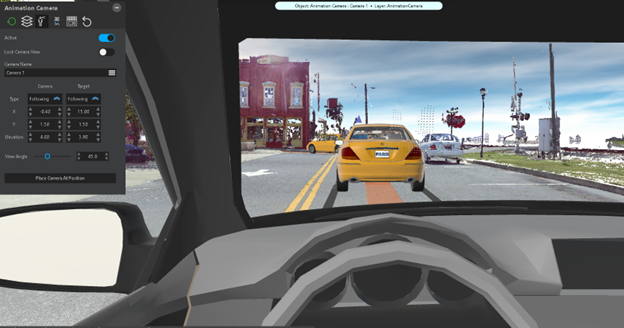
Camera in Driver's Seat
Add an animation camera that shows the driver or passenger point of view from a moving vehicle.
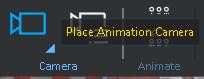
1. From the Animation ribbon, click Place Animation Camera.
2. Click on the first vehicle in the animation. The camera automatically positions itself in the driver’s seat looking forward.
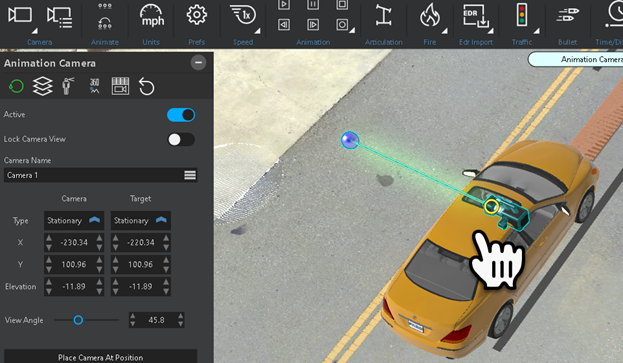
3. Position the camera, and then click the direction and angle in which to face the camera.
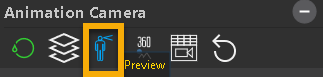
4. With the camera selected, click Preview to see the camera view.
5. Adjust the view from the Camera and Target X, Y, and Elevation values.

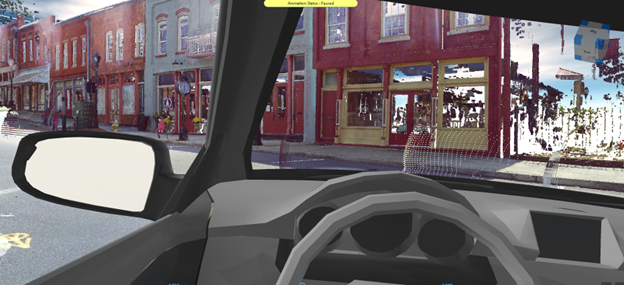
View during animation.

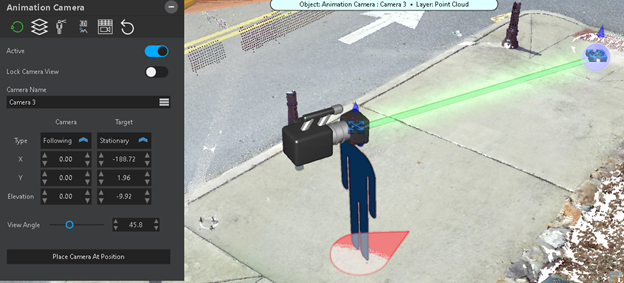
Fixed Position Camera
1. From the Animation ribbon, click Place Animation Camera.
2. Click the point at which to place the camera.
3. Position the camera, and then click the direction and angle in which to face the camera.
4. With the camera selected, click Preview to see the camera view.
5. Adjust the view from the Camera and Target X, Y, and Elevation values.
6. Add additional cameras to capture desired viewpoints.

Witness View
Place one or more witness avatars in the scene to establish viewpoints you can move between, and save with the project.
1. From the Power Tools ribbon, click Witness View.

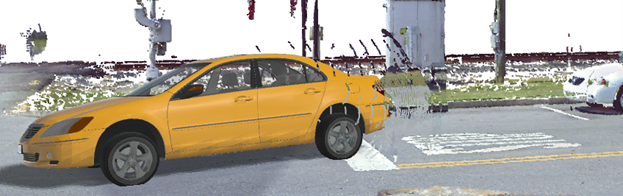
2. Place the avatar in the scene and rotate it in the general direction of the desired view.
![]()
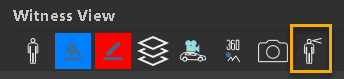
3. From the Witness View tool panel, click the Witness View button to display the witness viewpoint.
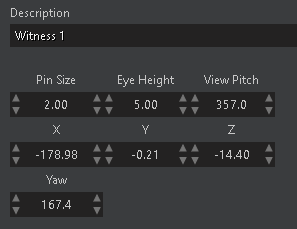
4. In the tool panel, you can change the Description, and adjust all of the location and orientation settings.
5. Turn the static witness view into a dynamic animation camera by clicking the Animation Camera button from the tool panel.
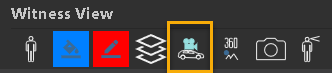
Adjust the camera the same way you adjust other animation cameras. You can set the Target to follow an animated vehicle.
Other settings are available:
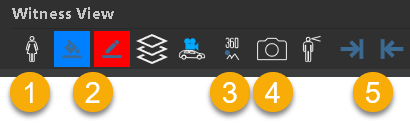
① Change the gender of the avatar.
② Set the base and symbol color.
③ Create a 360° panoramic image from that location.
④ Take a snapshot from the viewpoint.
⑤ Move between multiple witness views.

Animated Camera and Target
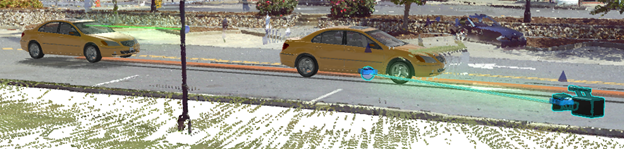
In this example, the animation camera remains in a fixed position as it follows a moving vehicle through the drawing.
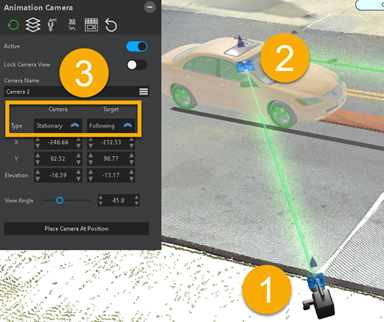
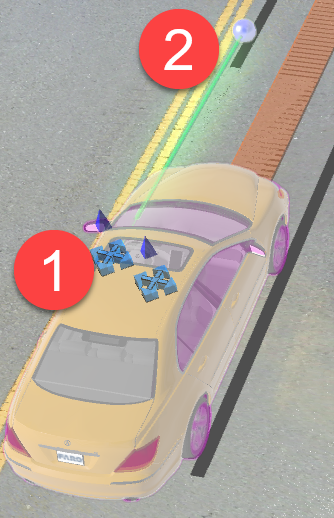
① Select a camera.
② Click and drag the target over a vehicle model. When the target is on the vehicle, release the mouse button. If the target is properly locked to the vehicle, it becomes highlighted (glows).
③ In the Animation Properties tool panel, under Target, the Type changes to Following.
The animation appears as if you are watching the car drive by from the camera's fixed position.

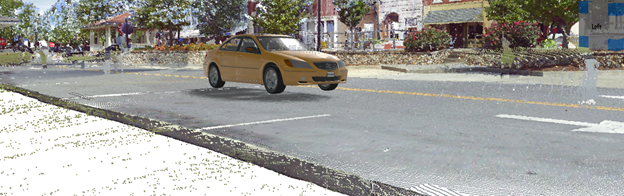
Animation Camera Moves Along With a Traveling Vehicle
In this example, the camera travels on its own path as it follows a moving vehicle.
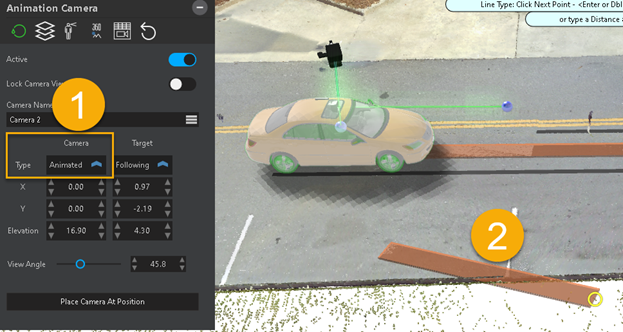
① Set the camera type to Animated.
② Draw the animation path


Camera Manager
If there are multiple cameras in the drawing, you can select them with your mouse, or you can use the Camera Manager to set the active camera.
From the Animation ribbon, click Camera Manager.

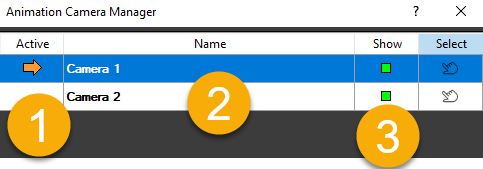
① Select the camera that you want to set as active.
② You can rename the cameras.
③ Show or hide the camera. The camera can still be active while it is hidden
TIP – You can also click on the arrow in the lower right corner of the Place Animation Camera button to see a list of cameras. This allows you to quickly switch between active cameras.
