Fly-Thru Workflow
After you draw your diagram, you can create a fly-thru (or walk-thru) movie by taking snapshots at positions that you want to show. You can include point clouds, 3D models, fire, and animations. Each snapshot is a Key Event Point (KEP). You can group multiple KEPs to create an animation path. The path follows the order of the snapshots.

|

|

|

|

|

|

|

|

|

|
|

|

|

|
|
Fly-Thru Tool |
Take Snapshots |
Order, Insert, Delete |
Create Animation | Review Animation |
Edit Animation |
Add labels, dimensions and images |
Editing the fly-thru animation
Add Text, Dimensions or Labels to the fly-thru
You can add, reorder, and delete KEPs before you create the path. After you create the path, you can adjust the speed of each KEP to customize the animation.
You can create “saved views” of your scene. For example, you can navigate to the most critical part of your scene, and save it so that you can easily access it.
Creating a simple fly-thru
Open the Fly-Thru Tool
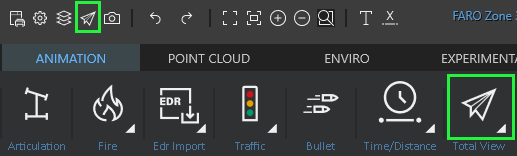
From the quick bar, or the Animation ribbon, click Total View.
Take Snapshots
Position the Total View window so you can easily see the drawing.
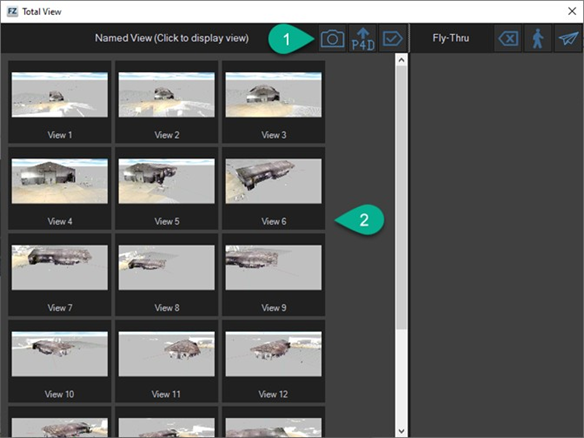
① Click the Snapshot tool, or press F2 to take snapshots of areas of the drawing that you want to capture in the fly-thru animation. Zoom, pan and rotate the drawing to capture specific areas.
② The snapshots that you capture appear in the left panel.
Manage the images to use in the fly-thru

① Use the arrow keys to rearrange the snapshots.
② Save the snapshot. This allows you to use the snapshots in other drawings.
③ Name the snapshot (optional). This can help you identify the snapshot later.
④ Delete unwanted snapshots.
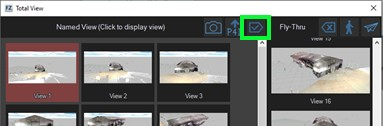
⑤ Use the lower-right arrow key to move snapshots into the right panel. Images in the right panel are included in the fly-thru.
OR
Use the Select All tool to add all of the images to the fly-thru.
For a quality fly-thru, several snapshots (6 or more) are recommended. The program makes a smooth path between the views. If the views are extremely different, the animation may look choppy.
After you select the snapshots, save the project.
Create the animation
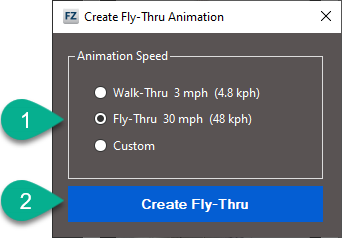
① Click ![]() Total View to create the fly-through from the selected views. Choose whether you want a Fly-Thru (30 mph), or slower Walk-Thru (3 mph). You can also set a custom speed.
Total View to create the fly-through from the selected views. Choose whether you want a Fly-Thru (30 mph), or slower Walk-Thru (3 mph). You can also set a custom speed.
② Click Create Fly-Thru.
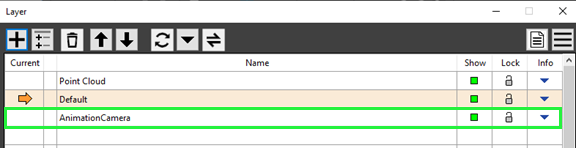
The animation is added as a new layer in the Layer Manager.
Watch the fly-thru animation
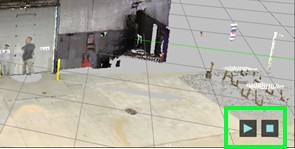
From the Animation ribbon, click Play from the toolbar. Or, you can select the Play button from the lower right hand corner of the project window.
Animation options also apply to fly-thru animations; including play speed. Other animations in the project play simultaneously with the fly-thru animation.
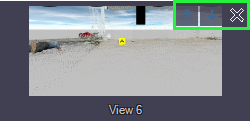
If you only want to see one of the animations open the Animation camera manager.
.
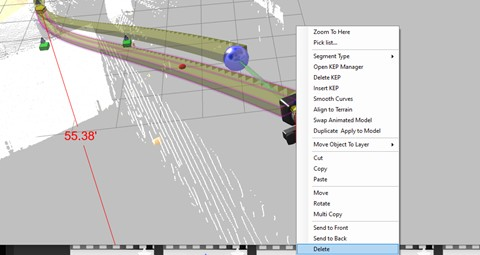
Editing the fly-thru animation
To delete the animation, right-click the animation path and click Delete from the context menu.
Re-Order the animation - Open Total View, add, remove or reorder images and recreate the fly-thru animation.
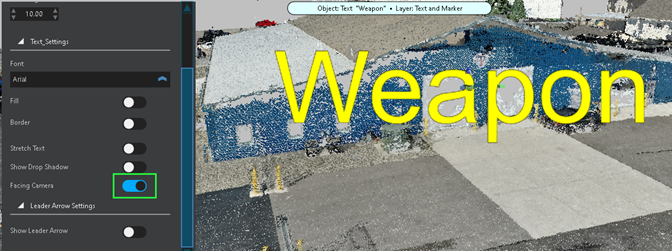
Add Text, Dimensions or Labels to the fly-thru
Use the Text, Dimension, or Label tools to include in the fly-thru.
In the tool panel, enable Facing Camera. This displays the text from every camera angle.
If you have an existing fly-thru, you will need to delete it and recreate it with snapshots that contain the new elements.
