 Removing Cars and Cleaning Out Images

|
|
FARO Academy |
| Image Clean Out Video |
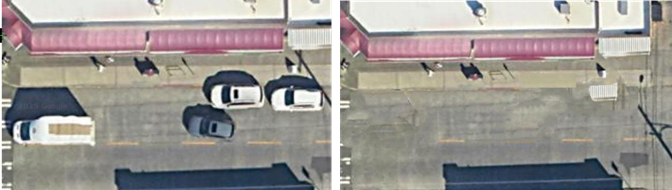
Satellite images, ortho images, and other imported images may have elements such as vehicles, people or other objects that you may want to remove. The Image Clean-out tool opens a dialog in which you can remove or blend objects into the background by replacing a selection area with a pattern based on the image’s background, or a color that you choose. This tool features automated vehicle removal that detects vehicles in the image and selects them for removal.
View the following tasks that you can perform with the Image clean-out tool:
-
Automatically clean out vehicles from a satellite or ortho image
-
Using the Dropper (sample) tool to replace an area with another part of the image
Image Clean Out Tool Overview
1. Select an image to clean out (satellite, ortho image, or photo).
2. From the Satellite Map tool panel, click Clean-Out Image.
To navigate in the image, use the mouse wheel to zoom in and out. Pan the image by holding and dragging the image with the right mouse button.
3. Use the following tools to clean up the image:

 A.I. Vehicle Detect – Automatically detects and selects most vehicles in the image. You can also manually select vehicles with the polygon and rectangle tools. Use arrow keys or number pad +/- keys to reposition or resize the selection.
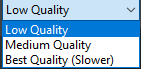 Quality - Select from Low (faster processing), Medium, or High quality. You may need to experiment with the quality settings to achieve desired results.
 Image clean tool icon - Clean out the selected areas by clicking this icon.
 Undo/Redo - Undo the previous change. Click Redo to re-apply the change.
 Use the Heal tool to draw a polygon/lasso around an area to revert it to its original state.

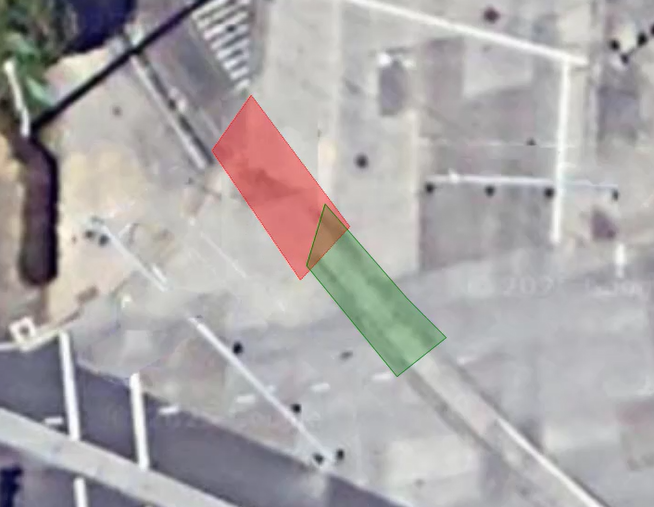
Automatic selection tools - Draw a rectangle or polygon, and have the software automatically select an object and it's shadow contained within the shape.


Manual Selection tools – Use a polygon or a rectangle to draw over an area to clean out. Press and hold the left mouse button while drawing a polygon to switch the tool to a lasso (freeform) tool.
 Customize a selection - Draw a polygon around an area within a selection to exclude the area from the cleanout.
 Eye dropper - Use the eye dropper tool to sample and select similar areas.
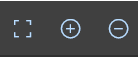 Zoom tools - Zoom the photo so that you can make more precise selections.
 Magic Wand tool - Select areas to clean that are similar in colors and shadows. Click a shadow to select it. If the tool doesn't capture the entire shadow, you can click the next section of the shadow or adjust the Flood Threshold percentage. You can change the Flood Threshold value with the + and – buttons in the HUD, or hold down the Ctrl key and use your mouse wheel.
 Pull-down menu.- Select from the following options:
-
Revert back to original image
-
Show Preview Window
-
Zip images for Support
 Image Effect (Filters) – Apply filters to images to improve them for reports.
 Save changes - Click Save after you complete image clean out. This closes the tool and returns you to the drawing.
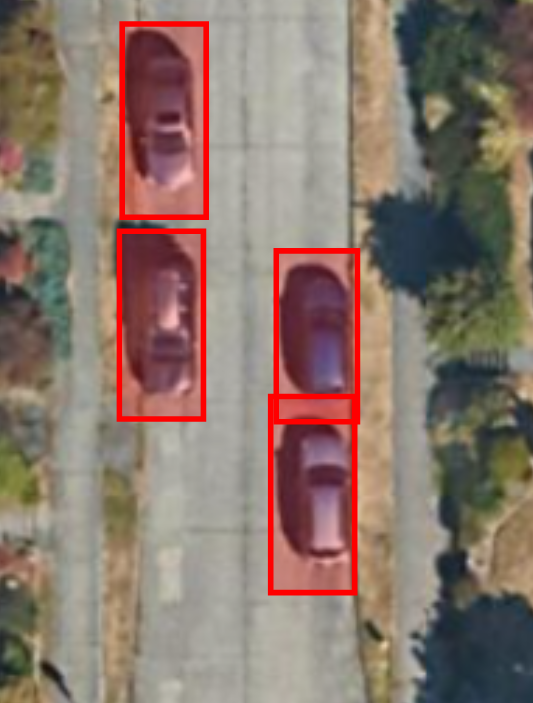
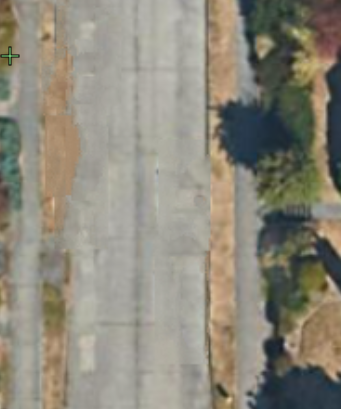
Automatically clean out vehicles from a satellite or ortho image
1. From the Image Clean-out tool window, select Automatically Find Vehicles.
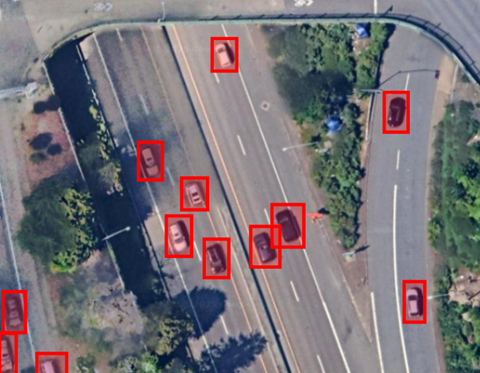
2. Click the Cleanout button to remove the vehicles.
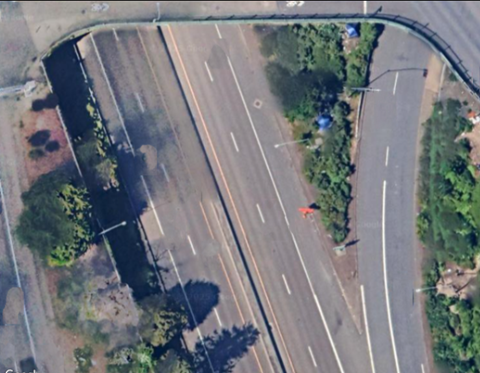
3. In most situations, the Low Quality setting provides quick, sufficient results. If you have a satellite map with odd lighting or abundant shadows, you can revert the image, select a different quality setting from the dropdown, and run the Cleanout tool again.
4. Click Save to return to exit the tool and return to the drawing.
Draw a shape and automatically select an object within it
Select an object within a shape.
1. Use the smart shape rectangle or polygon tools to draw around an object.

2. If you want to remove a smaller area within the selection, use the Eraser tool to draw a polygon around the area.
2. Click Cleanout to remove the object and its shadow.
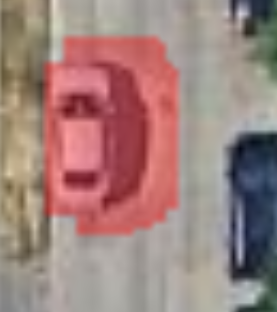
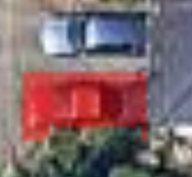
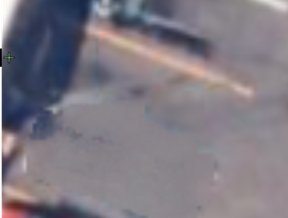
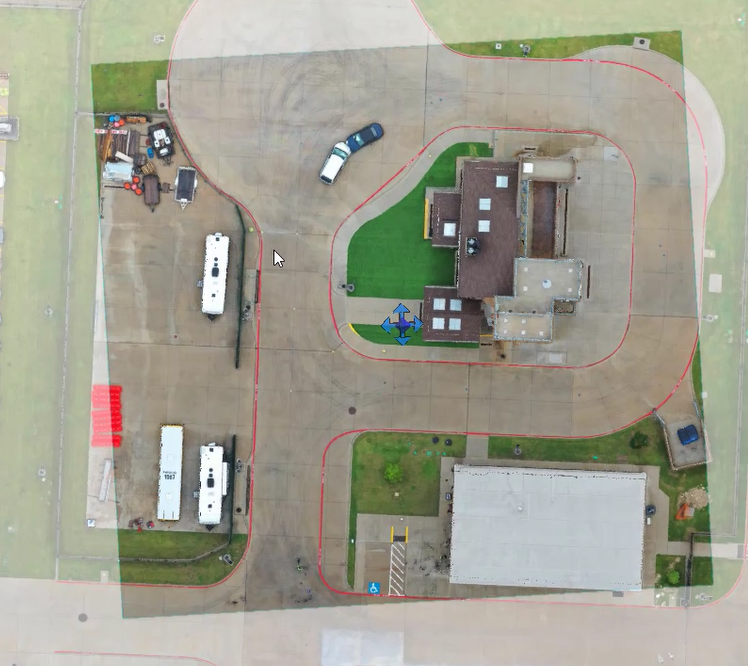
Cleaning out individual vehicles or objects
You can manually remove individual vehicles or objects.
Use the mouse wheel, or the zoom controls to achieve the best view.
1. Use the rectangle or the polygon to select a vehicle. If you use the polygon tool, double-click or press Enter to finalize the selection.
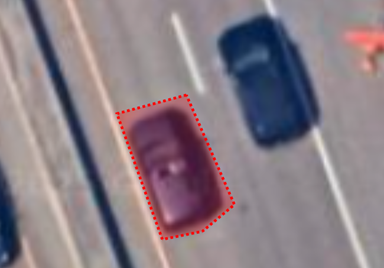
2. Click Cleanout to remove the vehicle.
3. If, you remove something and the quality is not sufficient, you can revert the image and select a different quality setting from the dropdown.
4. Click Save to return to exit the tool and return to the drawing.
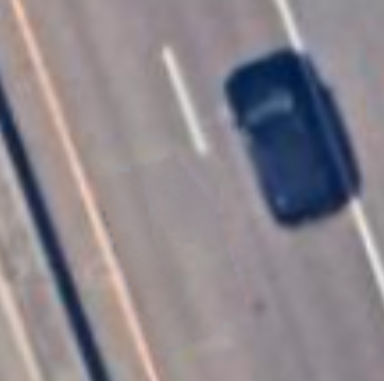
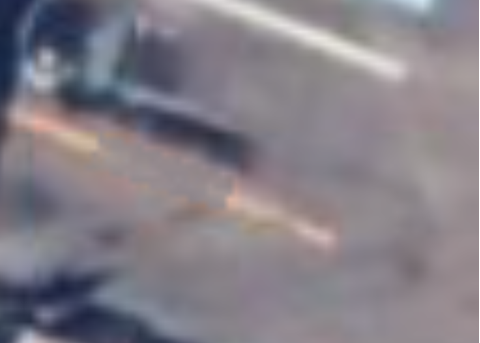
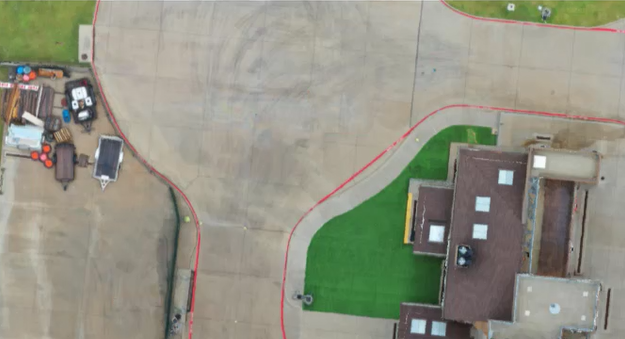
Removing shadows with the magic wand "flood select" tool

After you remove a vehicle, the vehicle's shadow may remain. You can easily remove the remaining shadow with the magic wand flood tool.
1. Click the Magic Wand (flood) tool.
2. Click the shadow that you want to remove.
You can press Ctrl and use the mouse wheel to increase or decrease the selected area, you can change the Flood Threshold value to adjust the area.
3. Click Cleanout to remove the shadow.
4. Click Save to return to exit the tool and return to the drawing.
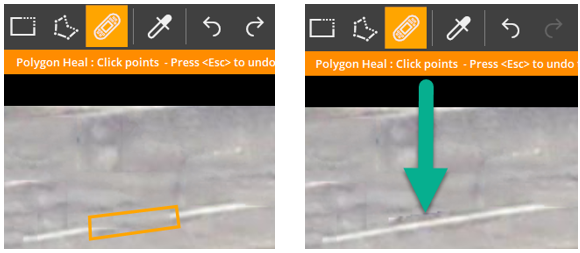
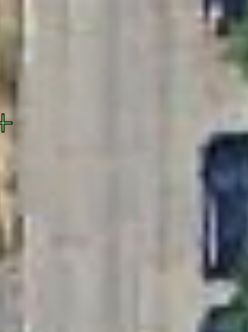
Restoring parts of the image with the Heal tool
During the vehicle cleanout, you may inadvertently remove areas of the image that you want to keep.
You can use the Heal tool to restore the parts that you want to keep.
To use the Heal tool:
1. Zoom in on the area that you want to restore.
2. Select the Heal tool. The original image appears in the magnification window. You can click the magnification window to enlarge it.
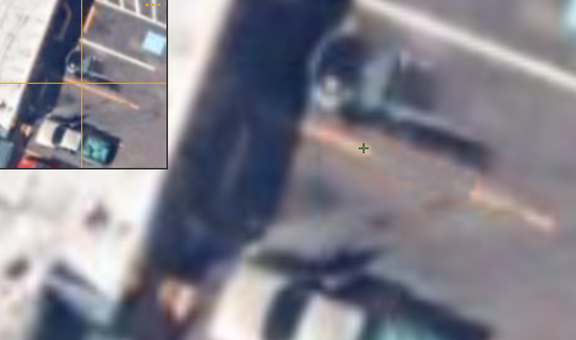
3. Draw the area to restore.

Using the Dropper (sample) tool to replace an area with another part of the image
While cleaning areas of the image, you may want to clone another area of the image over a cleaned area. This allows you to easily replace road lines, railroad tracks, trees, etc.
1. Select the Dropper tool.
2. Use the rectangle or polygon tool to select the area to clone.
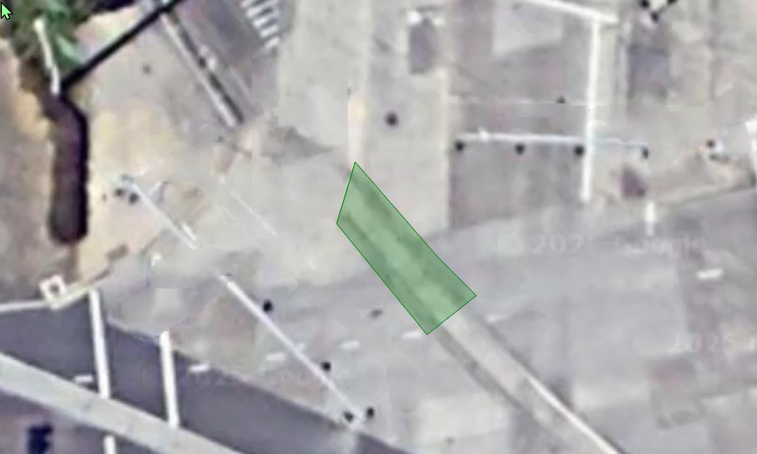
3. Use one of the tools to draw the area to replace.
4. Click Cleanout.
Expanding the selection boxes for multiple vehicles
You may need to resize selection boxes for multiple vehicles to capture the shadows that appear around all of the vehicles at a certain time of day, etc.
1. Use the Vehicle A.I., detect tool to select vehicles.
2. Right click the image and choose Select All Boundaries from the context menu.
3. Use the arrow keys to move the selections and use the + and - keys to increase/decrease the size of the selection boxes.
4. Click Cleanout.
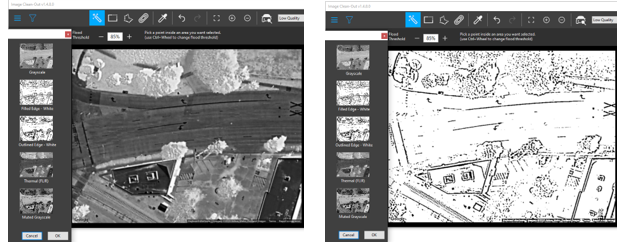
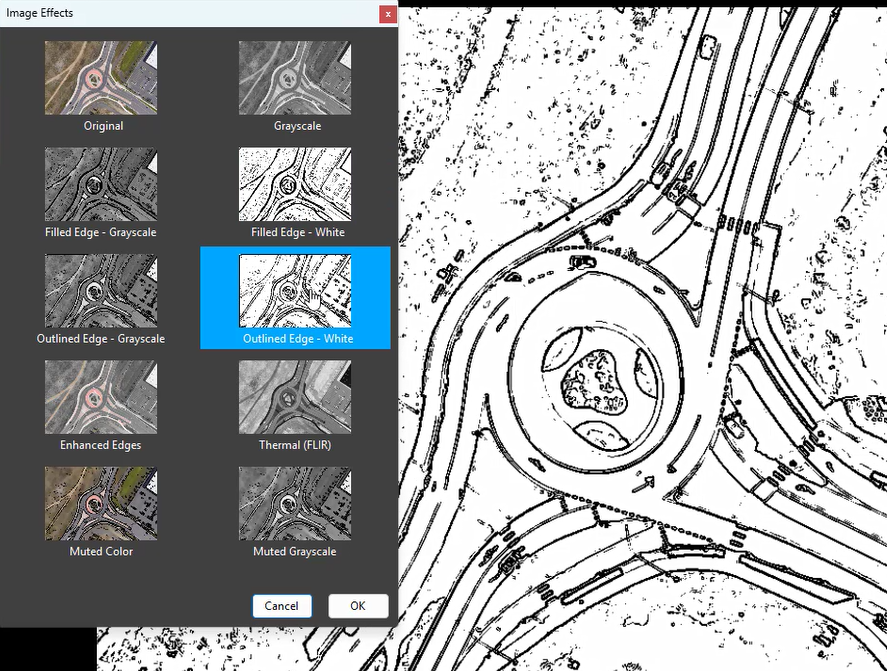
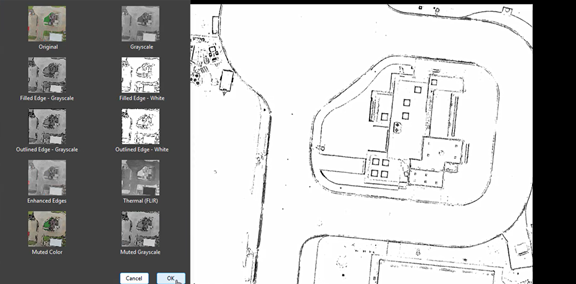
Applying filters to the image
Use filters to show the image in different ways. For example, if you do not want to display the image, in color you can select from a variety of grayscale options.
1. After you remove vehicles, etc. from the image, click  Filters. Filters display with thumbnail previews.
2. Select the filter that best represents how you want to display the image.
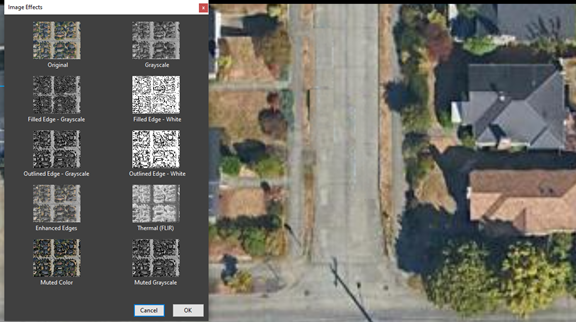
The image displays with the filter applied.
3. Click Save to return to exit the tool and return to the drawing.
Using the Image Cleanout tool with an Ortho image
You may want to clean out vehicles or other objects from ortho images, such as those created with the FotoPoints tool.
1. Select a tile from the tiled image.
2. Use the cleanout tool or manually select vehicles to remove.
3. Click Cleanout.
4. Apply a filter to the ortho image.
4. Click Save to return to exit the tool and return to the drawing.
