Creating a 2D View From a Point Cloud
Create a high-resolution, top-down image of the point cloud. This image only displays in the 2D window. This allows you to see all of your data in both the 2D and 3D views. You can hide the image in the 2D view from Point Cloud tools.
-
Select a point cloud.
-
From the Point Cloud ribbon select
 Tools.
 -
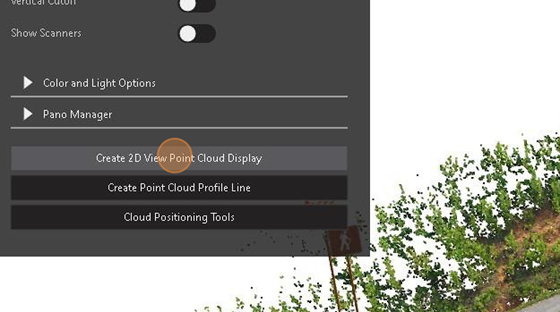
Click Create 2D View Point Cloud Display.
-
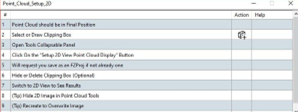
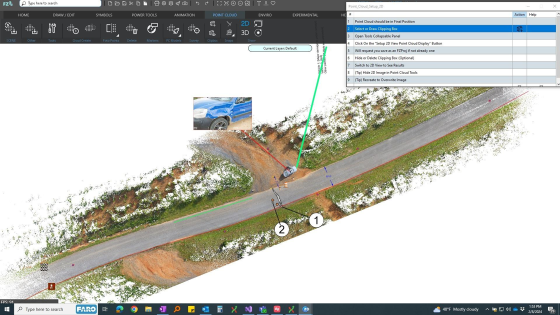
The Workflow panel displays. This panel includes the steps required to create the line. You can launch commands that display in the Action column.
-
Add a clipping box around the area that you want to display in 2D. Select the
 Add Clipping Box command from the Workflow panel, or from the Point Cloud ribbon.
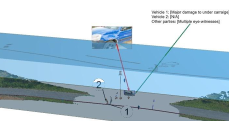
-
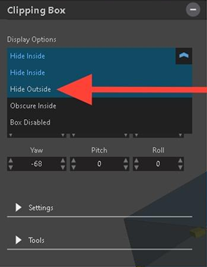
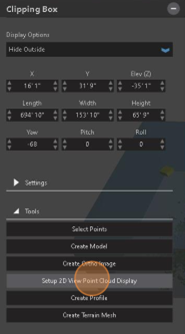
From the Clipping Box tool panel, under Display Options, click Hide Outside.
-
Position the clipping box, and then from the Point Cloud Tools tool panel, click Setup 2D View Point Cloud Display.
-
Click Ok. You are prompted to save the project as .FZPROJ if you haven't done so.
-
From the ribbon, switch to 2D View.

-
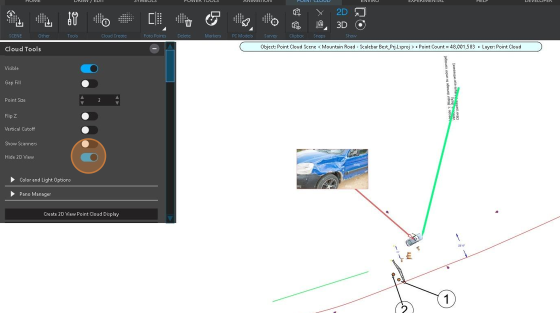
The point cloud displays as a 2D image.
-
You can hide or delete the clipping box from the 3D view.
-
You can hide the 2D point cloud image in the 2D view by clicking Hide 2D View from the Point Cloud Tools panel.
