 Witness
Create a snapshot image from a specific point to match the statements of an eye witness. Use this tool to:
-
Determine exact position and orientation from witness information.
-
Create snapshots/images.
-
Create 360o panoramic images from the location of the witness.
-
Create animations from the witness point of view.
To place a Witness View.
-
Navigate to the witness location in the scene.
-
From the Power Tools ribbon, click
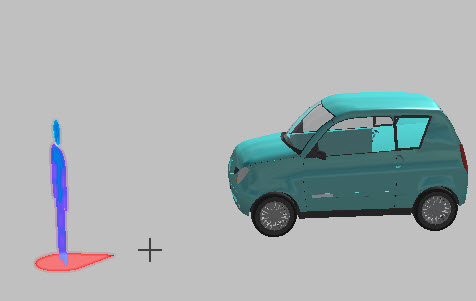
Witness . A ghost image appears at the cursor. -
Click the placement area in the diagram. Rotate the marker to the proper orientation, and then click again.
-
The Witness View tool panel opens.
Witness View Tool Panel
| Male/Female | Select the gender for the witness marker.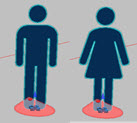 |
 Symbol Color Symbol Color
|
Choose the color of the witness marker body. |
 Base Color Base Color
|
Choose the color of the base. |
 Layer Layer
|
Open the Layer Manager, from which you can choose an existing layer, or add a new layer for the object. |
 Create Witness Camera Create Witness Camera
|
Set an animation camera from the witness POV.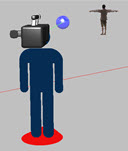 |
 Create Witness Panorama Create Witness Panorama
|
Create a 360° image from the witness POV. You are prompted to save the panoramic image. |
 Create Witness Snapshot Create Witness Snapshot
|
Take a snapshot from the witness POV and save it. |
 Next Witness|Previous Witness Next Witness|Previous Witness |
Advance to next witness view, or return to the previous view (when multiple targets are set). |
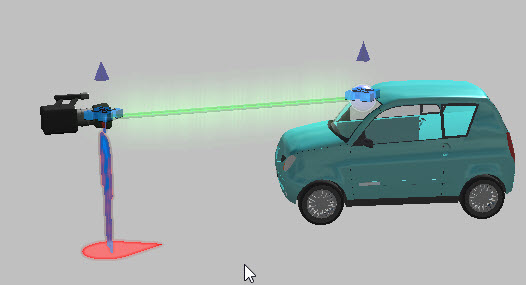
| Preview Witness View | Hide the witness marker and preview the witness view. |
| Description | Add a description to your witness view marker. |
| Bubble Size | Change the size of the marker pointer or bubble. |
| Eye Height | Set the height to the top of the head of the witness marker. |
| View Pitch | Set the pitch of or angle up/down of witness POV. |
| X, Y, Z positions | Adjust the position of the witness marker along the axes. |
| Rotation | Adjust the rotation position of the witness marker. |
| Create Witness Camera |
Add a camera at the witness' position.
|
| Create Witness Panorama | Take a panoramic image from the witness view. |
| Create Witness Snapshot | Take a snapshot of the witness view. You are prompted to save the image. |
