High Dynamic Range (HDR) Lighting
Standard Lighting is limited in the contrast ratio between the brightest and darkest colors (0:255255). HDR lighting significantly improves scene quality by offering higher contrast ratios (0-65000). HDR uses “Automatic Exposure Adjustment” functionality to enhance the contrast of the scene, based on the average luminescence of the area of the scene facing the camera.
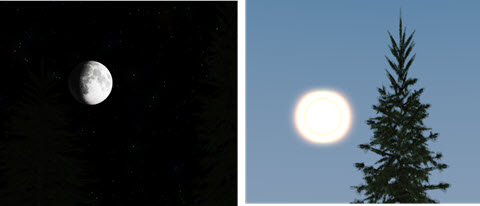
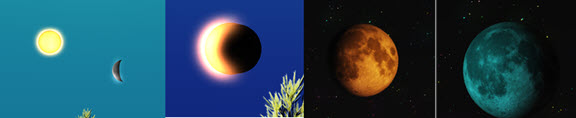
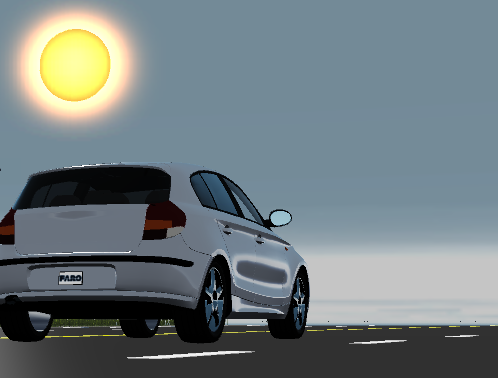
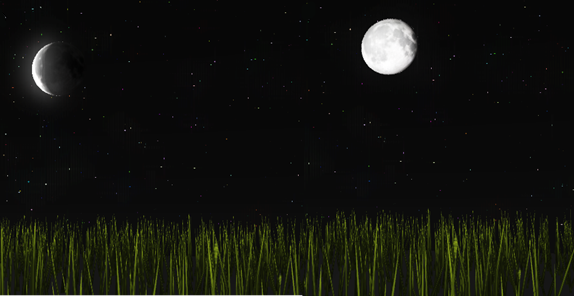
HDR lighting offers visual impact that approaches photo-realism. Lit scenes, especially nighttime scenes, display with higher contrast between the lit and dark sections. HDR lighting also includes sky, sun, and moon options.
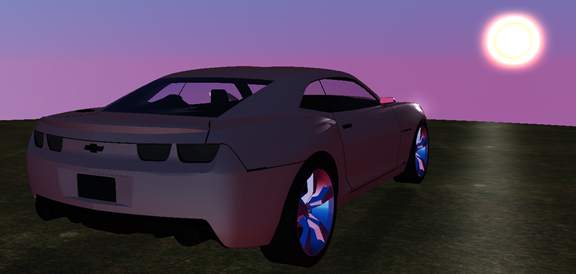
Fine-tune the lighting and environments displayed in your scene with the HDR tool’s array of customization options. With standard lighting, brightening or darkening an object required tedious color adjustments. With HDR, you can simply adjust the lighting intensity.
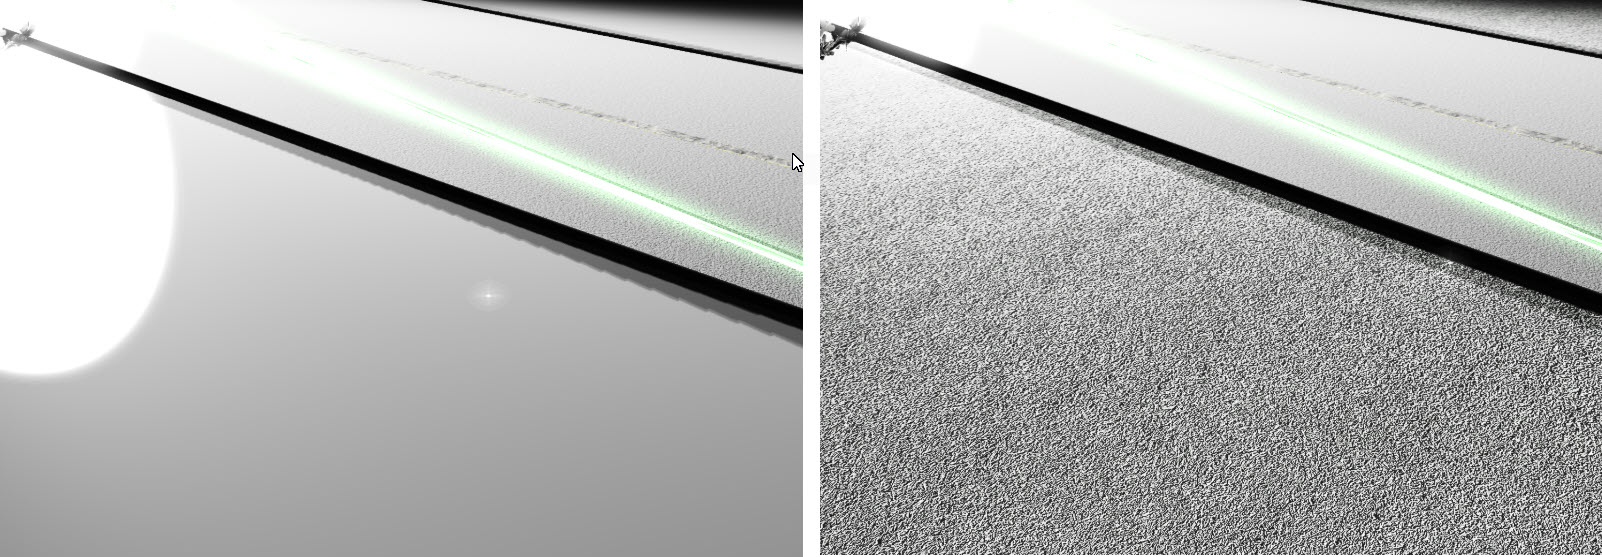
Use HDR lighting in any scene where lighting and visual impact is a factor, such as night lighting or when you use PBR textures. HDR lighting also enhances weather effects such as snow and rain.
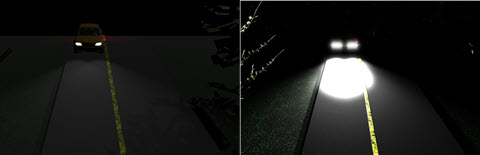
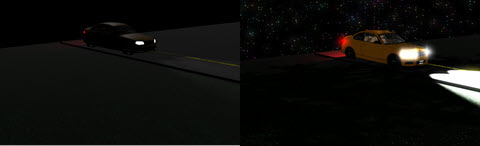
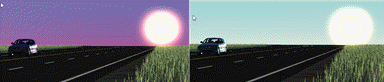
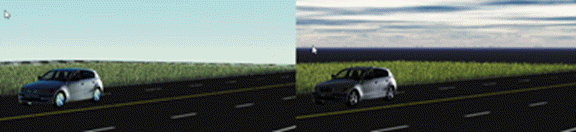
Following are comparison examples scenes using standard vs. HDR lighting:
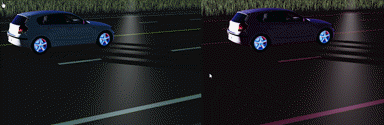
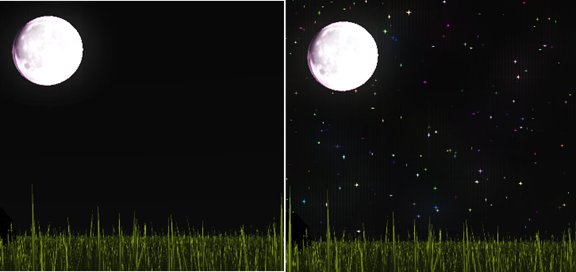
Night scenes - Standard lighting|HDR lighting
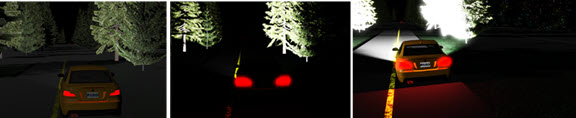
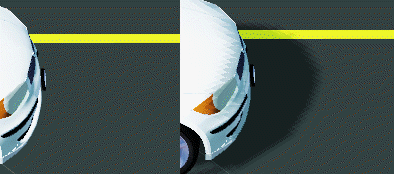
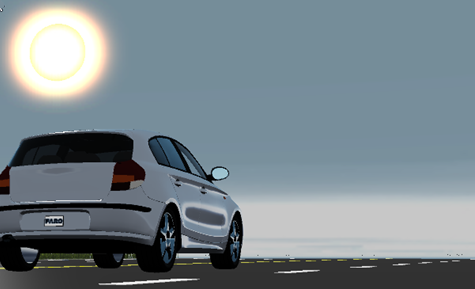
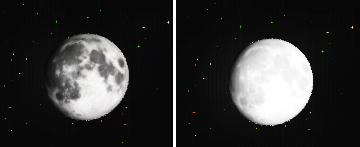
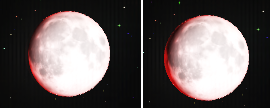
HDR | HDR Focused on brightly-lit portion | HDR focused on darkly-lit portion
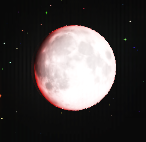
Moon | Sun
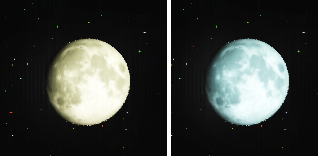
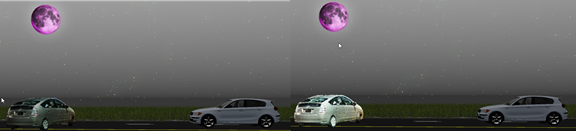
Sun & moon - Eclipse | Harvest moon | Blue moon
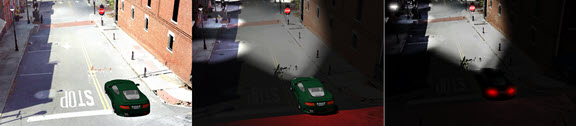
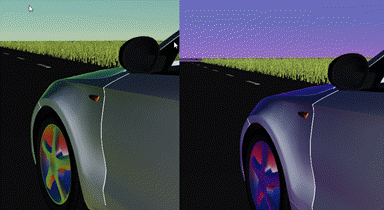
Point cloud lighting - No lighting | Standard | HDR
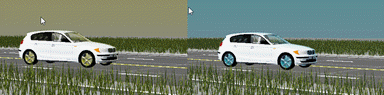
Textures - Without | With HDR
To enable HDR lighting:
-
From the Enviro ribbon, select
 Sky-environment lighting.
 -
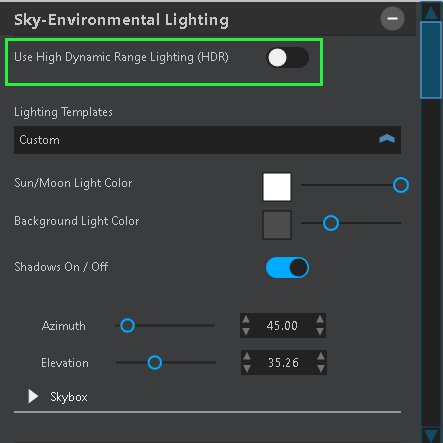
From the Sky-Environmental Lighting - HDR panel, enable Use High Dynamic Range Lighting (HDR).
-
Select an HDR template from the dropdown. Options range from dawn to midnight.
-
Configure other options in the tool panel.
Sky-Environmental Lighting - HDR Panel
| Global Settings | ||
| Primary Light |
Select the color, and adjust the level of the primary lighting for the scene.
Red primary color vs. a green primary color.
|
|
| Background Light |
Select the background highlight colors for the scene.
Blue vs. pink background color.
|
|
| Shadows |
Enable objects to cast shadows. Enabling this option is recommended when using HDR lighting.
|
|
| Sky-Atmosphere | ||
| Show Skybox | Enable or disable the skybox in HDR mode. This option should typically be enabled. | |
| Sky Intensity | Adjust the brightness of the sky's lighting effect. | |
| Zenith Color |
Select the color of the sky's background.
|
|
| Horizon Color |
The color of the sky at dawn/dusk near the horizon.
|
|
| Dawn Tinge |
The color of the sky at dawn/dusk near the horizon.
|
|
| Color Below Horizon | This effect occurs at dawn or dusk, when the sun's zenith is below roughly 8 degrees. | |
| Use SkyTexture |
Enable or disable the sky texture effect.
Sky textures are not currently recommended for use with HDR. Updates for sky textures are under development. |
|
| Sky Texture |
Open the Sky Texture dialog, in which you can select sky effects such as clouds, stars, and backgrounds for different times of the day or night.
Sky texture disabled vs. a cloudy sky texture.
|
|
| Sun | ||
| Show Sun |
Enable/disable display of the sun.
|
|
| Azimuth | Specify the direction from which the sunlight originates. | |
| Zenith | Adjust the elevation of the sun on the horizon. | |
| Size | Adjust the size of the sun. | |
| Color/Intesity |
Select the color and increase or decrease the brightness of the sun.
|
|
| Moon | ||
| Show Moon | Enable/disable display of the moon. | |
| Phase/Size |
Use the sliders to adjust the moon phase, and the overall size of the moon.
|
|
| Haze |
Use the slider to adjust the moon's haze effect.
|
|
| Lit Color/Intensity |
Use the color palette to select the moon glow color.
|
|
| Ambient Color/Intensity |
Use the color palette to choose the moon's ambient color, and adjust the intensity. This affects the shadowed/dark portions of the moon.
|
|
| Ambient Fade |
Adjust the fade effect of the ambient color.
|
|
| Azimuth | Adjust the horizontal position of the moon. | |
| Zenith | Adjust the vertical position of the moon. | |
| Bloom | Adjust the bloom effect. | |
| Stars | ||
| Show Stars |
Enable/disable display of the stars. (Sky Texture should be disabled.)
|
|
| Star Size | Adjust the size of the stars. | |
| Star Intensity |
Adjust the brightness of the stars.
|
|
| Advanced HDR Settings | ||
| Exposure Bias (Dark-Bright) |
Adjusts the exposure bias for dark or bright scenes. A brighter bias setting makes the darker areas more dark, and a darker bias setting makes the brighter areas more bright.
|
|
| HDR Bloom Threshold | Allows brightly-lit areas to display with a bloom effect, even if they are not shiny or reflective (by default). | |
| HDR Temporal Exposure DT | The time delta required for automatic exposure to adjust to changing brightness levels. Lower settings result in quicker exposure adjustments, but they require more processing power. | |
| Unlit Image Brightness Adjust | If you disable Use Lighting Effect when you import an image the image may appear dark when you view it with HDR enabled. Use this setting to increase the image's brightness. | |
| Point Cloud | ||
| HDR Base Light Level |
Adjust the light level for the point cloud.
|
|
| HDR Ambient Shading Level | Adjust the ambient lighting that surrounds the point cloud. | |
| Brightness | Adjust the brightness of the point cloud. | |
| Contrast | Adjust the contrast of the point cloud. | |
| Default Settings | ||
| Set Current As Default | Set the current options as the HDR tool's default settings. | |
| Reset Current to Default | Replace the current settings with the most-recently configured options saved as the default settings with the Set Current As Default command.. | |
| Factory Reset | Reset the default settings to the software's original settings. |


