Edit the Registration of Blink Scans
|
1238888 |
Click the Edit registration button.
The Registration - Edit page is displayed. On this page you can manually move scans to the position you want.
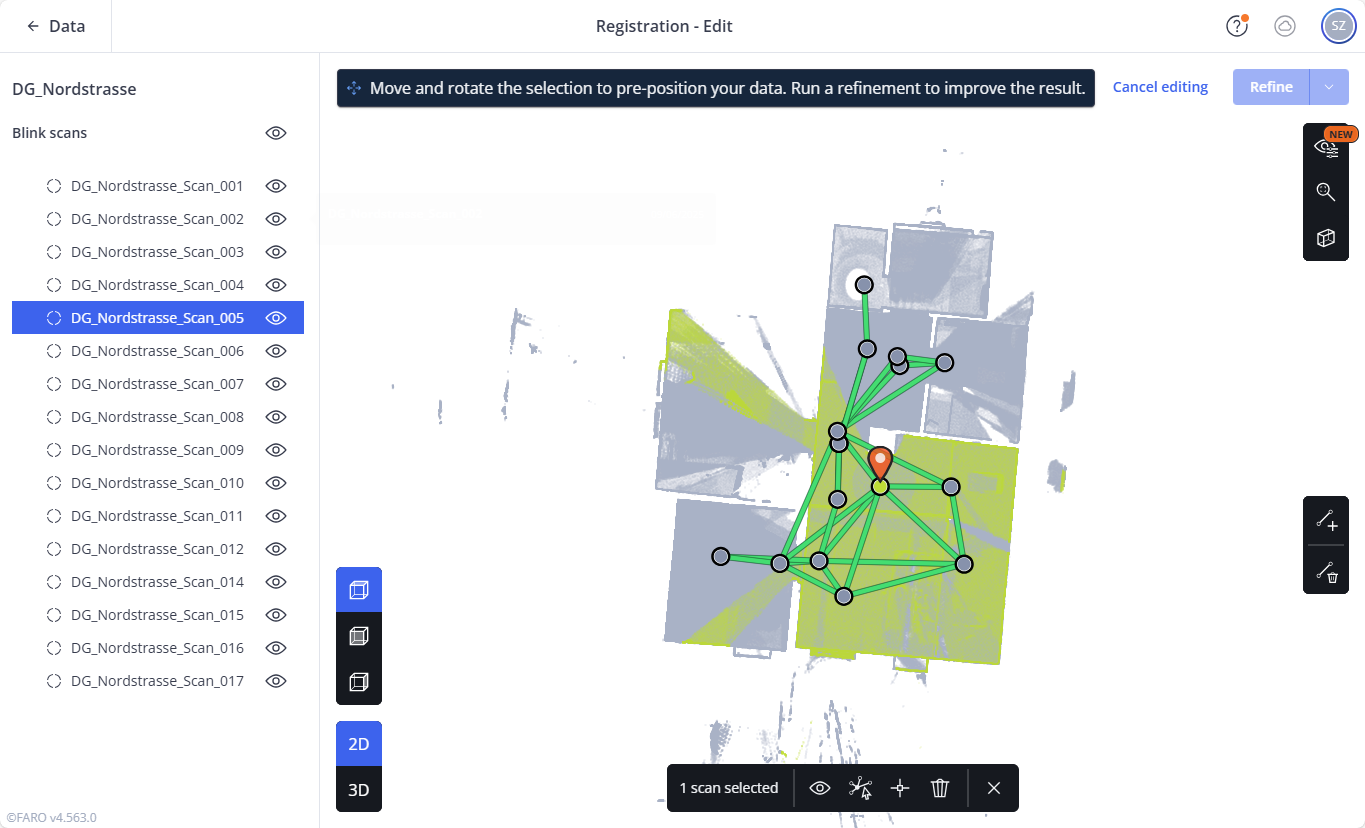
Figure 1-95 Edit registration page
This view has the same toolbars as the Registration - Inspect page, see Inspect the Registration of Blink Scans. An additional toolbar on the right side allows adding or removing connections between scans.
You can only edit the registration in the 2D view.
Move and Rotate Scan
-
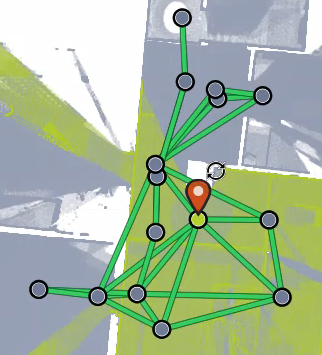
Select the scan you want to move or rotate in the tree view or in the Viewer.
An anchor point is displayed.
-
Click and drag that anchor point to move the selected scan to the position you want.
![]()
-
Click and drag away from the anchor point to rotate the scan.
You can zoom in and out using the mouse wheel to check the alignment.
To remove the anchor point, right-click it.
If you have selected and moved or rotated more than one scan and these scans are registered to each other, the connections between these scans will persist.
Add or Delete Connections
To add a connection:
-
Click the
 icon.
icon.
The icon turns blue -
Click the first, then the second scan between which you want to establish a connection.
A connection will be established.
New connections are displayed in gray. Registered connections are displayed green, yellow or red depending on their registration result.
To delete a connection:
-
Click the
 icon.
icon. -
Click the connection you want to delete.
The connection will be deleted.
To exit the connection editing mode click the icon again.
Delete Scans
If you cannot register a scan in editing mode, you can delete it.
-
Click the scan you want to delete.
-
Then click the
 icon in the toolbar.
 -
Confirm the deletion.
Note that you cannot undo a deletion once it is confirmed.
Publish Scans
When all scans are positioned correctly:
Click the Refine button.
The scans will be registered at their new positions and published automatically if the registration is successful.
If you are not able to position all scans correctly or if the Refine procedure fails, you can publish the scans as they are without registration.
For this purpose, click the Publish without refinement button.
