Align an Area or a Sheet to Control Points
|
1238888 |
You can align an area or a sheet to control points. Control points are sometimes represented on the floor plan. If you have a separate control points file, you must know which coordinates correspond to which features of the floor plan.
The procedure of aligning areas and sheets is very similar. The main difference is that you cannot set an elevation in sheets.
If you want to align both, an area and a sheet, you must align the area first.
For more information on the area and sheet concept, see Areas and Sheets.
Open the Alignment Tool
For an Area
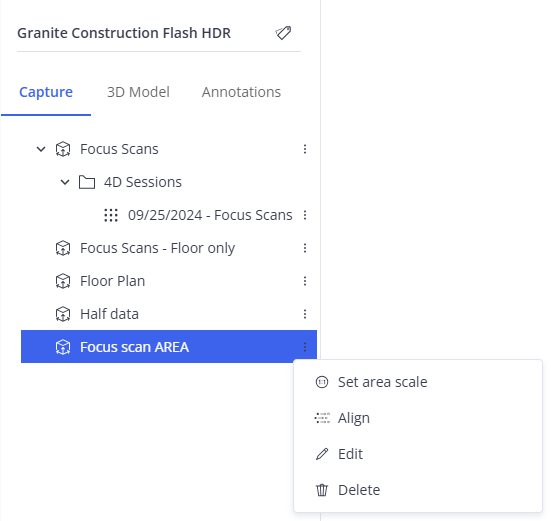
Figure 1-136 Start area alignment
-
Click the three-dots icon
 of the area to open the context menu.
 -
Select the menu entry Align.
The alignment tool is displayed.
For a Sheet
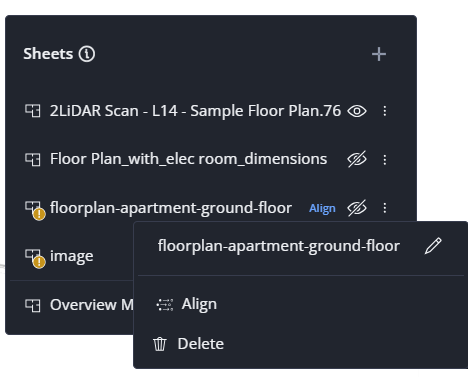
Figure 1-137 Start sheet alignment
-
Click the Sheets icon
 on the right side.
 -
Click the three-dots icon
of the sheet you want to align. -
Select Align.
The alignment tool is displayed.
Alignment Tool
-
In the alignment tool, select Align to Control Points.
-
Then, click Align in the top right corner.
-
Click a location in the area or sheet.
-
Enter the position value of this location in section Control points on the right side.
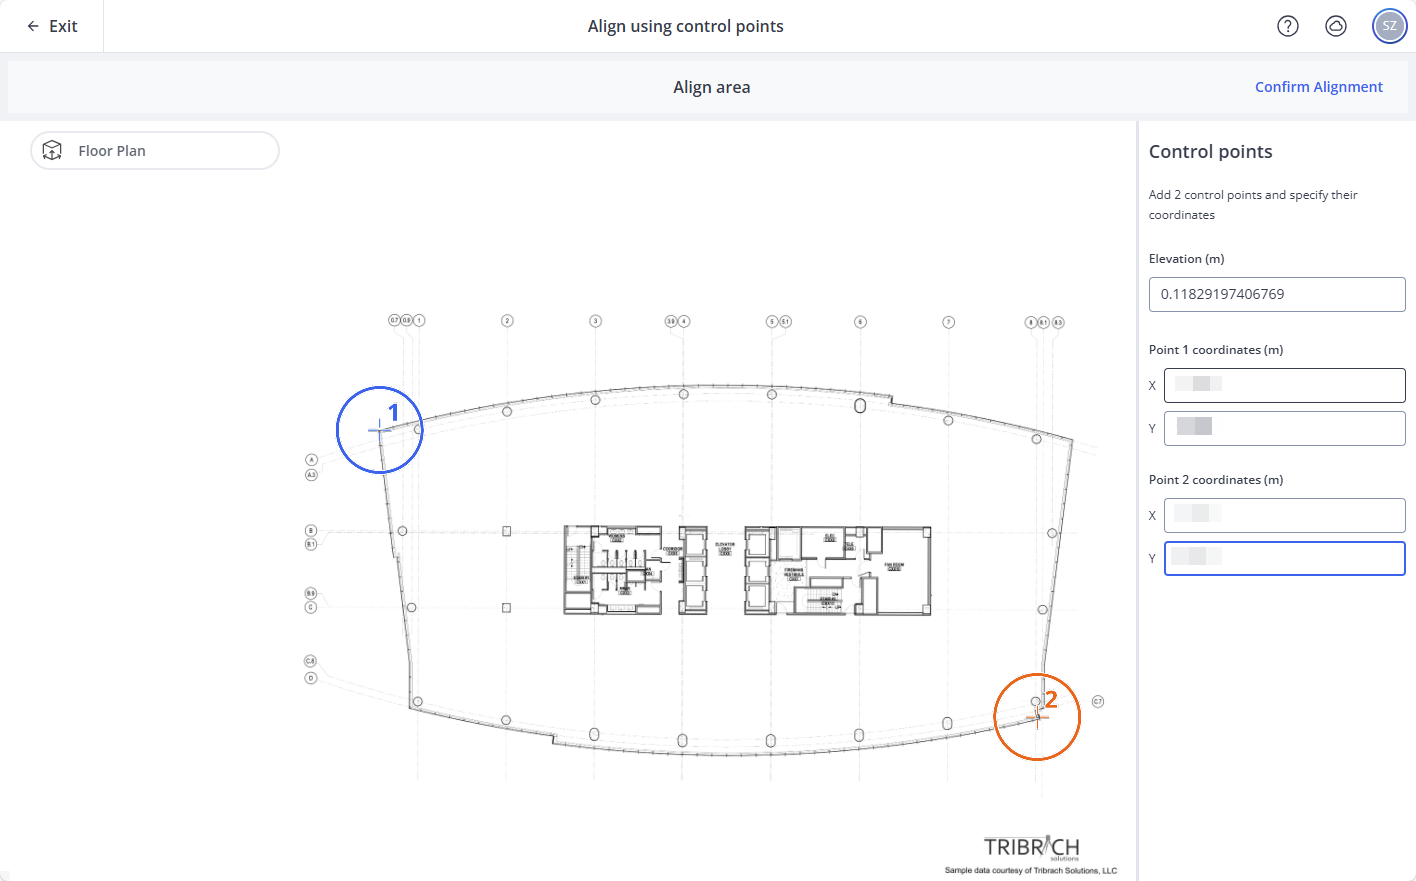
Figure 1-138 Alignment tool for an area
Note that setting the elevation is only possible for areas.
-
You can move a marker by clicking and then dragging it.
-
To remove a marker, right-click it.
Confirm Alignment
Once the alignment meets your expectations, click the Confirm Alignment button. This button becomes available if you have entered all values.
