Time travel Through your Project
|
1238888 |
The time travel dropdown at the top of the walkmode view contains all 360° photos, VideoMode scenes and 2D photos of one waypoint taken at different times. This feature is very useful to visualize progress in a project. This dropdown contains all data sets showing the scene in a 1.5m radius around the currently active waypoint.
-
Click the
 icon to go to the walk mode view or click a waypoint in the 2D view.
 -
Open the time travel dropdown at the top left.
-
For a better visualization, click the
 icon.
icon.
The photos will be displayed in a thumbnail view.
-
Select the photo you want.
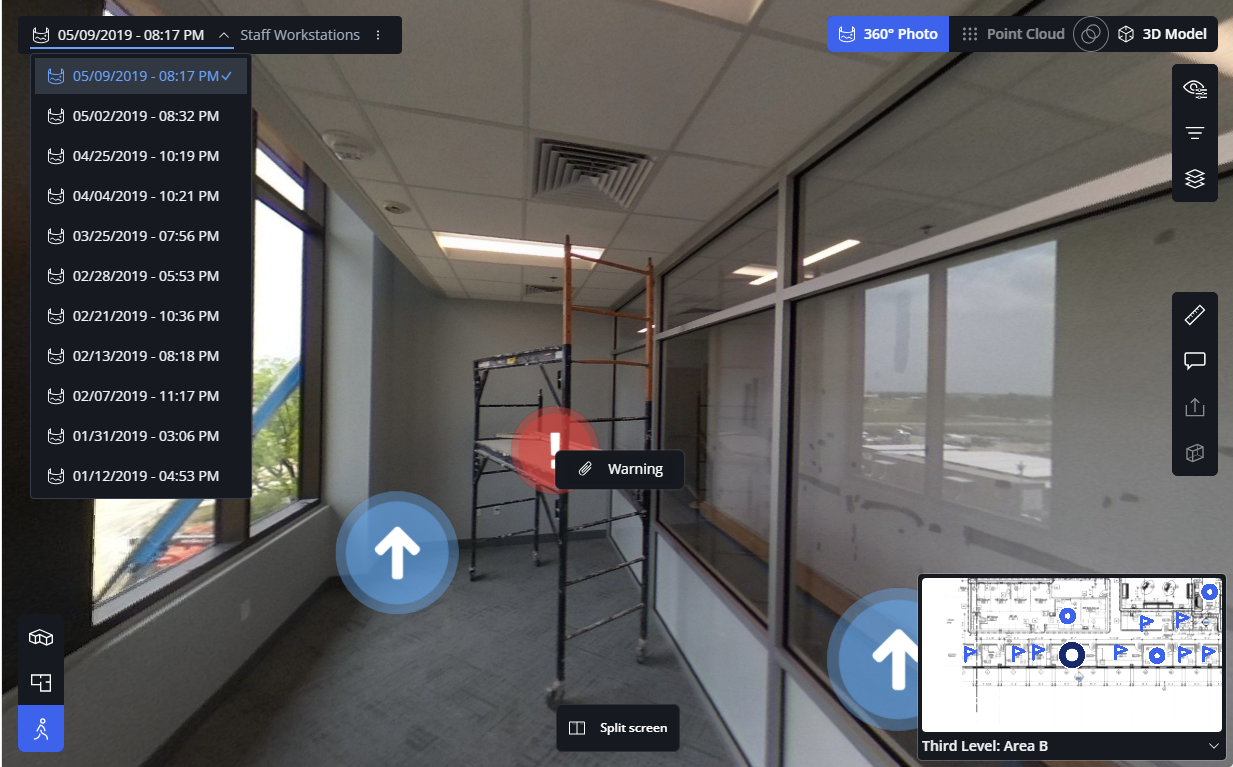
Figure 1-181 Time travel
Clicking the three-dots menu of the selected 360° photo provides options to edit, move, download and delete the 360° photo.
If you have uploaded photos at different points in time, you can create a so-called time travel that shows your project at various stages.
Visualization of Photos in Dropdown and Viewer
Photos from the same date are grouped in a single entry in the time travel dropdown.
The number next to the photo capture date shows the number of photos taken on this date. If you click this number, the photos are all displayed in a carousel.
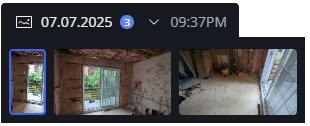
Figure 1-182 Extended 2D gallery
You can either click these photos or go through them with the arrow keys.
Visualization of 360° photos and 2D Photos in Dropdown and Viewer
If a capture contains a 360° photo and a 2D photo, the entry in the dropdown will show the 2D photo as an annotation.
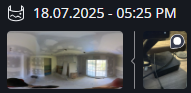
Figure 1-183 Gallery entry with 360° and 2D photo
Clicking the 360° photo will open the waypoint and show the 2D photo as an icon in the Viewer. Hovering the mouse pointer over the icon, will show a preview of the 2D photo. Clicking the  icon will open the 2D photo in a new browser tab.
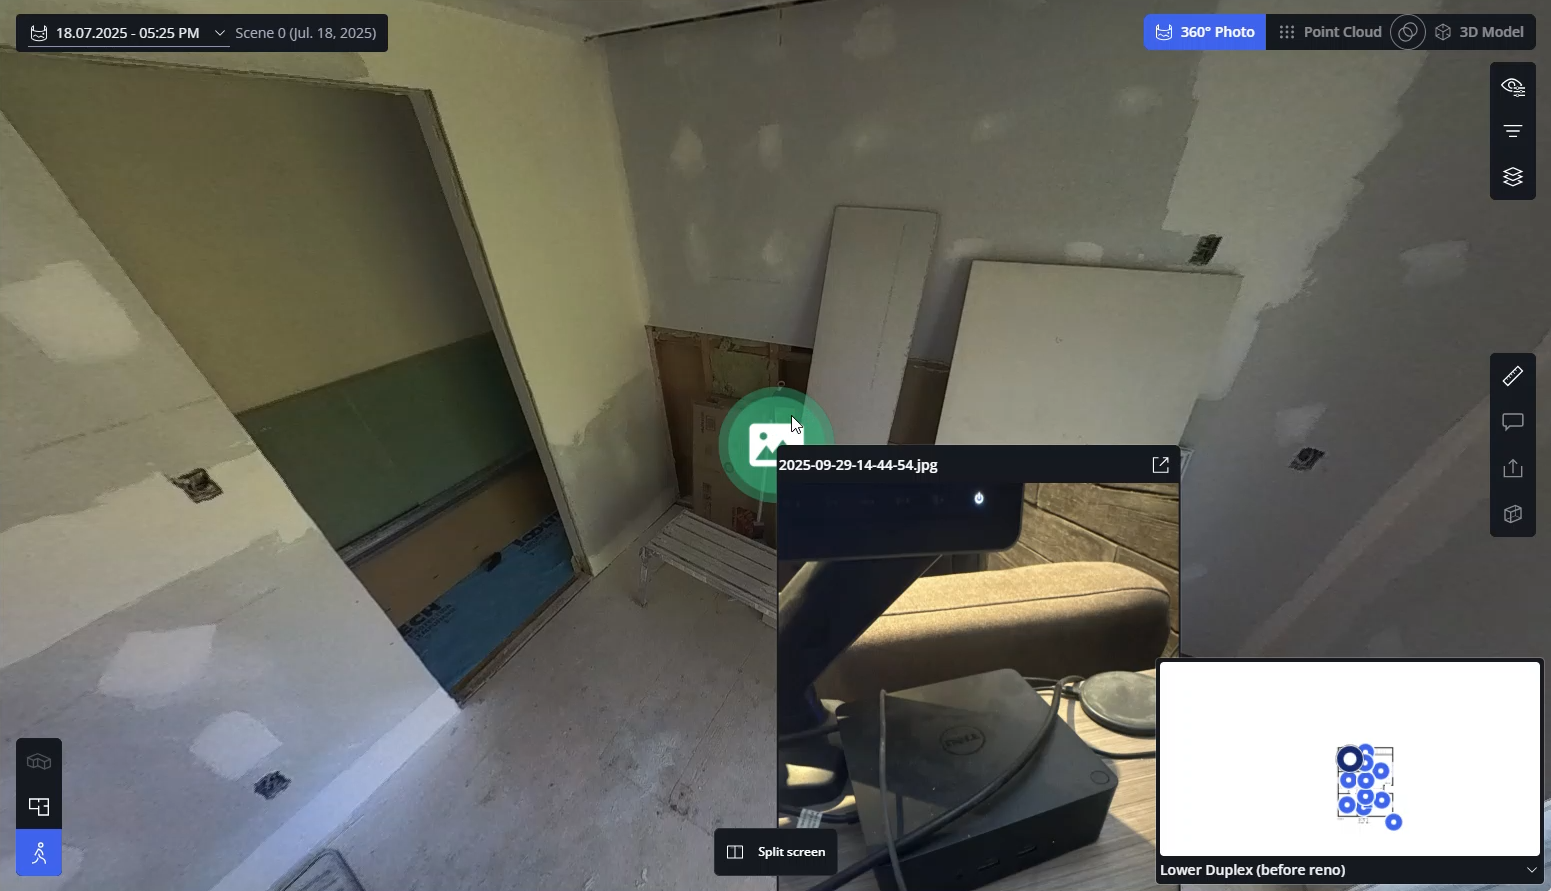
Figure 1-184 360° photo waypoint with a 2D photo in preview mode
Use Point Clouds for Time Travel
If you have more than one point cloud of the same location captured at different dates, you can also use point clouds for time travel.
1. Click the  icon to go to the 3D view.
2. Open the dropdown list at the top left.
3. Select the point cloud you want.
Compare 360° Photo to Point Cloud or 3D Model
In the Sphere XG Viewer, you can also compare the selected 360° photo to a point cloud or a 3D model if available.
1. Click the Split screen button  at the bottom of the screen.
The screen will be split vertically.
2. Click either the Point Cloud or the 3D Model button at the top right of the screen.
3. Optional: Select the point cloud you want to compare from the dropdown on the point cloud side of the screen.
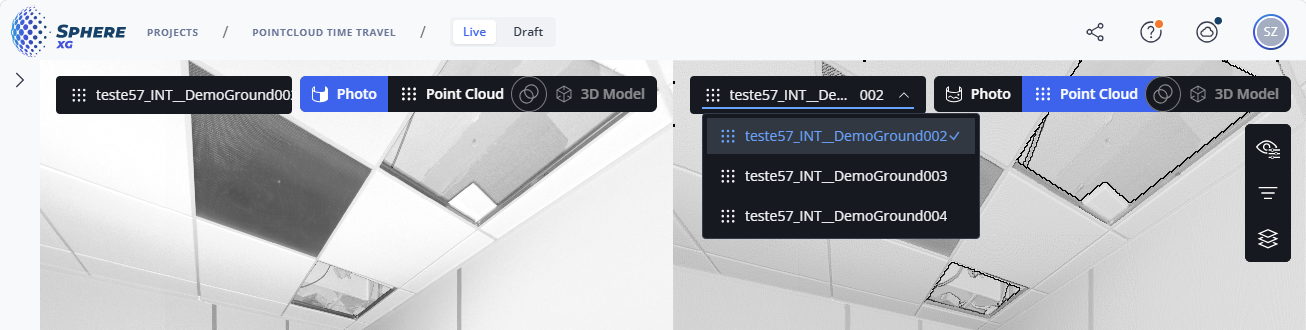
Figure 1-185 Select point cloud
The 360° photo will be displayed on the left side, the point cloud or 3D model at the right side of the screen.
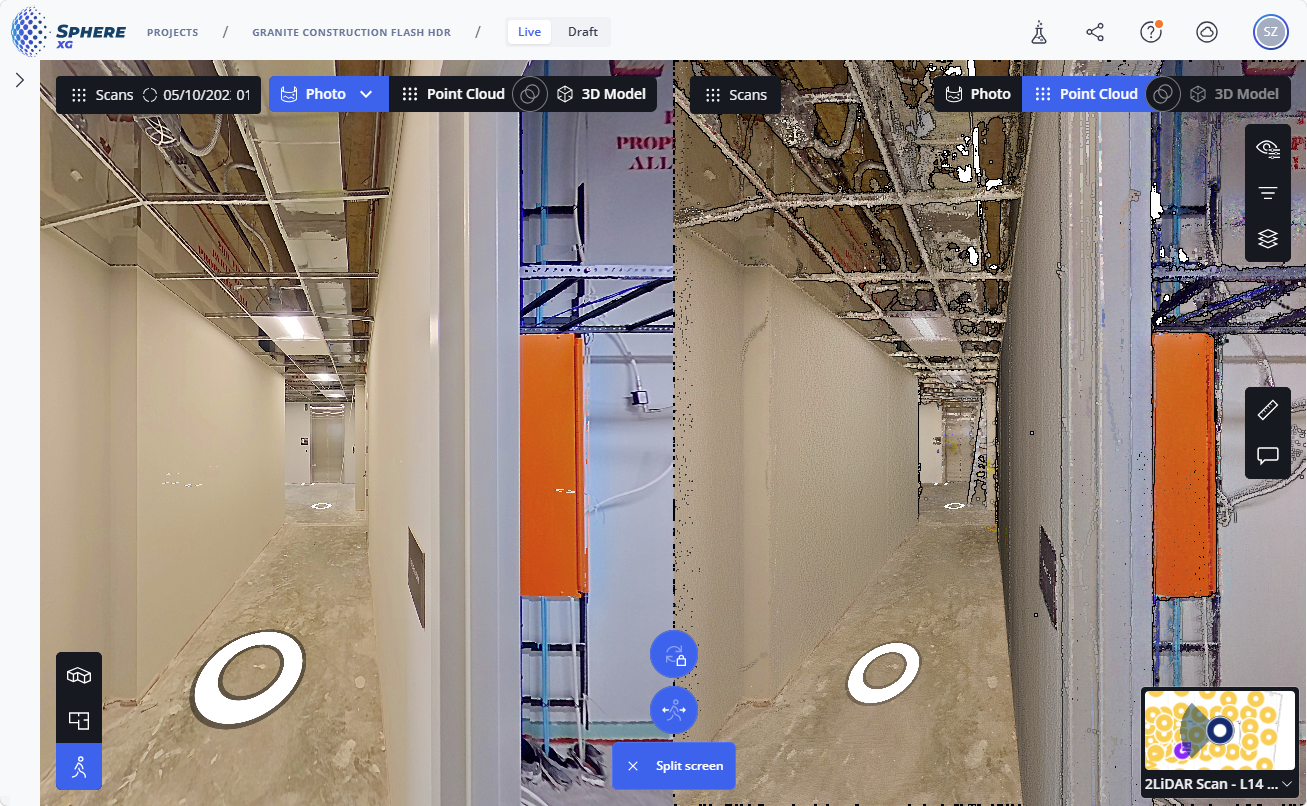
Figure 1-186 Compare 360° photo and point cloud
By default, the following options will be active:
|
|
Lock orientation: Locks the two views regarding their orientation, i.e. if you turn around in one view, the other view will follow. |
|
|
Follow to selected waypoint: If you click a waypoint in one view to go to this waypoint, the other view will follow. |