Automatic Registration
|
1238888 |
The Automatic Registration looks for similar geometric constellations in the scans. The result can then be viewed and evaluated in the correspondence view.
Check the Registration Settings for the type of Registration to be executed. You can select among 4 options: target-based, top-view-based, cloud-to-cloud, Top View first and cloud-to-cloud registration afterwards.
If you want to run an automatic cloud-to-cloud registration, you should pre-align the scans. You can do this as follows:
-
automatically with a top-view-based registration
-
manually with a manual registration
-
manually in the correspondence view
You can start the automatic registration as follows:
-
Click the Automatic Registration button in the toolbar. You will then be asked to select a cluster.
-
Open the Registration dropdown list in a cluster line, then click Automatic Registration. Select the settings to start registration.
-
Click the recommendation to perform an Automatic Registration in a cluster line. Select the settings to start registration.
Automatic Registration from the Toolbar
-
Click the Automatic Registration button
 in the toolbar.
 -
Select a cluster, then click the Select Method button on the upper right side.
The Select Method page is shown. Available registration methods are: top-view-based, cloud-to-cloud, target-based, and a combination of top-view-based and cloud-to-cloud registration.
On the right side, the available settings for this registration method are shown. These settings correspond with those in the Registration Settings page. If necessary, modify the settings. Your modifications will now be valid for the current registration. It will not change the settings made in the Registration Settings.
-
Click the Register and Verify button on the upper right side.
The registration is executed. Depending on the number of scans in this cluster, this may take some time. -
Verify the registration.
Automatic Registration from the Cluster Line
- Open the Registration dropdown list in the cluster line, then select Start Automatic Registration.
- Proceed as described in the section above.
Register and Verify
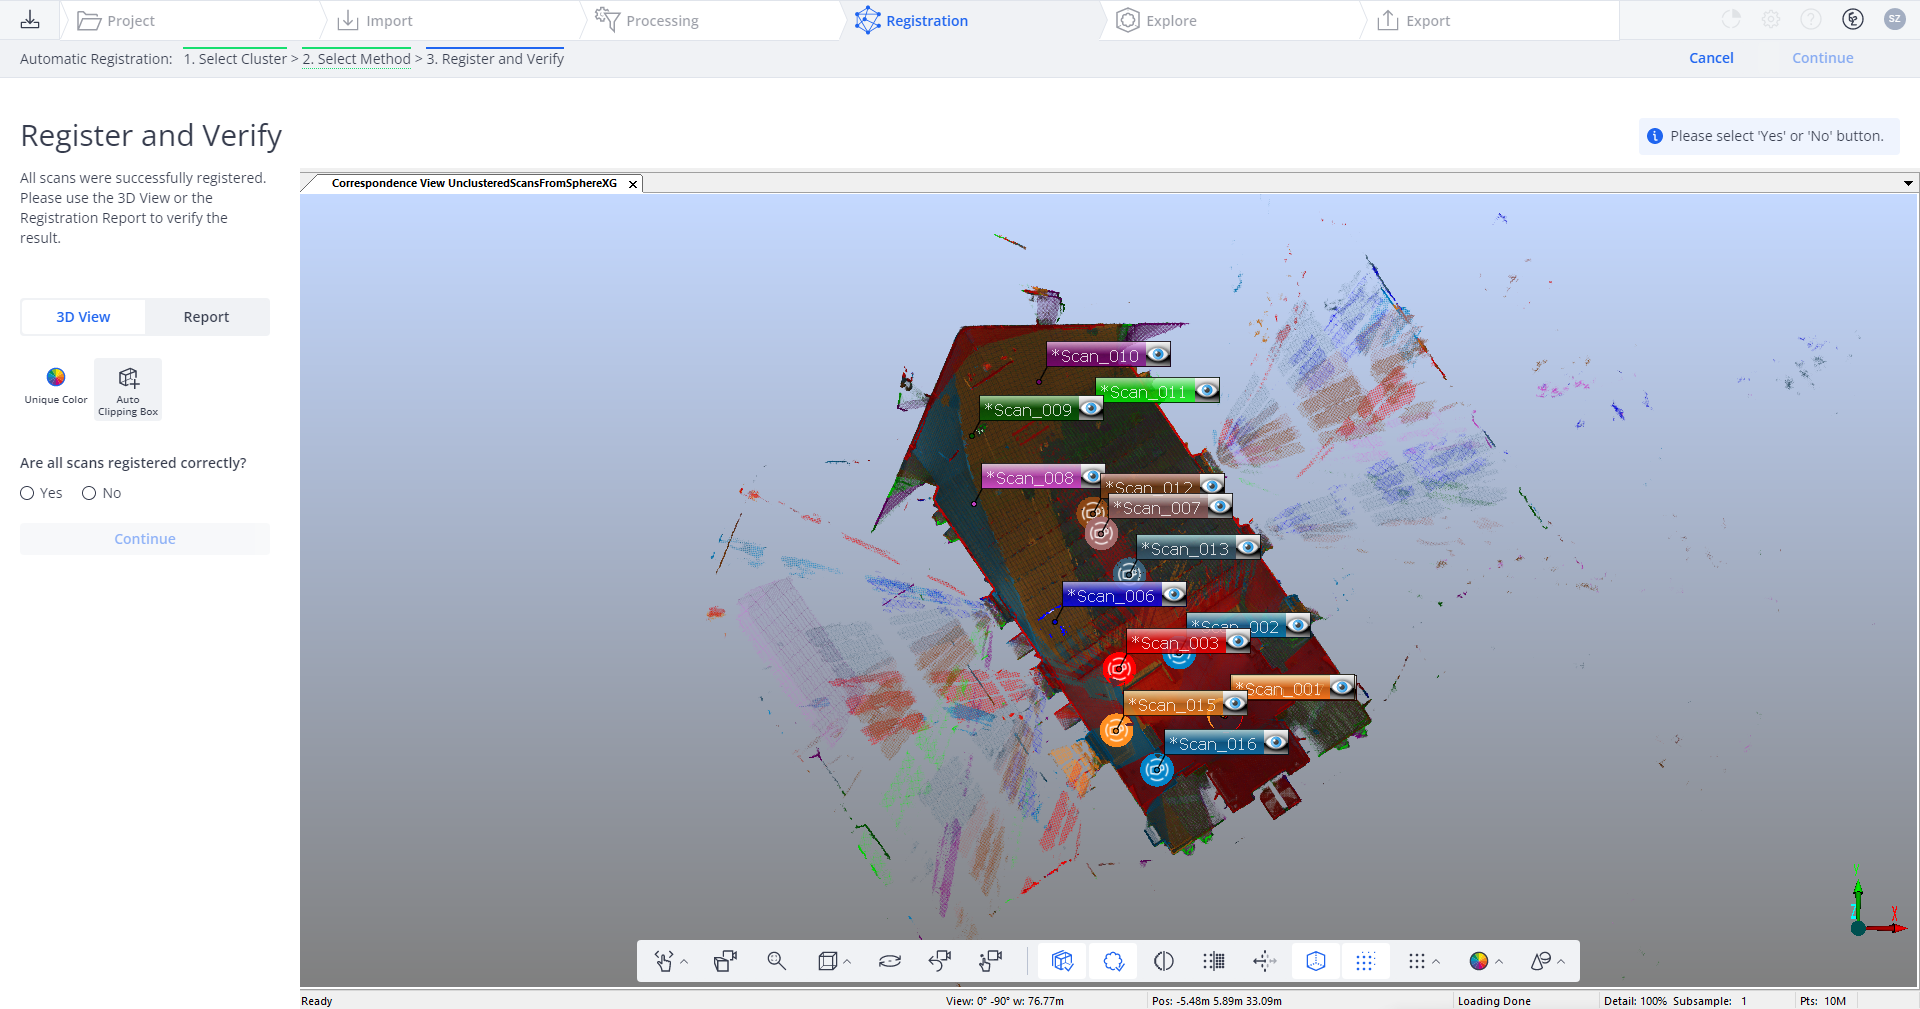
Figure 9-23 Registration task, verification: 3D view
A 3D view is displayed with which you can check if the registration was successful.
Use the following options to check:
-
Camera Mode buttons
 and View buttons
  in the task panel to change the observer's view
 -
View All button
 to get a view on all the objects
 -
Coordinate Coloring button
 in the task panel to switch between scan colorization modes
Registration was successful
In the verification step, you are asked if the registration was successful.
-
Yes: the cluster is marked as registered and you are returned to the dashboard.
-
No: marks the registration of the cluster as failed and continues to the dashboard which will suggest a manual registration for the cluster. You can also visually verify the registration result in the correspondence view, improve the scan alignment there and then retry running an automatic registration.
Registration failed but Auto Clusters are found
If the automatic registration failed but could create one or more Auto Clusters with some partial results, the verification step for partial results will be displayed.
- Decide which of the Auto Clusters you want to keep.
When the task step opens, a 3D view showing all generated Auto Clusters is opened first. - Select a view to check the Auto Cluster. For this, use the 3D view or Registration Report button for each of the generated Auto Clusters.
Additionally, there are also some tools shown in the task step that are useful for this verification step.
Every Auto Cluster that is not selected will be disbanded and its scans will be moved back to the parent cluster. The selected auto clusters will become normal clusters and are marked as registered.
The Finished button is colored green and clickable when this step is shown. Clicking this button finishes the task and returns you to the dashboard. The selected clusters from the verify step are shown yellow with the hint that the registration should be optimized.
Optimize Registration
If there is an Optimize Registration step at all depends on the settings you have made in the Registration Settings. Optimize Registration is only available if you select Top View based registration for the Automatic Registration or Manual Registration.
The result is Not Satisfactory?
Select the No checkbox and click the Other Pair button. You are returned to the Select Scans step, and you are asked to select the next scan pair.

