 Zone2Go
Use Zone2Go to export and share projects. The Zone2Go portable viewer does not require an internet connection.
You can save the Zone2Go viewer and FZ projects to a USB thumb drive or other storage device and view the projects on Windows and MacOS devices. You can also export the viewer and project to a folder and copy the folder to a Windows or MacOS tablet, or burn the folder to a DVD.
Many features work with point clouds created with FARO scanners. Point clouds generated from FotoPoints do not include these features.
New features for Zone2Go
Scanner 3D View is now supported. (FARO scanners only.)
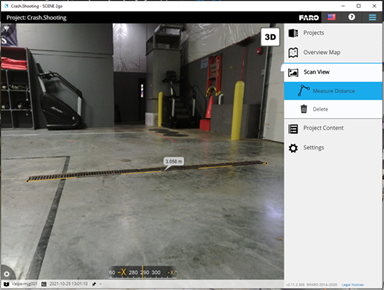
You can measure distance in 3D View and Pano view.
Measurements require the inclusion of scan data, which increases the size of the output. If you don’t need to perform measurements, enable Hide All SCENE Project Scans.
About the Zone2Go Viewer
The Zone2Go viewer:
-
Works with or without SCENE Point Clouds. This includes 3D point clouds captures with FARO scanners.
-
Generates an intuitive overview map
-
Captures panoramic views for each scan position
-
Displays all FARO Zone diagram geometry and annotations
-
Creates a 3D view for each scan which allows you to understand spatial details
-
Generates measurements in SCENE point cloud Panoramic View and 3D View
-
Requires no installation. You can launch the viewer directly from the USB thumb drive or other storage device
You can add the following for viewing with Zone2Go:
-
Annotations
-
Images
-
Animations (using File reference)
-
Reports (.pdf)
-
360 pano images
-
360 animations (using File reference)
-
Dimensions, labels and other FZ items
-
Hyperlinks (using File reference)
-
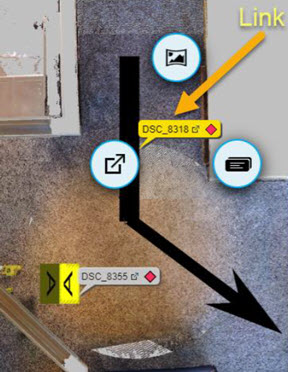
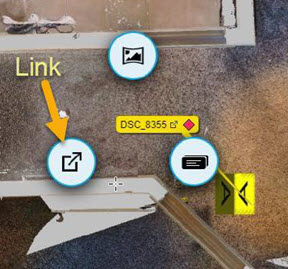
Bubble images display as links that you can click in Zone2Go to view the image.
-
Evidence markers with attached files display as links that you can click to view the attachments.
Setting up a Zone2Go Project
To set up a Zone2Go project:
-
From the FZ3 menu, click Save/Export Options and then click Export Zone2Go. The Zone2Go launchpad displays.
-
Add
 annotations. Click the area of the drawing in which to place the annotation. Configure all of the attributes for the annotation in the Text tool panel.
 -
Add a
 file reference to include animations, hyperlinks, or PDFs.
 -
Add
 panoramic snapshots. Move to the position in the diagram that you want to capture and then click on the 360 icon to generate a 360 degree image.
 -
Open the
 Scan Manager to control all of the scan positions. Any point cloud with a Zone2Go project file displays the scanners automatically. See Scan Manager and Scanner Tool Panel. Seeing scanner locations helps you determine which scan positions to save with your Zone2Go project.

Enable or disable this option to display or hide the selected scanner in the drawing. Visible determines whether the scan data is included in a Zone2Go package. If Visible is deselected, the scan data (at that position) is not exported with the Zone2Go project unless you check the Export box. See Scan Manager and Scanner Tool Panel.
-
Check the
 workflow to ensure that the events are in the proper order.
 -
Configure the following options from the
 menu:
menu:Hide All SCENE project scans
Select this option to exclude SCENE project scans from the export. You can use this option to minimize clutter and reduce the size of the Zone 2Go project. Hide Zone2Go logo
Hide the Zone 2Go logo.
This option only applies to FZ3 generated 360 Pano views. It does not impact SCENE scan Pano views, in which the logo covers the hole at the foot of the scanner.
Export high-resolution 360 Pano images
Select this option if your project includes high-quality 360 Pano images. SCENE project Scan Manager
Choose the SCENE scans to export.

-
Configure the following options from the
menu:Hide All SCENE project scans
Select this option to exclude SCENE project scans from the export. You can use this option to minimize clutter and reduce the size of the Zone 2Go project. Hide Zone2Go logo
Hide the Zone 2Go logo.
This option only applies to FZ3 generated 360 Pano views. It does not impact SCENE scan Pano views, in which the logo covers the hole at the foot of the scanner.
Export high-resolution 360 Pano images
Select this option if your project includes high-quality 360 Pano images. Enable Pano View Color Mode Show the pano image in color mode. Enable Pano View Greyscale mode Show the pano image in grayscale mode. Grayscale works well for showing contrast for scenes that contain blood spatter, etc. Enabling Greyscale mode disable color mode. SCENE project Scan Manager
Choose the SCENE scans to export.
-
Click
 Export to transfer the Zone 2go project, or click Upload to WebShare Cloud to upload the project to WebShare Cloud.
 -
Select an export folder.
-
A confirmation dialog appears after the project exports.
-
Click the Launch Zone2Go button to the start the viewer, or Open Export Folder to view the contents of the project export folder.
Notes about Zone2Go
-
If you do not select annotations or pano views, you only see a top down overview map of the scene.
-
With a SCENE point cloud project, but no annotations or pano views, an overview map displays and you can view the point cloud from each scan position.
-
To view points of interest, use the Total View tool to set up a 360 pano view at each position.
-
You can also set up point of interest locations from the Zone2go launch pad by navigating to the desired position and clicking on the camera icon .
-
Use the Witness tool, placed at a point of interest to automatically create a pano view that will appear in the Zone2Go launch pad.
Viewing the Zone2Go File
Zone2Go projects exported from FARO Zone 3D are in ZIP file format.
To view Zone2Go projects:
-
Copy the ZIP file to a working folder on your PC or Mac computer.
-
Extract the ZIP file.
-
Double-click the Start Zone 2Go for your OS type.
-
You can select from the following:
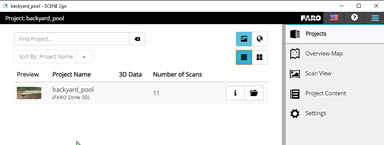
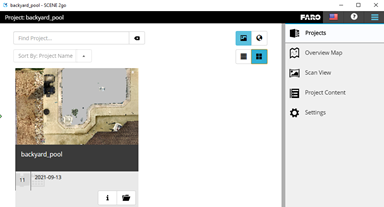
 Projects Projects
|
Choose or search for Zone2Go projects to view. Choose the Edit View, List View, or show the World Map. List view
Thumbnail view
|
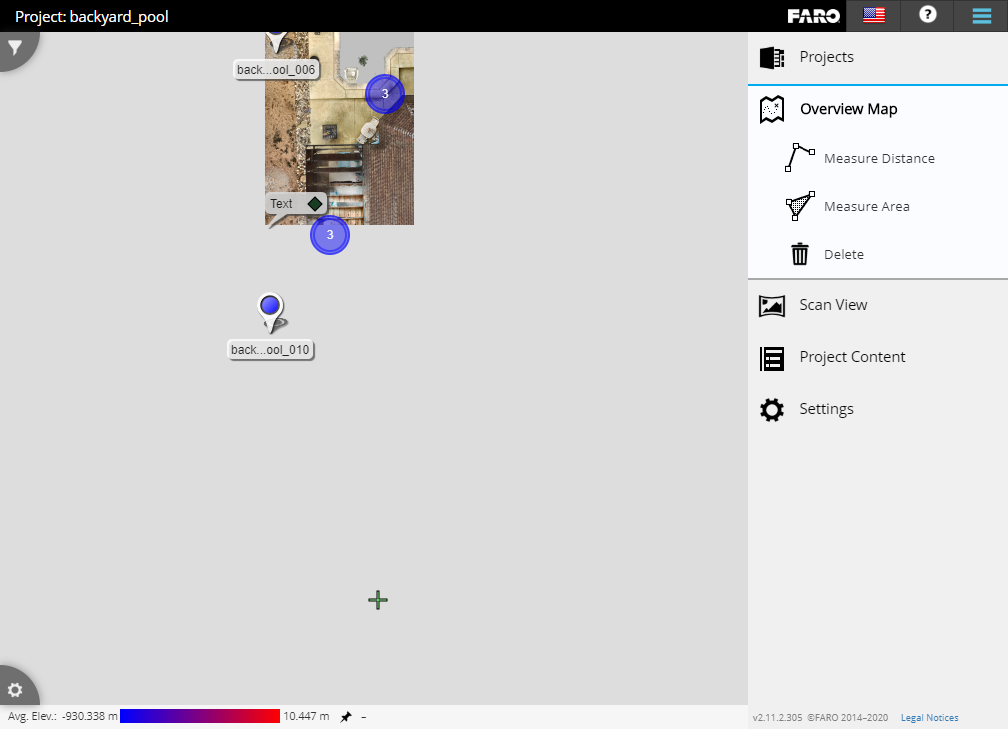
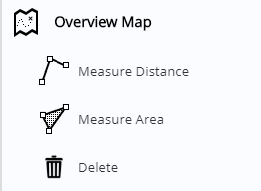
 Overview Map Overview Map
|
 Measure Distance - Use two points to measure distance in the drawing. Measure Distance - Use two points to measure distance in the drawing.
|
 Scan View Scan View
|
View the selected scan. |
 Project Content Project Content
|
View all of the scans, annotations, etc. contained in the project. From the dropdown, select Panorama View, Overview Map, or view Properties for the object. |
 Settings Settings
|
Configure settings for the views.
|
 Measure Area - Use three points to measure an area.
 Delete - Delete the object.
 General - Select the language, and measuring units for the viewer.
 Overview - Choose Scan Colorization, display of Object Label Icons, and choose Visibility settings for various objects.
 Scan View - View resolution, color settings, and other attributes for scans.
Zone2Go Viewer
To view Zone2Go file:
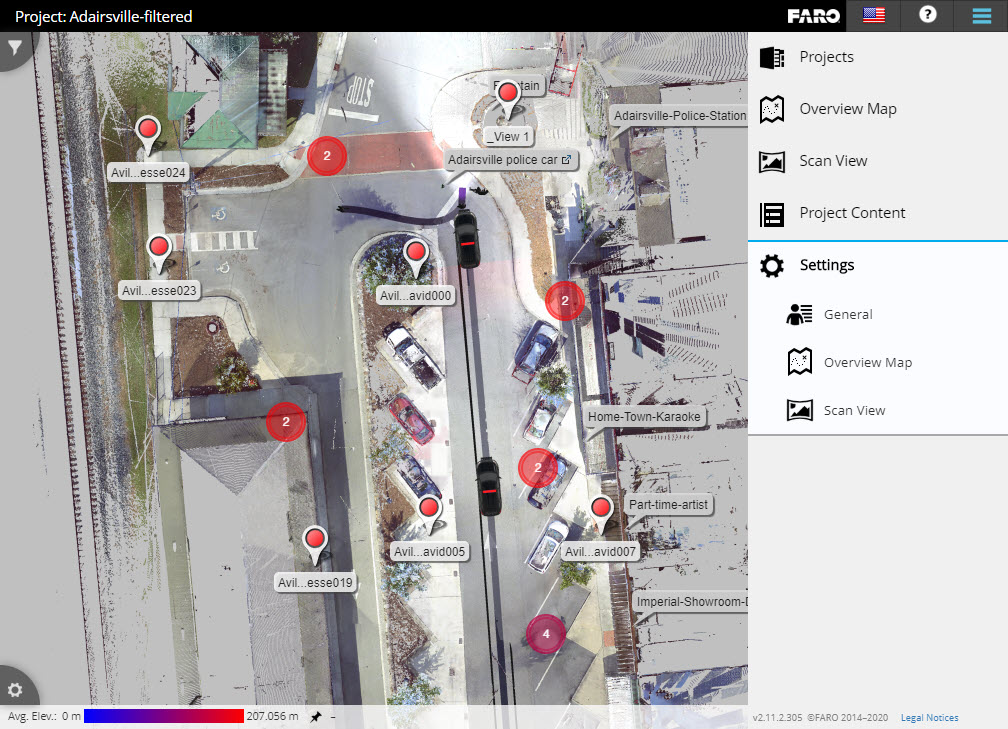
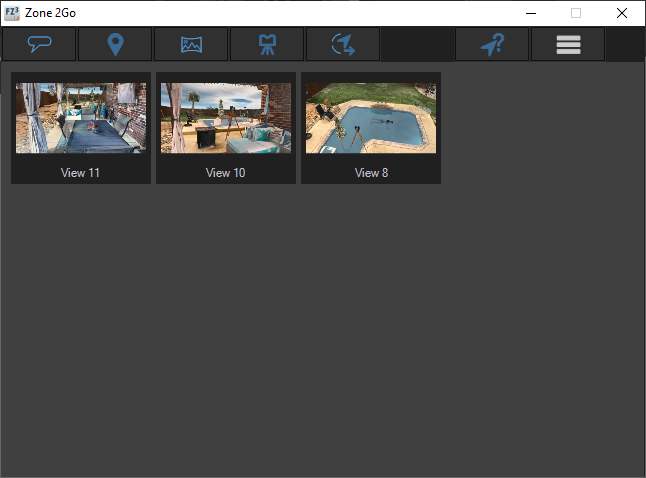
From the folder that contains the Zone2Go project, double click SCENE2go.exe. The Zone2Go viewer displays.
In the right panel, click projects, and then select a project from the list.
Overview Map includes several options.
| Measure Distance | Measure the distance between 2 points |
| Measure Area | Measure an entire area by using multiple points |
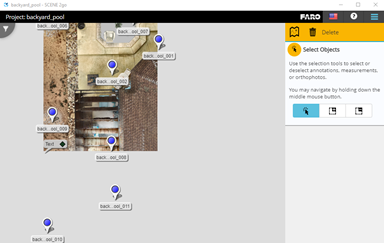
| Delete |
Select annotations, measurements, or orthophotos to delete. Scroll through the drawing with the middle mouse button. Use the arrow tool or the rectangle tools to select or deselect objects, and then click Delete.
|
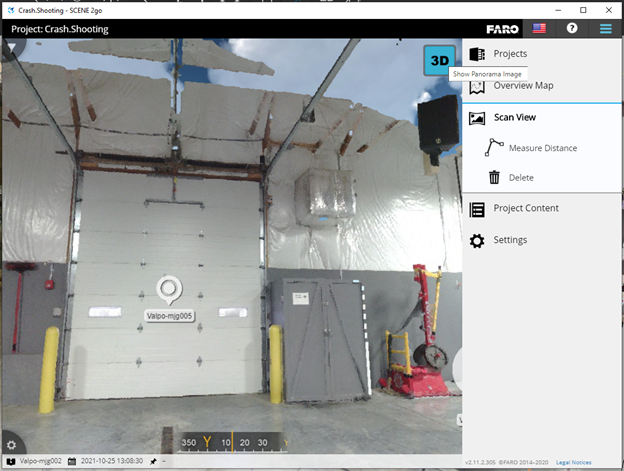
Use the Scan View to edit the scans.
| Measure Distance | Measure the distance between 2 points |
| Delete |
Select annotations, measurements, or orthophotos to delete. Scroll through the drawing with the middle mouse button. Use the arrow tool or the rectangle tools to select or deselect objects, and then click Delete. |
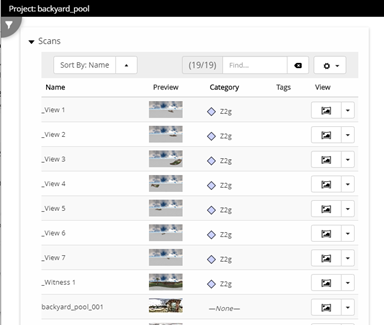
Project Content displays a list of all of the views, scans, and annotations that are included in the Zone2Go project.
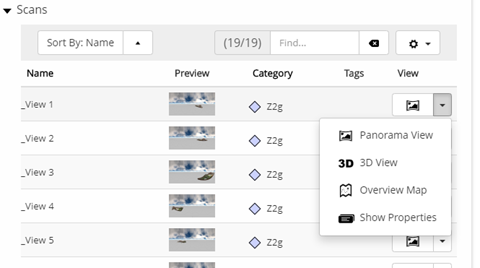
To change the view for a scan, select the dropdown next to the scan.
Select a scan to see an enlarged view of it.
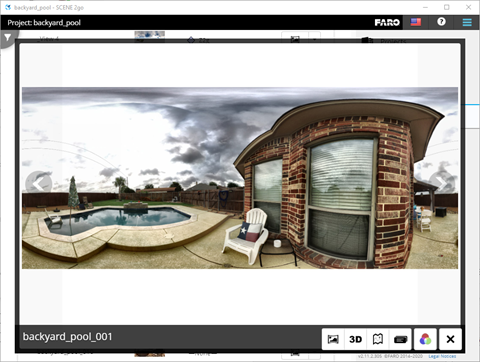
Select from Panoramic view, 3D View, Overview Map, Properties, Toggle color mode, or close the dialog.
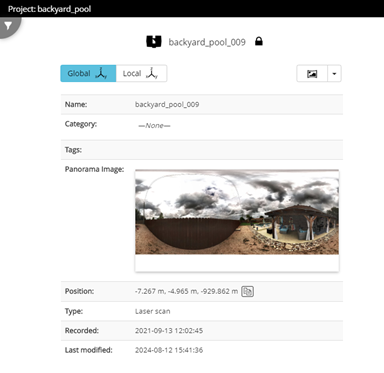
Select Properties to view details about the scan.
