Align a Sheet to another Sheet
|
1238888 |
Aligning sheets means, for example, that you align an uploaded floor plan to an existing sheet or to an overview map that was created while uploading a SCENE or Stream project. You can also align a sheet to control points, see Align an Area or a Sheet to Control Points for more information.
You need at least the Project Editor role to align sheets.
Start the Alignment Process
You have added the sheet yourself:
After adding the sheet, the Alignment page opens automatically.
You want to align an already existing sheet:
-
Click the
 icon in this toolbar to open the Sheets form.
 -
Click the three-dots menu icon behind the sheet you want to align and select Align.
Sheets that are not yet aligned, are displayed with a yellow exclamation mark and an Align link.
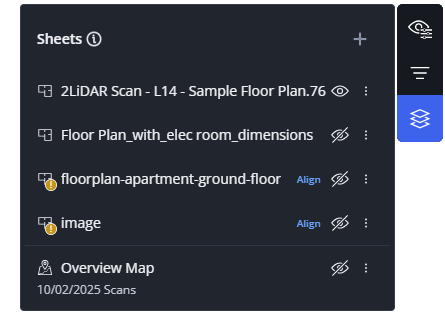
Figure 1-134 Sheets form
The Alignment page opens.
Run the Alignment
By default, the sheet and the reference object are displayed in a vertical split screen. If you feel more comfortable in a horizontal split screen, you can click icon ![]() on the right middle side of the screen.
on the right middle side of the screen.
-
Select the sheet to that you want to align.
-
Click a location in one sheet, for example a corner.
-
Then, find and click the same location in the reference object.
-
Select a second location in the sheet and the reference object.
You can move a marker by clicking and then dragging it. To remove a marker, right-click it.
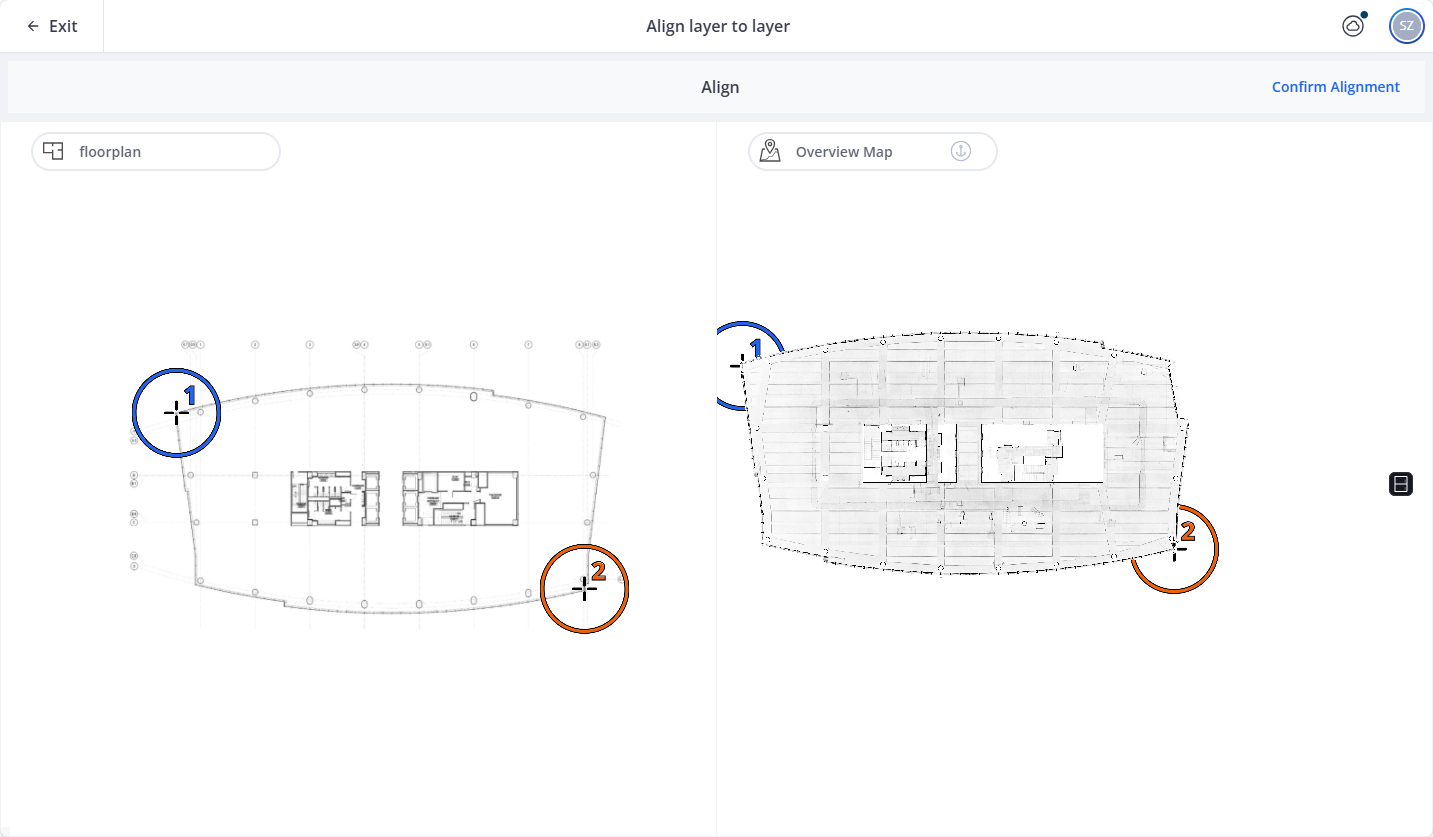
Figure 1-135 Align sheets
Once the alignment meets your expectations, click the Confirm Alignment button.
The sheet will be aligned to the reference object and you are redirected to the Sphere XG Viewer.
