Apply Manual Blurring to 360° Photos
|
1238888 |
You can activate automatic face blurring on a project basis, see Project: Settings Tab. However, this automatic feature might miss some faces and you might also want to blur other parts of 360° photos, for example an address or a number plate.
Blurrings cannot be removed once they are saved. This is to make sure that they comply with safety requirements regarding privacy.
-
Go to the walk mode view and open a 360° photo in which you want apply a blurring.
-
Click the
 icon in the toolbar on the right side.
 -
Click and draw a rectangle over the part you want to blur.
A gray rectangle will be applied to the 360° photo.
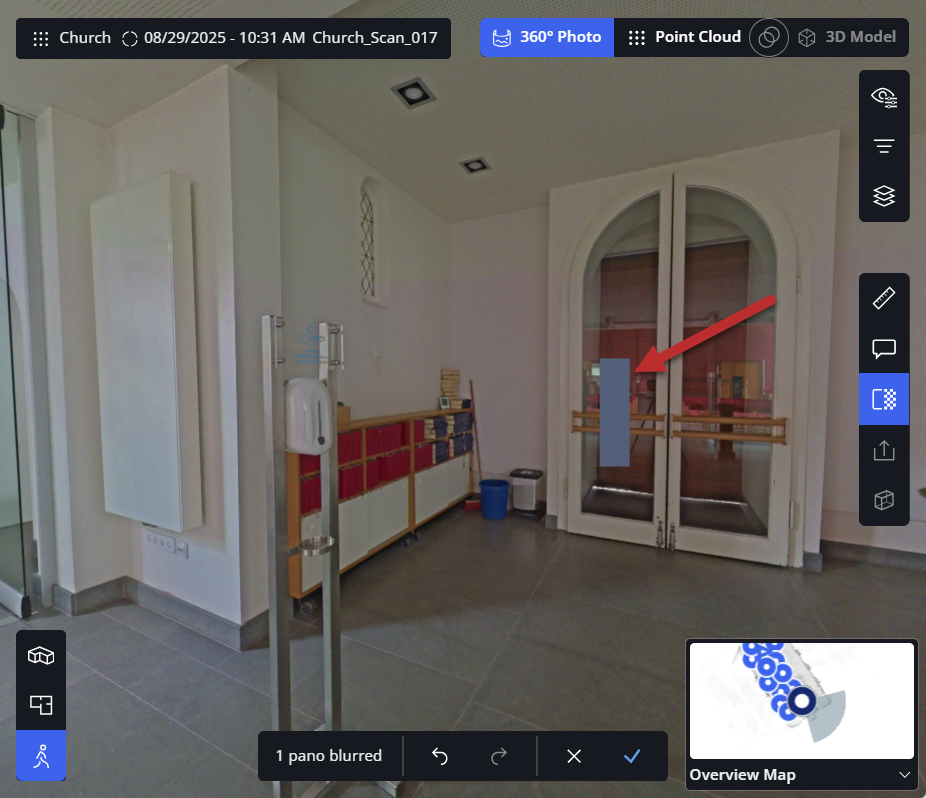
Figure 1-148 360° photo with blurring
-
Optional: Repeat the process if you want to blur more parts in the 360° photo.
-
Optional: Click another waypoint in the mini view to apply a blurring to another 360° photo.
Note: If you leave the walk mode view, the blurring process will be finished and you will be asked whether you want to save or discard the blurrings. -
When you have applied all blurrings, click the
 icon in the toolbar at the bottom.
 -
Confirm the blurring.
If you have applied blurring in Sphere XG and then reload the scans with the associated 360° photos again from SCENE, the blurring will be overwritten and will be no longer available in Sphere XG.
