Environment Map as Background Image for a 3D View
|
1238888 |
SCENE offers solid or gradient color backgrounds in a 3D view. These are suitable for editing of point clouds, but when a realistic visualization is needed (like for capturing a video of an outdoor scene in the Video App), the result would look somewhat boring.
To make such scenes or videos look more realistic, you can add a so-called Environment Map as a background image.
The background image selected last will be used as a default setting for a new 3D view.
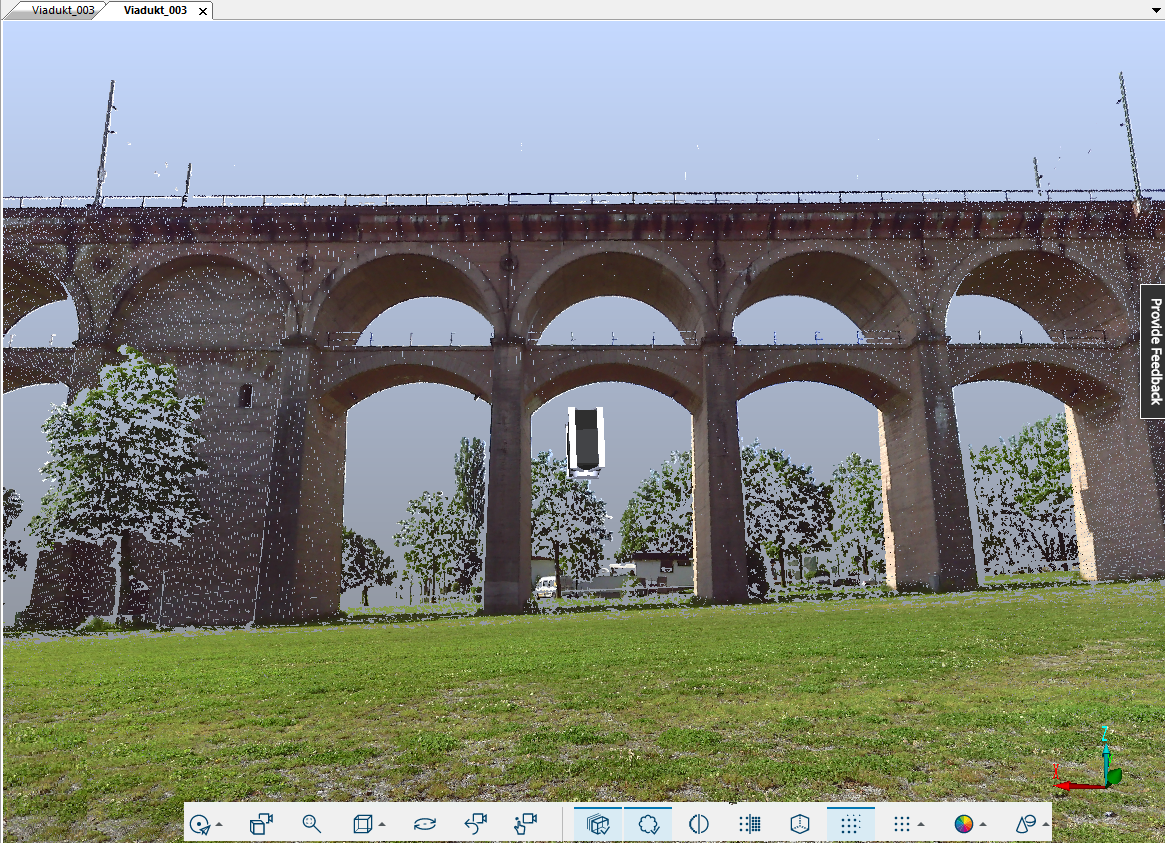
Figure 5-11 3D view with a solid gray background
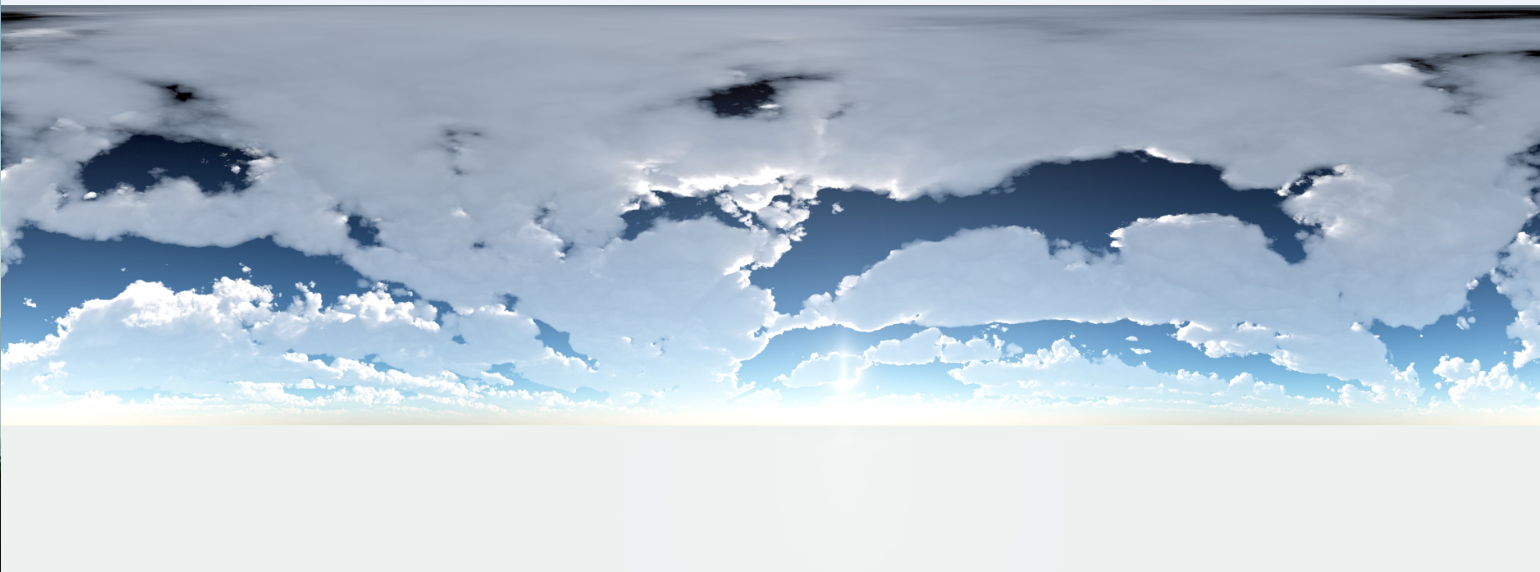
Figure 5-12 Environment Map showing a cloudy sky
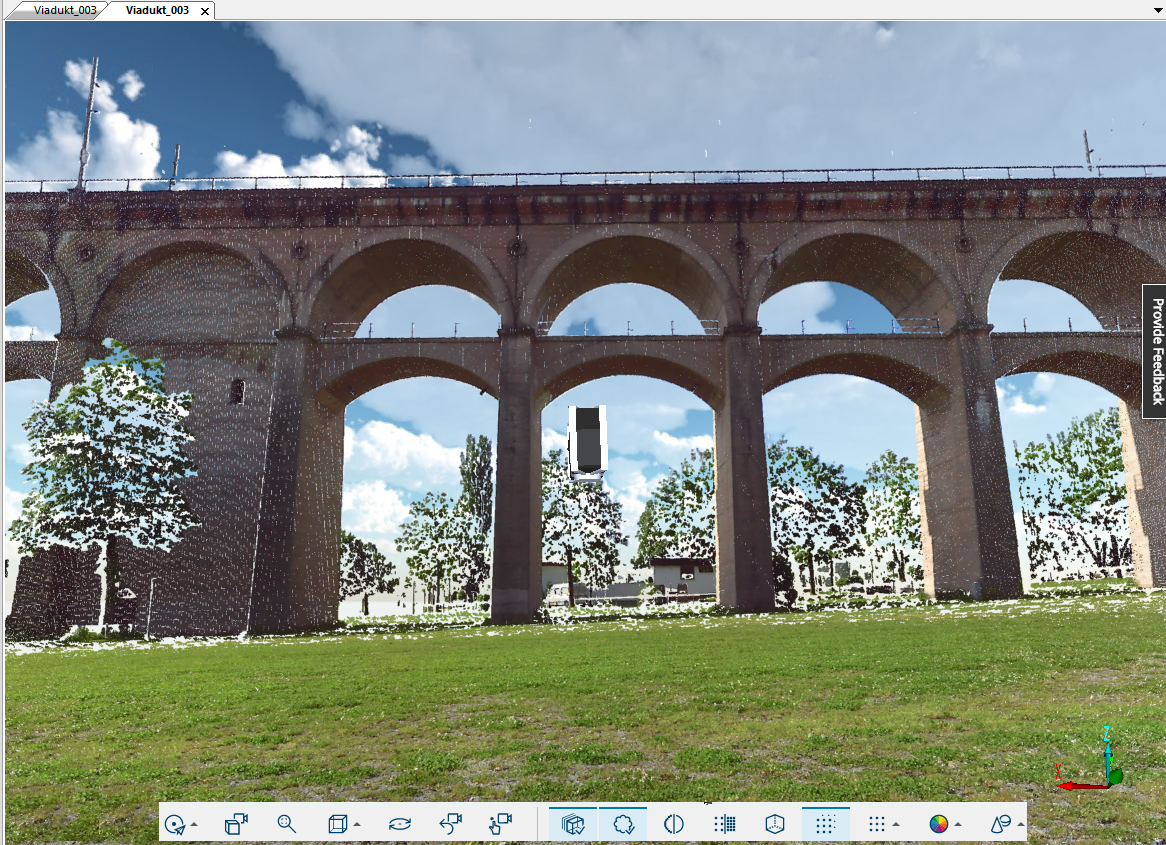
Figure 5-13 3D view with Environment Map
How to add an Environment Map
The usage of Environment Maps can be enabled in the Visibility Settings dialog of a 3D view.
-
Click the Settings button on the right side of the workflow bar, then select the View page.
-
To select a new Environment Map, click the Browse button
 in section Background > Environment Map.
A dialog opens with the folder Environment Maps. -
Select your new background image and click Open. The file name is now shown in the View tab.
The selected Environment Map will be saved with the project. So, when another person on another machine opens the project, the Environment Map will again be shown as background image.
Limitations
At the moment, the Environment Map is only available for 3D views with a perspective camera setting. For views with orthographic cameras, it is disabled.
Creating individual Environment Maps
If you need a special background image for your scan project, you can create it yourself.
It must fit the following conditions:
- Aspect ratio 2:1, which means that it is twice as wide as it is high.
- The lower half of the image shall show “ground” and should not show too much structure.
- The image is later mapped to an imaginary spherical firmament.
- should look distorted because it is meant to texture a sphere. Professional graphics editors offer a feature called “Spherics” which may help in creating suitable images.
- The left and the right end of the image must fit.
You can save the newly created Environment Map into the folder SCENE\EnvironmentMaps, but you can save it to any other folder as well.

