Using FotoPoints to Create a GeoTIFF file
You can save drone images as GeoTIFF files that retain satellite and aerial imagery data and metadata that specifies the location in which the image originated. GeoTIFF files are image files that retain their original quality when they are compressed, edited, or transferred. Use the image in reports, fly-thrus, etc.
This feature supports drone images that include georeferencing data. For more information on best practices for drone images, see FotoPoints Guidelines and Tips
To use FotoPoints to create a GeoTIFF file:
-
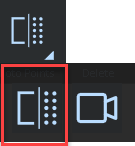
From the Point Cloud ribbon, expand the FotoPoints dropdown and select the PhotoGrammetry option.
-
From Input Folder, select the folder that contains the drone images.
-
From Output Folder, select the destination folder for the TIFF file. Create a new folder or select an empty folder.
-
Select the Conversion Quality. The lowest quality setting results in faster processing, but creates a low-quality image. The High setting requires a longer processing time. The High setting can take several hours, depending on the number of photos.
-
Click Generate GeoTIFF to begin the operation.
-
When the image completes processing, you are prompted to load the image in the drawing. Click Yes.
-
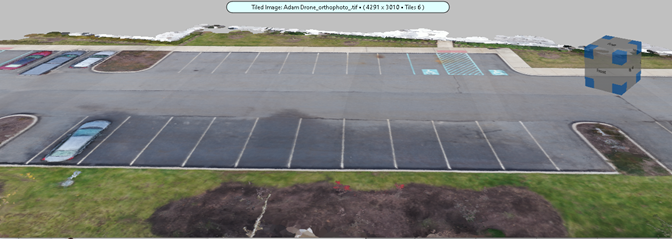
You are prompted to tile the image to maintain the full image resolution. If you select to create a tiled image, you will need to save the project in .fzproj format.
-
Enter a name and target folder for the project. Creating a new folder, or selecting an empty folder is recommended.
The image displays in the viewer.
You can load a satellite image and compare it with the GeoTIFF image to ensure the size, note differences, etc. See Satellite.
