Add the first Sheet to Your Project
|
1238888 |
You can upload a document in .pdf, .png, .jpeg and .jpg format to add a sheet to your project. This sheet will also be the first area of your project. While working with the project, you can add further documents to create more areas. For more information, see Import an Area into your Project.
An area is the physical representation of a location in your project, for example the first floor of a building, hangar A, etc. A project may have more than one area. Areas contain, scans, sheets, 360° photos, etc. They are shown with icon ![]() in the project structure view. In HoloBuilder and the JobWalk App, areas are called sheets. When you import a document as new area, it is in the first place a spatial container but it is visually represented by the uploaded document, i.e. the sheet.
in the project structure view. In HoloBuilder and the JobWalk App, areas are called sheets. When you import a document as new area, it is in the first place a spatial container but it is visually represented by the uploaded document, i.e. the sheet.
-
After you have created a new project, click Open in Sphere XG.
The following form is displayed:
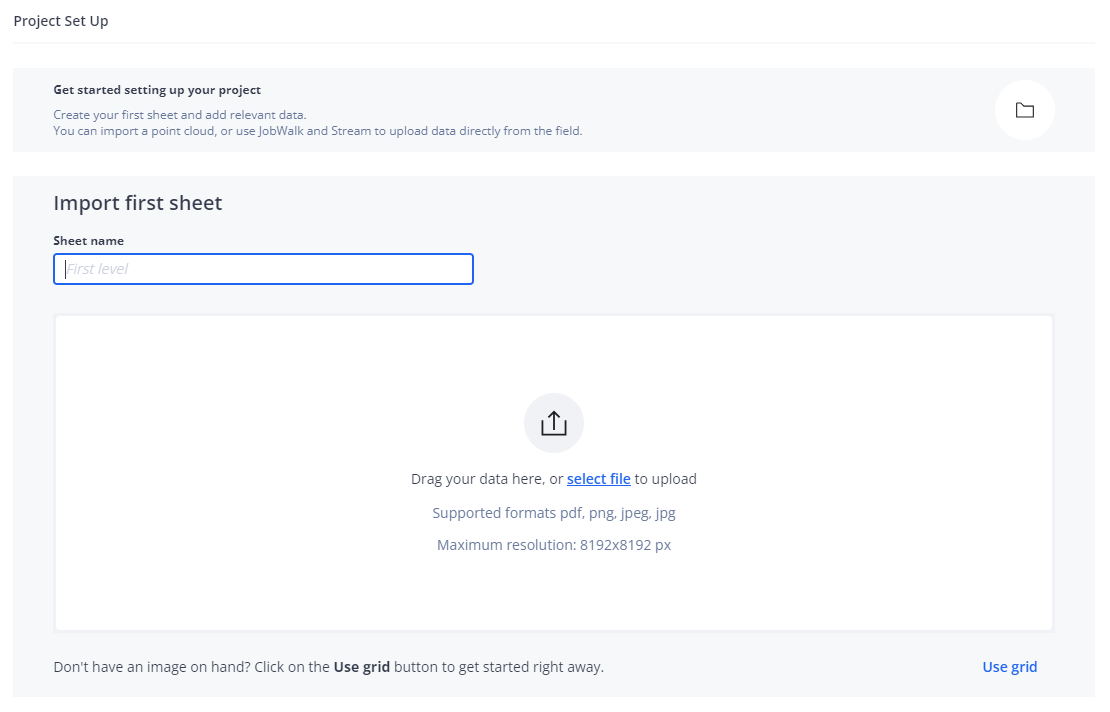
Figure 1-83 Add sheet
-
Enter the sheet name.
-
Add the document you want via drag and drop or select the file you want from your file system.
Currently supported file types are .pdf, .png, .jpeg/.jpg. -
For multi-page documents (.pdf): Mark the checkbox of the pages that you want to import.
You can also enter the pages you want to import into the selection field. Separate ranges with a hyphen and single pages with a comma.
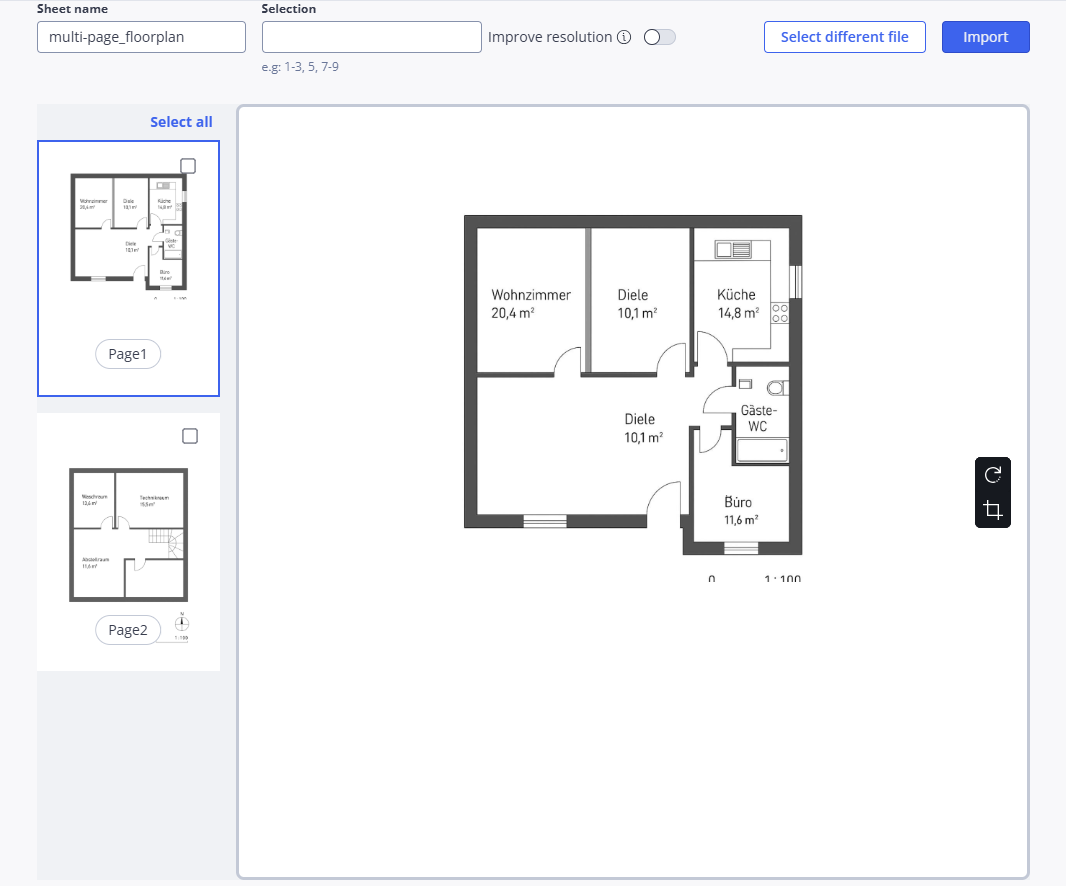
Figure 1-84 Multi-page floor plan handling
If you are importing a multi-page .pdf file and do not select one or more pages, the first page will be selected and imported automatically.
-
Rotate and crop the document as required, see description below.
OR
-
Click Use Grid if you do not have a document.
In this case a simple grid is added. You can go back to the initial form by clicking Select a Different Image.
-
Click Import to either import your document or add a grid to your project.
The Sphere XG Viewer is displayed with either the imported document or the grid. Grids have a vertical numerical scale and a horizontal alphabetical scale.
Rotate and Crop the Imported Document
After you have selected a document, you can rotate and crop it with the toolbar buttons.
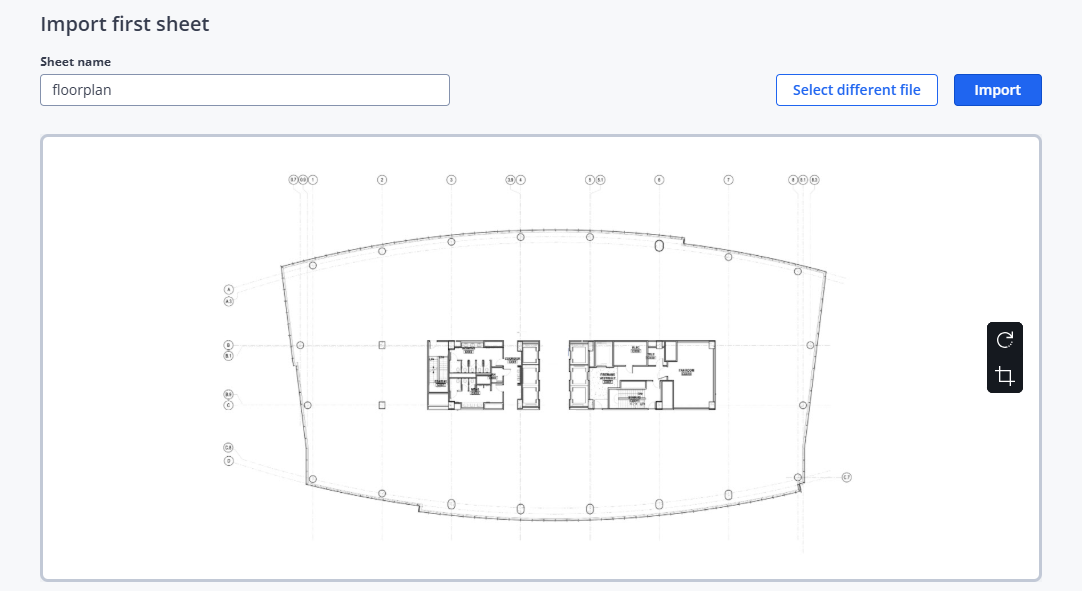
Figure 1-85 Rotate and crop imported document
![]() Rotates the imported document clockwise in 90° steps.
Rotates the imported document clockwise in 90° steps.
![]() Displays a crop preview on the imported document which you drag to increase or decrease in size.
Displays a crop preview on the imported document which you drag to increase or decrease in size.
