Create a New Project
|
1238888 |
There are several ways to create a project in Sphere XG:
-
You can create a new project on the Sphere XG Dashboard as described below and then import data.
-
Upload data via JobWalk directly from the field. For more information, refer to the HoloBuilder Help Center.
-
Upload data via Stream directly from the field, see Upload, Process and Register Scans.
With Stream, you can also upload Flash scans. -
Upload a project from SCENE.
-
Upload a project from the Connect Homepage.
-
In the task panel of the Sphere XG Dashboard, select menu entry Projects.
-
Click the New Project button in the top right corner.
Fields with asterisks in the forms described below are mandatory.
|
|
|
|
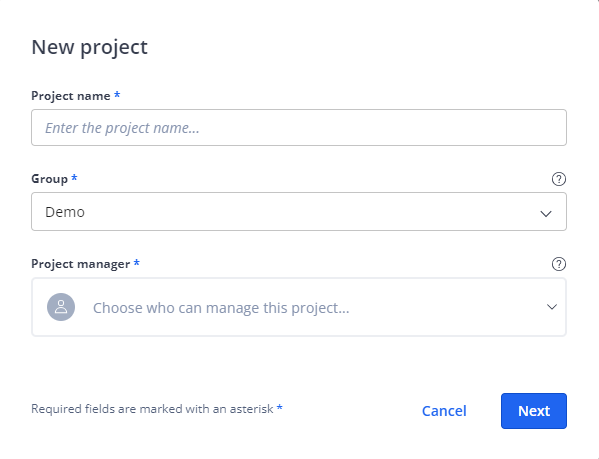
Figure 1-78 New Project form |
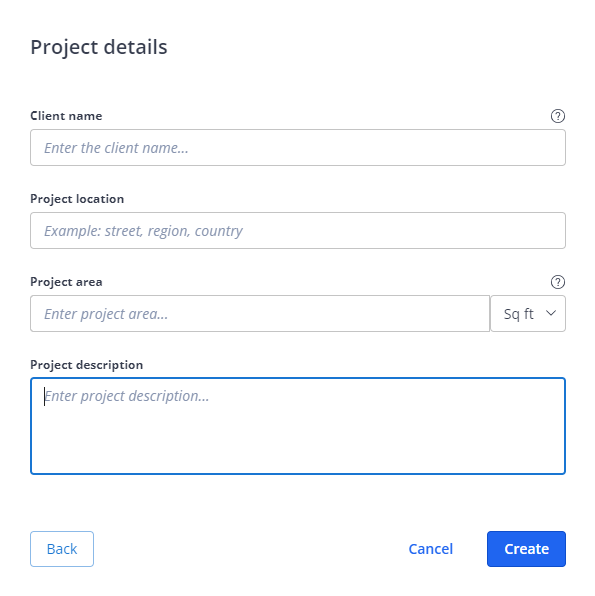
Figure 1-79 Project Details form |
-
Fill in the form
-
Click Next.
-
Fill in the form
-
Click the Create button to create the project.
The new project will be created and is visible on the Active tab of the Projects page with a standard preview image. You can add another image on the project overview page.
New Project Form
Project name
Enter a project name. If you have at least the Project Admin role, you can change the project name later on the Overview tab of the Projects page.
Group
Select a group to which the project belongs. In assigning a project to a group, you can establish who manages the access to the project. If you decide to move the project to a different group within the workspace later, you can do so on the Overview tab of the Projects page.
Project Manager
You can either enter an email address or select a user or team from the dropdown list. The Project Manager must be a member of the assigned group. For more information, refer to Project Manager Role.
Project Details Form
Client name
Enter the client name. The client can be a customer or a contractor.
Project location
Enter the project location, for example, street, region and country.
Project area
Enter the project area size. In Sphere XG, you can enter this information as additional information.
Project description
Enter a project description.
Bring Your Data into the Cloud
Now, you can add data to your project.
Click Open in Sphere XG to open the new project. The following page will be displayed.
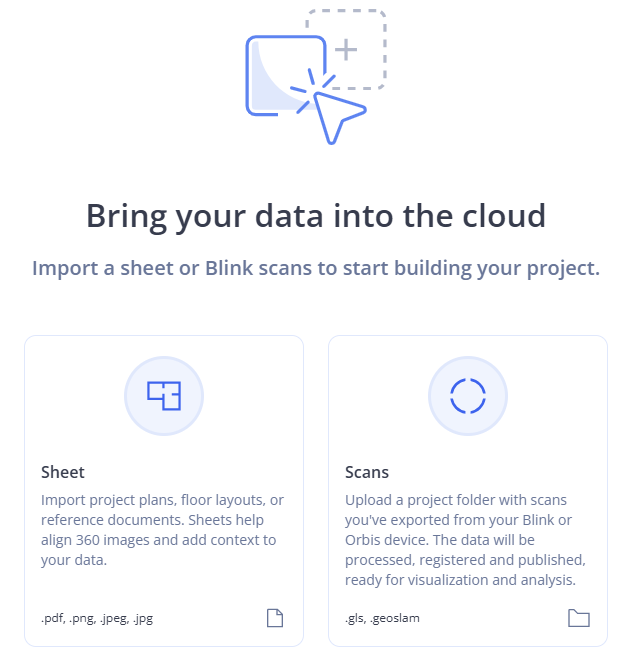
Figure 1-80 Add Data to your project
You can decide whether you want to start working on your project by adding a new area first or by importing scans. You can always add new areas and scans later.
Add New Area
Click the Sheet tile to start uploading a new area. You are redirected to the Project Set Up page.
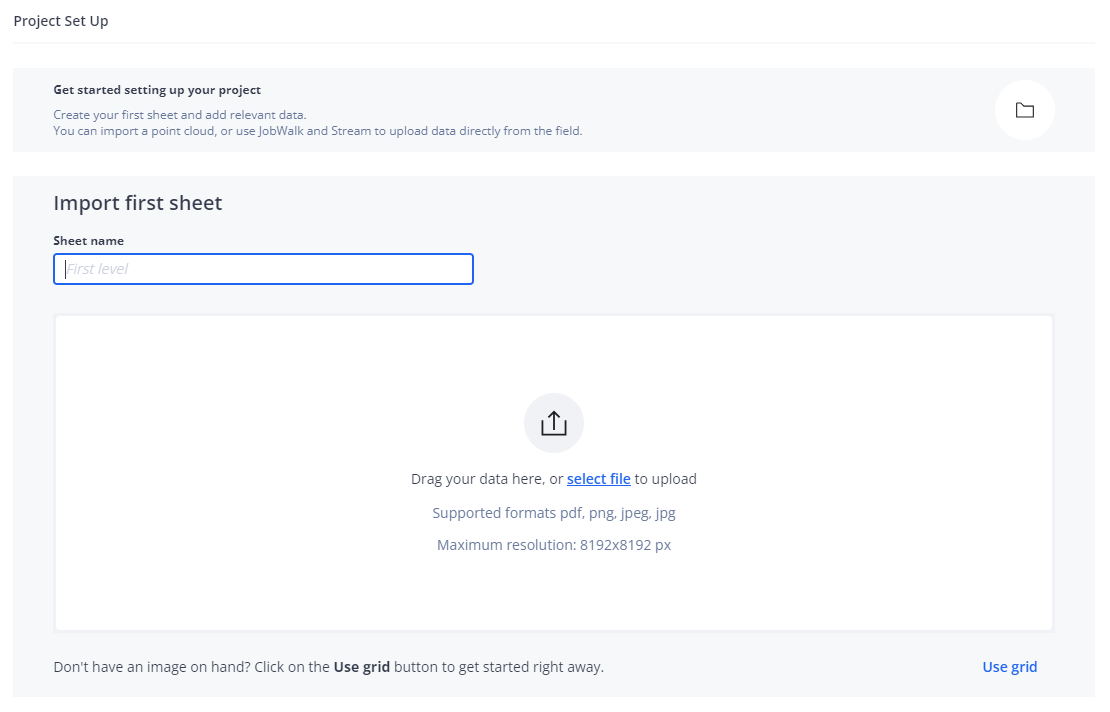
Figure 1-81 Add area
See Add the first Sheet to Your Project for more information on how to proceed. If you upload a document as an area, the document, i.e. the sheet, on which the area is based will also be visible as a sheet within the area. See Import an Area into your Project for more information.
Add Scans
-
Click the Scans tile to start uploading scans.
-
Select a folder containing scans in your file system.
-
Confirm the upload.
You are redirected to this page:
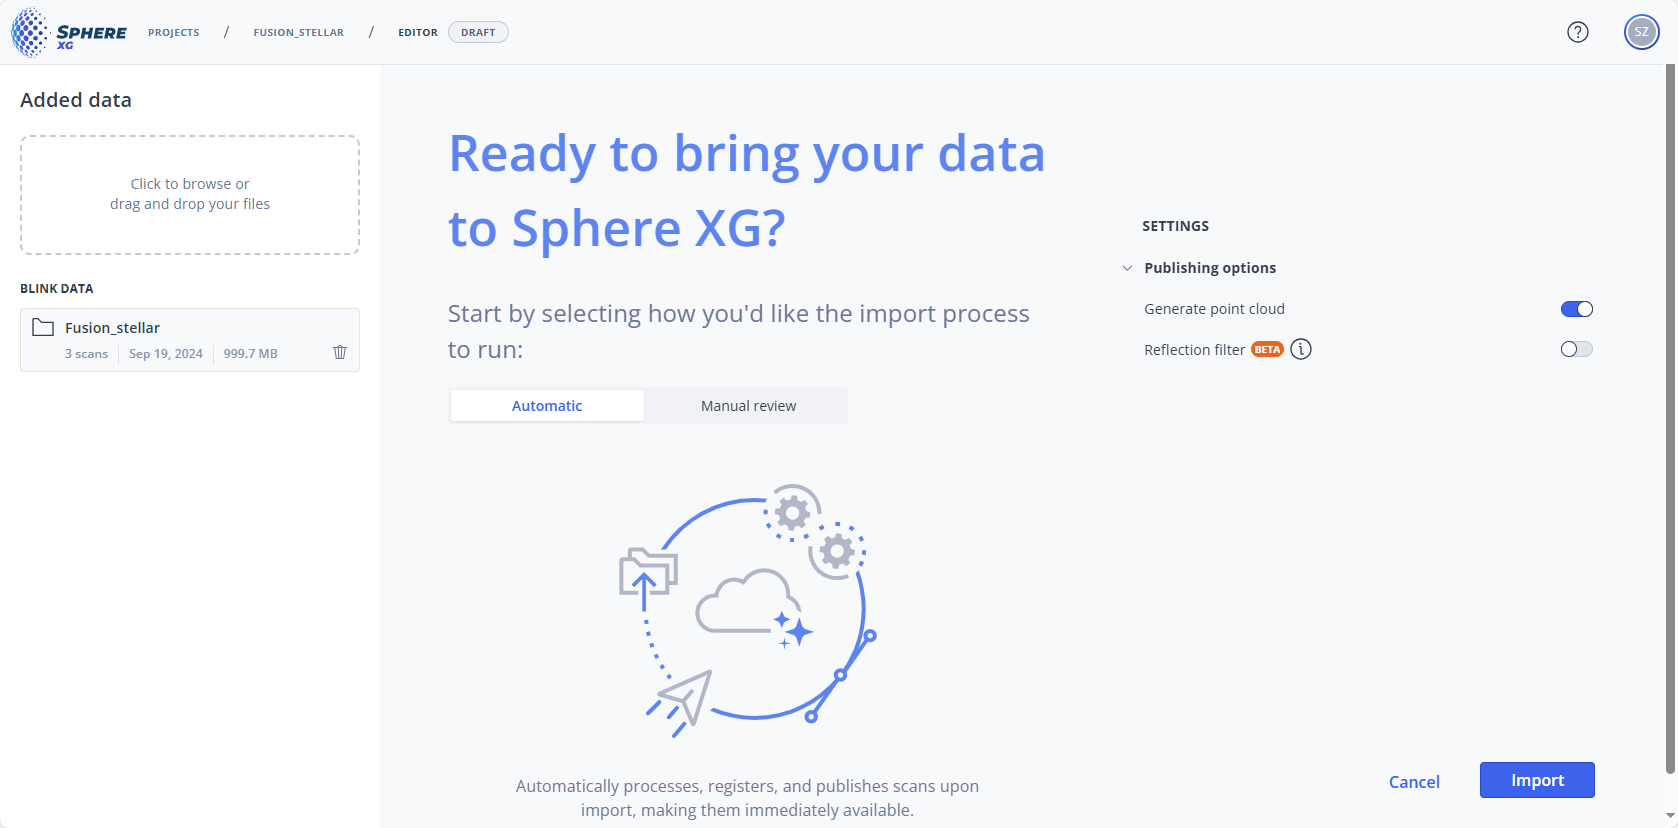
Figure 1-82 Prepare the workflow
See Define upload and registration settings for more information on how to proceed.
