Create and Manage Annotations
|
1238888 |
Annotations are information markers that you can add to a specific point in your project. By adding a due date, and a status as well as an assignee, you can use annotations as tasks in your project. You can also attach files to annotations.
You can create annotations in the 2D view, 3D view, walk mode view and in the 3D model.
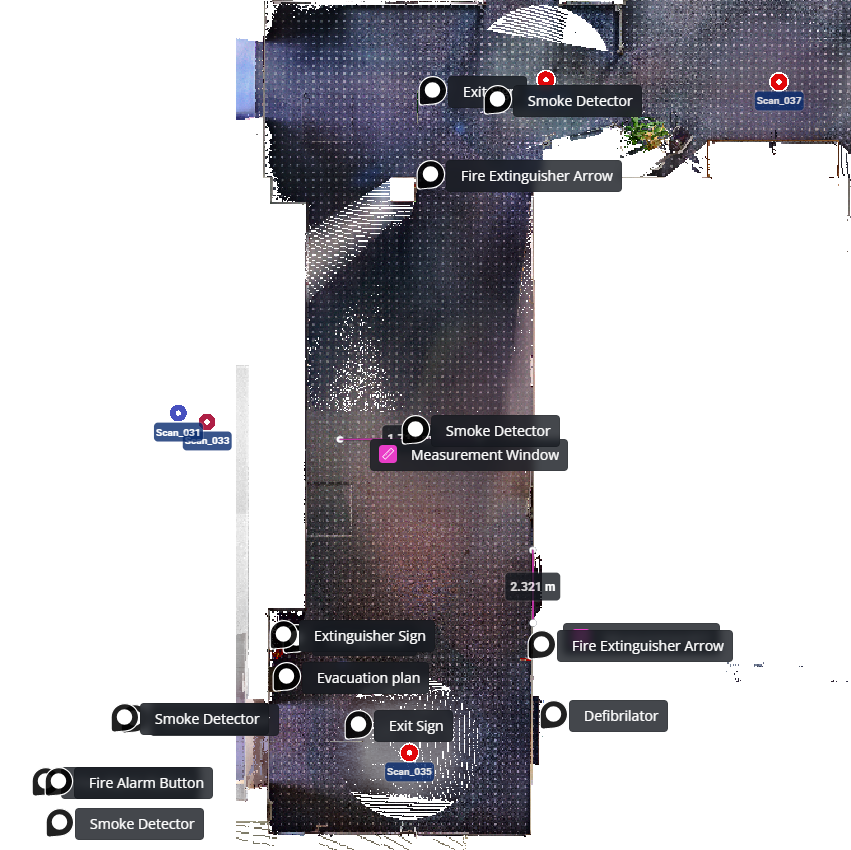
Figure 1-191 Annotations in the 2D view
In the Sphere XG Viewer, annotations are displayed with the ![]() icon.
icon.
You can configure the visibility of objects in the current view in the General View Settings.
Create an Annotation
- Go to the view in which you want to create an annotation.
-
Click icon
 in the toolbar on the right side.
 -
For a point annotation, click the point in the view where you want to place the annotation.
In the walk mode view, you can also place an annotation on a selected section of a 360° image. For this purpose, click and drag to place the annotation on the section you want. When you have filled in the annotation form, a rectangle will be displayed in the 360° image.
-
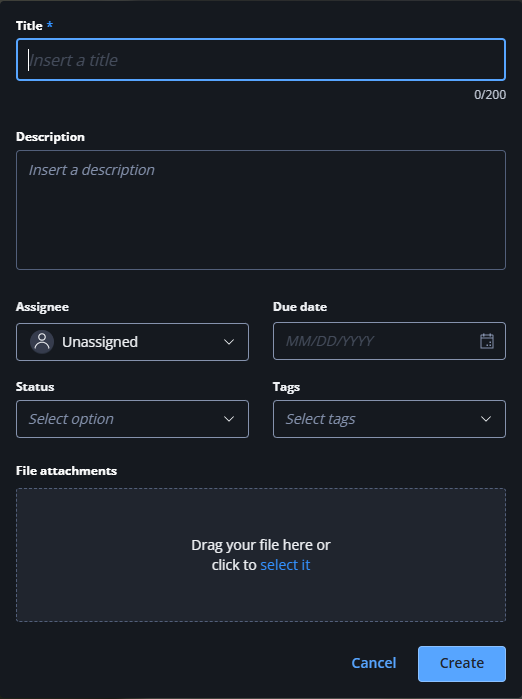
Fill in the annotation form
-
Click Create to create the annotation.
Annotation Type
By default, type FARO Sphere XG is selected. If your project is enabled for Autodesk or Procore and if you have an account on Autodesk or Procore, you can also create annotations for these platforms.
The annotation type is persistent, i.e. if you have created an annotation and selected an Autodesk or Procore annotation type, this annotation type will be preselected in the next annotation you create.
For more information on integrations, see User Account: Connect to Third-party Integrations (beta).
Title
Enter an annotation name.
Description, File attachments
Enter any informative or descriptive text. If you need more information or if you have a document that supplies the required information, you can either drag it onto field File attachments or click the field to select a file from the file system.
Assignee
If another member of the workspace (user or team) needs to do something, you can search and select the member from the dropdown list. Note that this list only contains members who have project access and least the Project Editor role.
Due date
You can set a date on which the task connected to the annotation must be accomplished. Click the date placeholder to enter a date in format MM/DD/YYYY manually or click the calendar icon to select a date.
Status
Open the dropdown list to select a status for the annotation. When the assignee has finished working on the annotation, they can change the status.
Tags
Open the dropdown list and mark the checkboxes of the tags that you want to add to the annotation. The number of tags is displayed in field Tags.
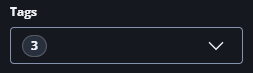
Figure 1-193 Field Tags with three selected tags
Edit an Annotation
-
Click the annotation symbol in the 2D, 3D or walk mode view.
The Annotation form is opened. The form contains the same information as the Annotation form that is shown during the annotation creation, see figure Annotation form above. Note however that only the annotation title is mandatory.
You can also go to an annotation from the Annotations tab in the project structure view .
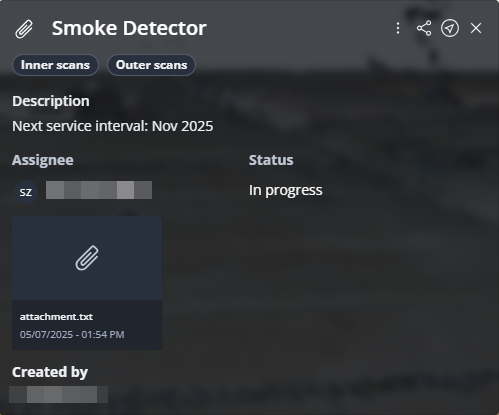
Figure 1-194 Annotation information form in the 2D view
-
Make the changes you want and click Save.
Copy and share the Annotation Coordinates
For point annotations, you can copy the annotation coordinates. See also Get and Mark the Coordinates of a Location for more information on coordinates on point clouds, 3D models and 360° photos.
-
Open the Annotation information form as described under Edit Annotations above.
-
Click the three-dots menu on the upper right side.
-
Click the coordinates.
The annotation coordinates are copied to the clipboard.
-
Paste the annotation coordinates into an email or another communication tool.
Delete an Annotation
-
Open the Annotation information form as described under Edit Annotations above.
-
Click the three-dots menu on the upper right side.
-
Click Delete.
-
Confirm the deletion.
Note that you cannot undo a deletion once it is confirmed.
Copy to Clipboard and Share an Annotation
-
Open the Annotation information form as described under Edit Annotations above.
-
Click icon
 .
.
The annotation link is copied to the clipboard.
-
Paste the annotation link into an email or another communication tool.
Go to an Annotation
-
Open the Annotation information form as described under Edit Annotations above.
-
Click icon
 to go the view in which the annotation was created.
This changes to the view in which the annotation was created. For the 3D view, this means that it may also change the camera perspective: If the annotation was set inside the point cloud and you are currently in the orthographic camera view, the Sphere XG Viewer changes to the perspective camera view to be able to display the annotation.
Select Annotations to Edit, Share or Delete from a List
If your project has many annotations and you need an overview of all annotations, you can go the annotations side bar. In this sidebar, you can select an annotation and use the same features as described above. In addition, you can search, filter and sort annotations.
