Inspect Your Project in the Draft View
|
1238888 |
The project draft view is the place where you can work on your project without actually changing the live project. The changes only become part of the live project once you publish them.
Click Draft at the top of the Sphere XG Viewer.
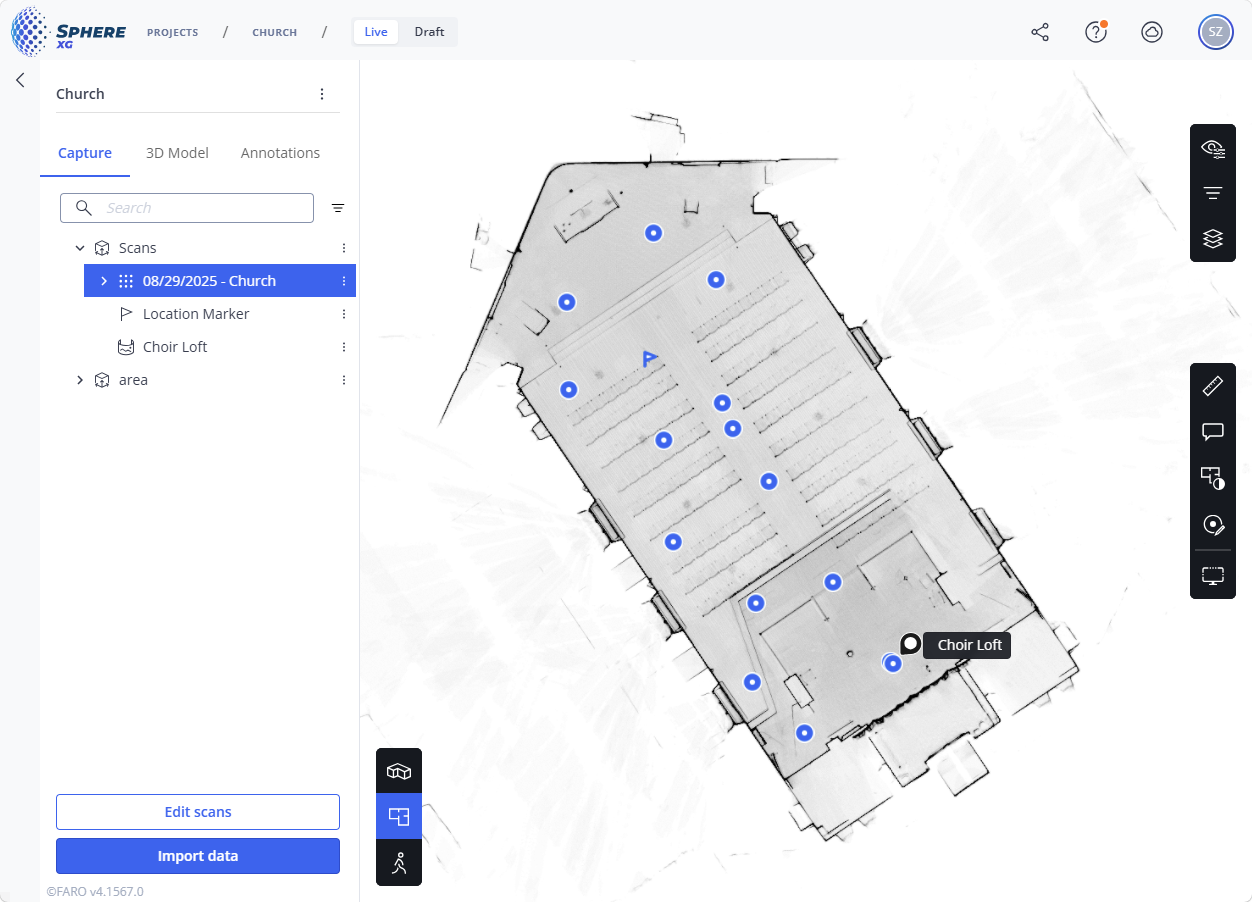
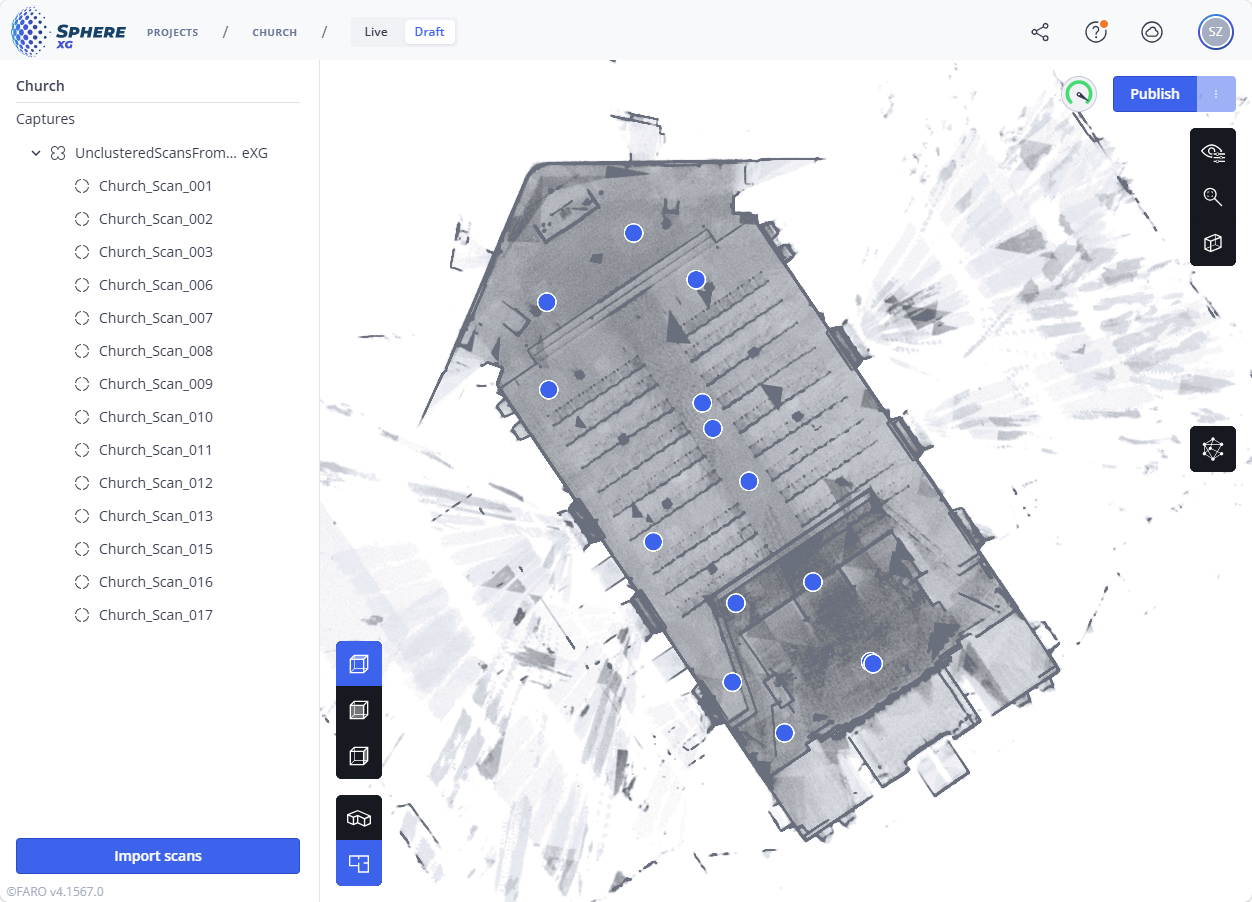
When switching to the draft view, it retains the view and the perspective of the live view. So if you are in the 2D view in the live view, and then click Draft, the draft view will also open the 2D view with the same perspective of the project.
|
|
|
|
Figure 1-97 Live view |
Figure 1-98 Draft view |
Rename Scans or Clusters
To rename scans or clusters:
-
Click the three-dots icon.
-
Then, click the
 icon.
icon. -
Change the name and confirm by clicking the
 icon.
icon.
Delete Scans or Clusters from a Project
You can delete scans or clusters from a project in the draft view, for example if you know that a scan will cause problems during the registration.
To delete a scan or cluster from a project:
-
Click the three-dots icon of the capture you want to delete.
-
Click Delete.
-
Confirm the deletion.
If you want to delete more than one scan or cluster:
-
Press and hold the CTRL key and select the scans or clusters in the tree view or in the Viewer.
-
Click the
 icon in the toolbar at the bottom of the Viewer.
The scans or clusters will be deleted in the project draft, but will still exist in the live view. They will be deleted in the live view when you publish the project.
Create a Clipping Box
Clicking the  icon allows you to create a clipping box. This is helpful to view only part of the project, see also Create a Clipping Box in a Point Cloud or 3D Model for more information on clipping boxes. For example, you can clip the roof of a building to see only the interior as well as the waypoints and connections. You can resize and rotate the clipping box as described in Rotate and Resize the Clipping Box Manually.
To reset the clipping box to its original state, click the  icon.
icon.
Publish, Show or Revert Changes
-
When you make changes to the draft project, a blue indicator point will be displayed next to Draft:
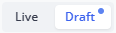
In addition, a three-dots menu will be available next to the Publish button, containing the entries Show changes and Discard changes. -
Selecting Show changes, will display a form with all unpublished changes.
-
Selecting Discard draft will provide a summary of all changes with the option to discard them. By discarding all changes on the project draft, you revert it to the state of the live project.
-
Selecting Publish will allow you to make some publishing settings and publish the project. You can find more information on the publishing procedure under Refine the Registration and Publish Scans.
View the Registration Report
The overall result of the registration is displayed by the following indicators:
 Good registration quality, i.e. the scan alignment is precise. In this case, you can publish the project.
 Medium registration quality. You should inspect the registration and maybe edit it.
 Poor registration quality. The scan alignment has significant issues and you should edit and then repeat the registration.
Clicking one of these indicators opens a quality report summary. For a detailed report, click the Show detailed report button.
The quality report is opened. See explanations directly on the quality report page for further information. Hovering the mouse pointer over a connection highlights the connection and the connected scans.
Clicking a connection opens a detail page with information about the connection.
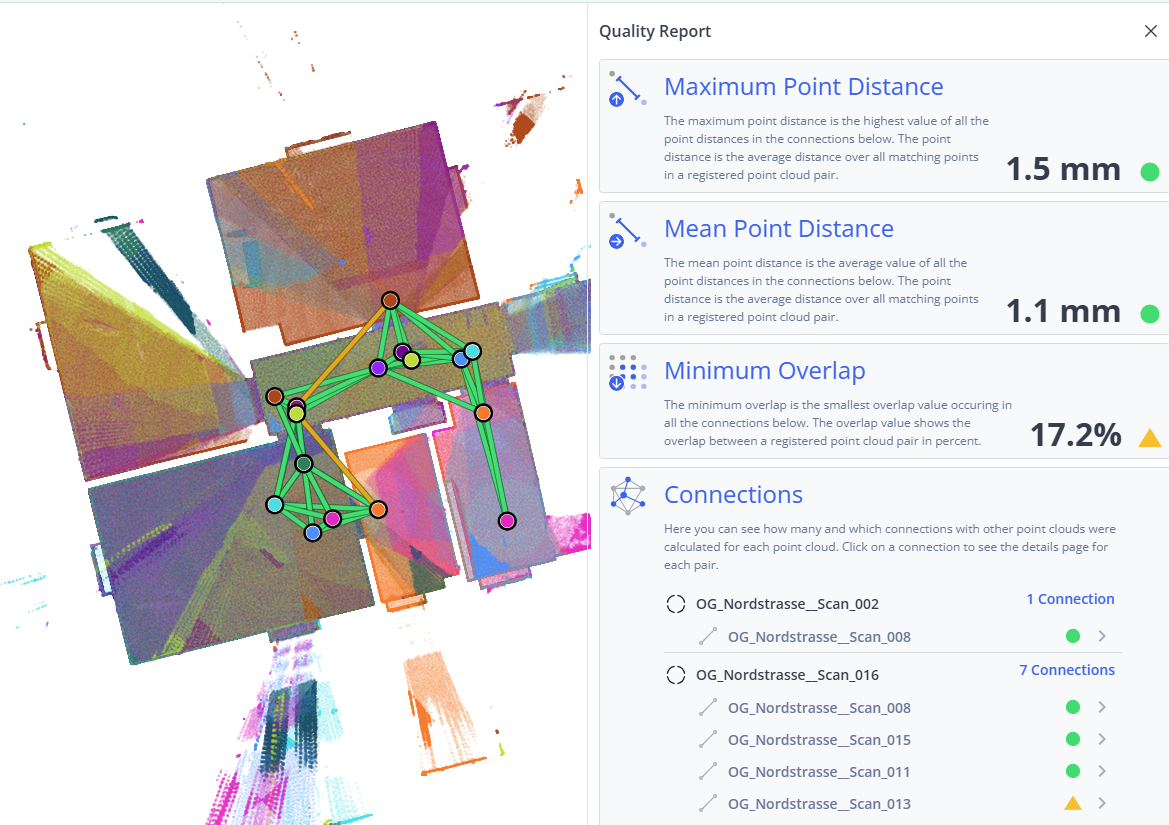
Figure 1-99 Quality report with medium registration quality
Refine the Registration
If you want to improve the current registration or if you have added scans, you can open the Edit registration mode by clicking the  icon. The icon turns blue when it is clicked and active. See Edit Project Registration in the Draft View for more information on the registration mode.
Import Scans
Click the Import scans button in the project structure view. See Import Scans into Your Project for more information.