Export a Point Cloud or an Orthophoto with a Clipping Box
|
1238888 |
You can create a clipping box around a point cloud or only a subset of points of the point cloud and then export the content of this clipping box as an individual point cloud.
You can also create and export an orthophoto and export it in .png format.
The general procedure is as follows:
-
Go to the 3D view.
-
Click the
 icon in the toolbar.
The Export page is opened showing the point cloud in a clipping box and an Export settings section on the right side.
By clicking the Scans tab, you can also change to the .e57 export page, see Export Scans to Structured .e57 Format.
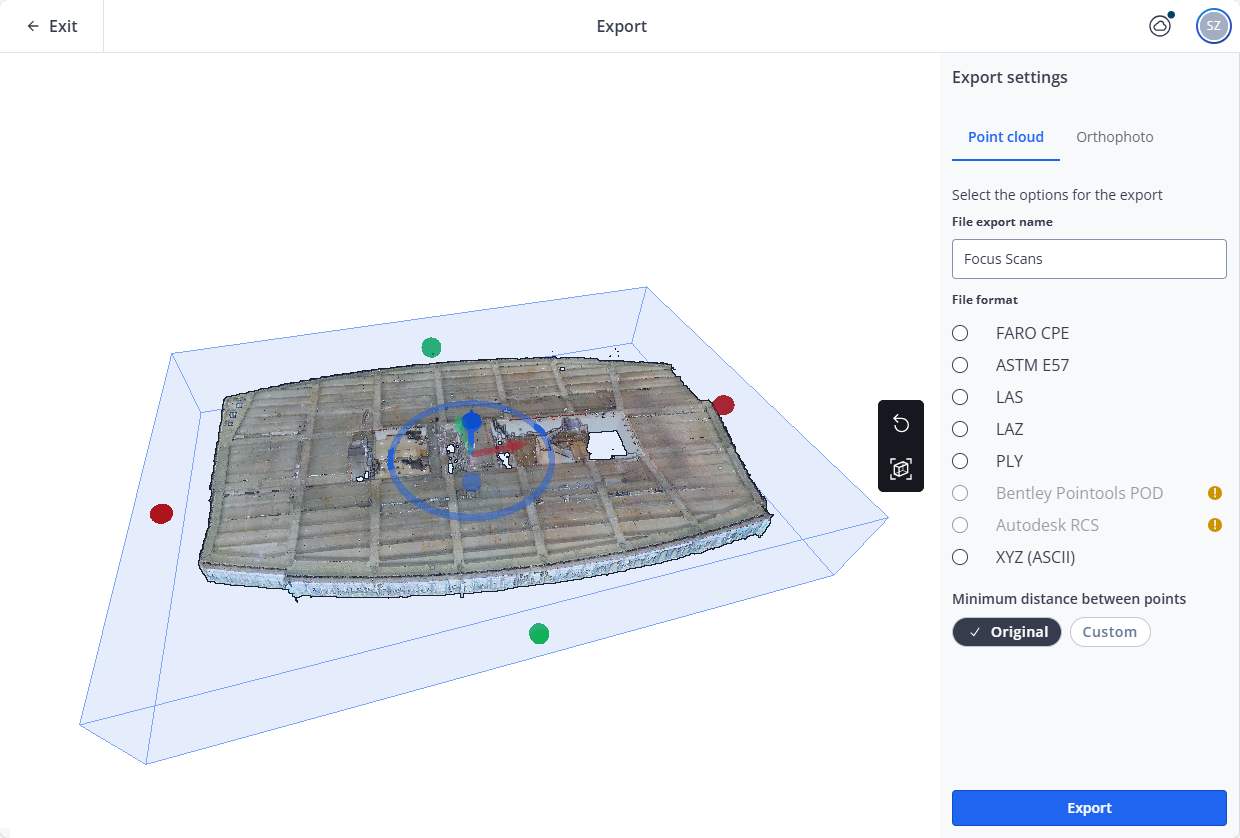
Figure 1-119 Point cloud tab
-
Manipulate the clipping box until it fits your requirements, see Create a Clipping Box in a Point Cloud or 3D Model.
-
Make the settings you want in the Export settings section on tabs Point cloud and/or Orthophoto
-
Click the Export button.
The point cloud or the orthophoto will be processed and then downloaded to the standard download folder in your file system.
In both, the point cloud and the orthophoto export, you can use the 3D view toolbar to manipulate the point cloud. You an also use the WASD keys to move the point cloud.
You can check the processing and export status in the Cloud activity form by clicking the ![]() icon.
icon.
Manipulate the Clipping Box
The point cloud is displayed with translation and rotation handles, see Create a Clipping Box in a Point Cloud or 3D Model for more information on how to manipulate the clipping box with these handles. Currently, rotations are only possible around the z axis.
If you have zoomed into the point cloud, you can click the ![]() icon to automatically adjust the clipping box to the zoomed in section. Clicking the
icon to automatically adjust the clipping box to the zoomed in section. Clicking the ![]() icon resets the adjustment.
icon resets the adjustment.
Export Settings - Point Cloud Tab
File export name
By default, this is the point cloud name. You can change the name in this field.
File format
Select one of the following file formats:
-
FARO CPE: SCENE proprietary compressed format.
-
ASTM E57: Vendor-neutral format for storing 3D data.
-
LAS: Open, uncompressed point cloud format which allows different hardware and software systems to exchange point cloud data.
-
LAZ: Compressed version of a .las file that can be easily stored and shared.
-
PLY: File format which allows storing three-dimensional data as polygon lists.
-
Bentley Pointools POD: Proprietary point cloud format developed by Bentley Systems.
-
Autodesk RCS
-
XYZ (ASCII)
If the content of the clipping box is too big for an export format, the ![]() icon is displayed. You should then increase the minimum distance between points or decrease the size of the clipping box.
icon is displayed. You should then increase the minimum distance between points or decrease the size of the clipping box.
Minimum distance between points
By default, the Original button is active. If the point cloud or point cloud section is too big for an export format, you can:
-
Click the Custom button.
-
Use the slider to adjust the minimum distance between points.
Increasing the distance between points results in a less smooth and lower-resolution point cloud.
Export Settings - Orthophoto Tab
On this tab, you can define and export an orthophoto in .rgba format. With this format, all empty pixels remain transparent.
File name
Enter a file name for the exported orthophoto. Do not use special characters.
Resolution
Select the resolution you want. The resolution must be between 1 and 1000 pixels per meter. If the resolution is to small or too high for the current point cloud, you will get an error message asking you to adjust the resolution.
Select plane
Select the plane you want from the drop down list or click the plane in the viewer.
To reduce the processing time, it is recommended to adjust the clipping box to as little volume of the point cloud as possible. You can do this before or after selecting the side you want to capture.
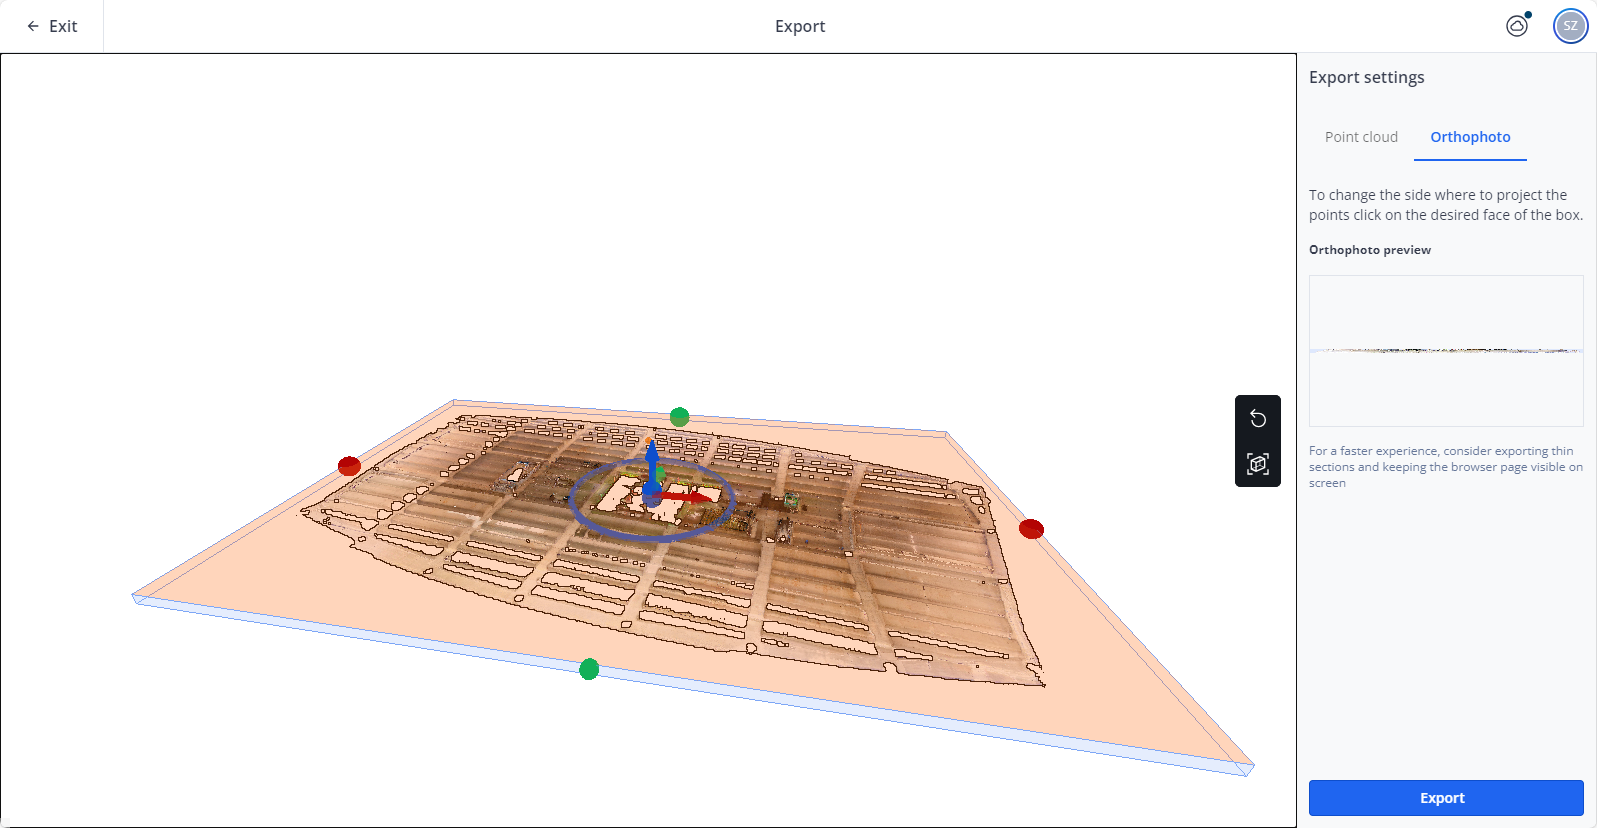
Figure 1-120 Orthophoto tab
Check Progress and Download Exported File
Click the cloud activity icon ![]() at the top right corner of the screen to open the Cloud activity form.
at the top right corner of the screen to open the Cloud activity form.
The progress is shown by a progress bar. You will be notified by email once the export is complete.
To download the exported file:
-
Click the
 icon.
icon. -
Click the Download link.
You can also download the file by clicking the download link in the notification email. Note that the link the email will expire after 30 days.
