3D View
|
1238888 |
With the 3D view, you can achieve the most easily comprehensible view of the scan points and CAD models. The 3D view is normally set up with the field of view corrected, so that you get an impression close to reality. Unlike the quick view and the planar view, scan points manipulation and analysis is limited in the 3D view.
On systems with NVIDIA Quadro graphics processors, rendering performance in the 3D view might be slow or intermittent. To improve rendering performance, start the NVIDIA Control Panel application (available in the Windows Control Panel) and select 3D Settings > Manage 3D Settings > tab Global Settings > 3D App – Game Development .
The 3D view will show scan point clouds, or the project point cloud. Starting from SCENE 2025.0, scan point clouds are created automatically when you open the 3D view of a scan or a cluster. If you want to deactivate this option for light projects, go to the Views settings page and deactivate the checkbox under Scan Point Cloud Generation.
Point Clouds of Earlier SCENE Versions Available
If your scan project contains point clouds of an old format, editing of the point clouds is possible.
You will be informed that these point clouds should be updated.
3D View of a Single Scan
Right-click the scan’s name in the structure view, then click View > 3D View in the context menu.
3D View of a Cluster
You can also open the 3D view for all the scans within a cluster.
Right-click the cluster’s name in the structure view, then click View > 3D View in the context menu.
In the 3D view, the points of scans have priority over the points of scan point clouds, which means that the points of loaded scans will be displayed instead of the points of the related scan point clouds.
3D View of the Project Point Cloud
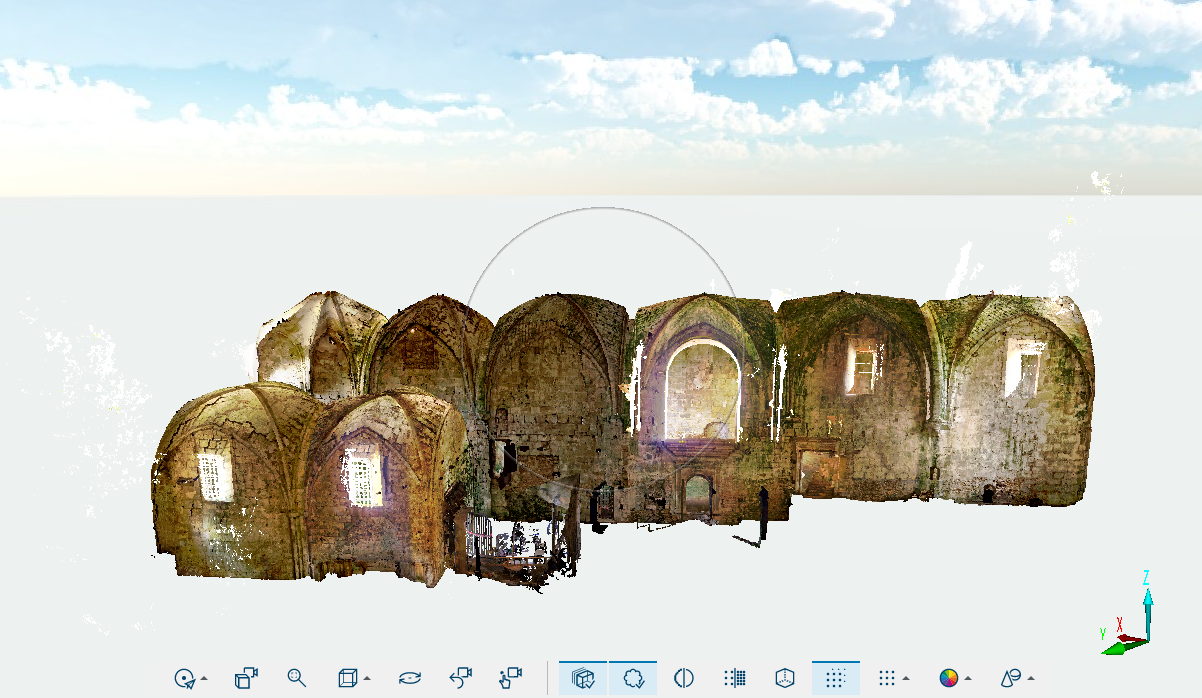
Figure 10-1 3D view of a project point cloud
Right-click the superordinate cluster in the structure view. Typically, it is simply called scans. Then, click View > 3D View in the context menu.
If no project point cloud is available, this button or command will open the 3D view of all scans of the project. Displaying the scans of a project behaves like displaying the 3D view of a cluster.
Normally, the 3D view displays the scan points and objects with the correct field of view. In other words, objects of the same size appear smaller with increasing distance (Perspective View). You can also change the view to an Orthographic View. Then, objects of the same size always appear the same size, regardless of how far away they are. This type of representation is common in a lot of CAD systems. You can switch between these two representations in the Navigation Toolbar (3D View only).
Scanner Icons in the 3D View
Scan locations in the 3D view are displayed as icons, see example below:
 Blink scan
 Focus scan
 FocusFlash scan
 Focus PanoCam scan
 Orbis scan
 OrbisFlash scan
 Generic or third-party scanners.
If you first select and then double-click a scan, the quick view of the corresponding scan will be opened.
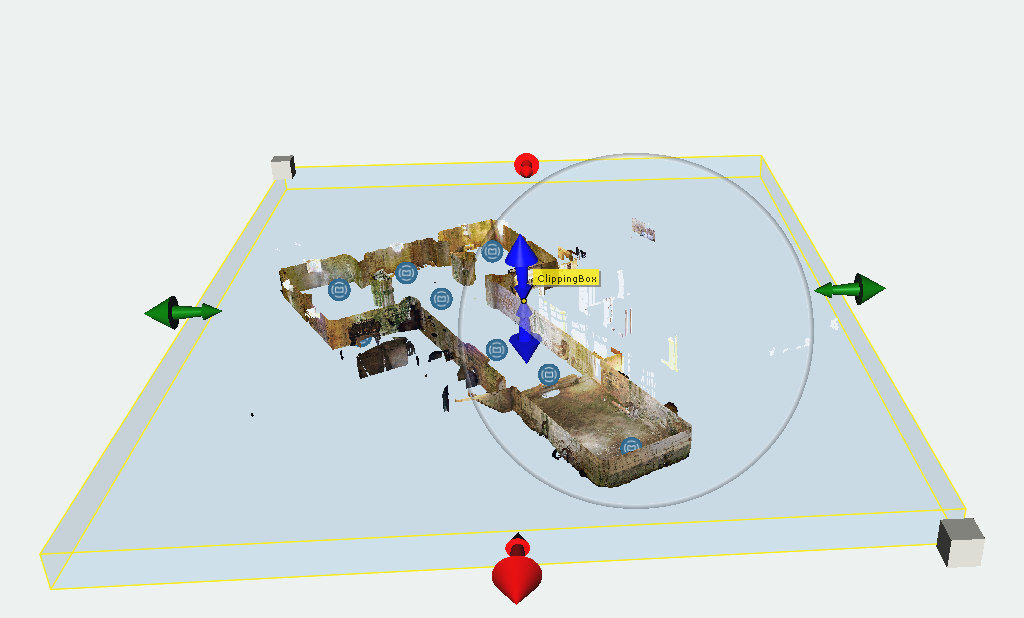
Figure 10-2 Project point cloud with clipping box
For further information on clipping boxes, see Clipping Boxes (3D View).

