Capture Tab: 3D View
|
1238888 |
The 3D view shows the selected point cloud in a 3D view. You can open the 3D view by clicking icon ![]() in the toolbar on the lower left side. The 3D view is available in the live and draft view.
in the toolbar on the lower left side. The 3D view is available in the live and draft view.
|
|
|
|
Figure 1-43 3D view showing the point cloud |
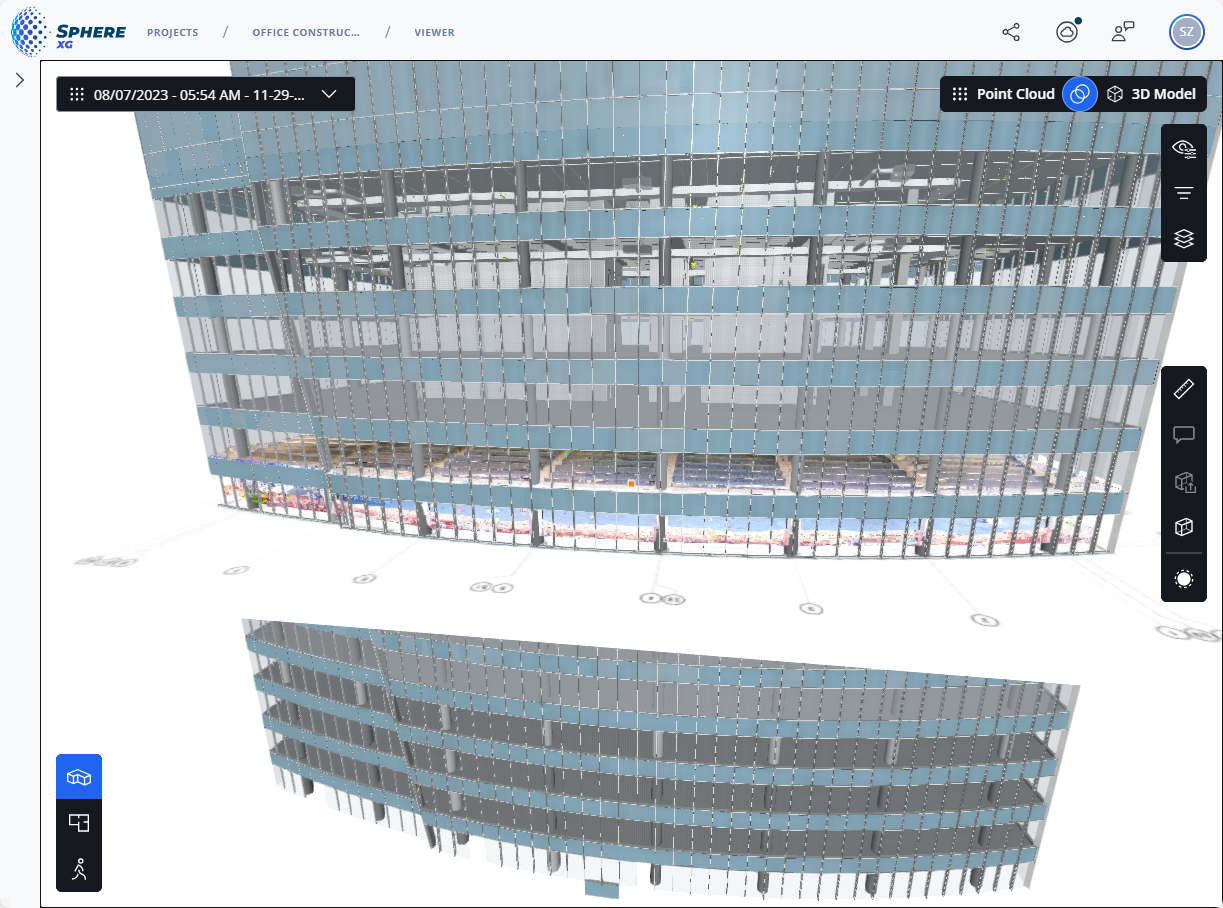
Figure 1-44 3D view showing an overlay of the point cloud and the 3D model |
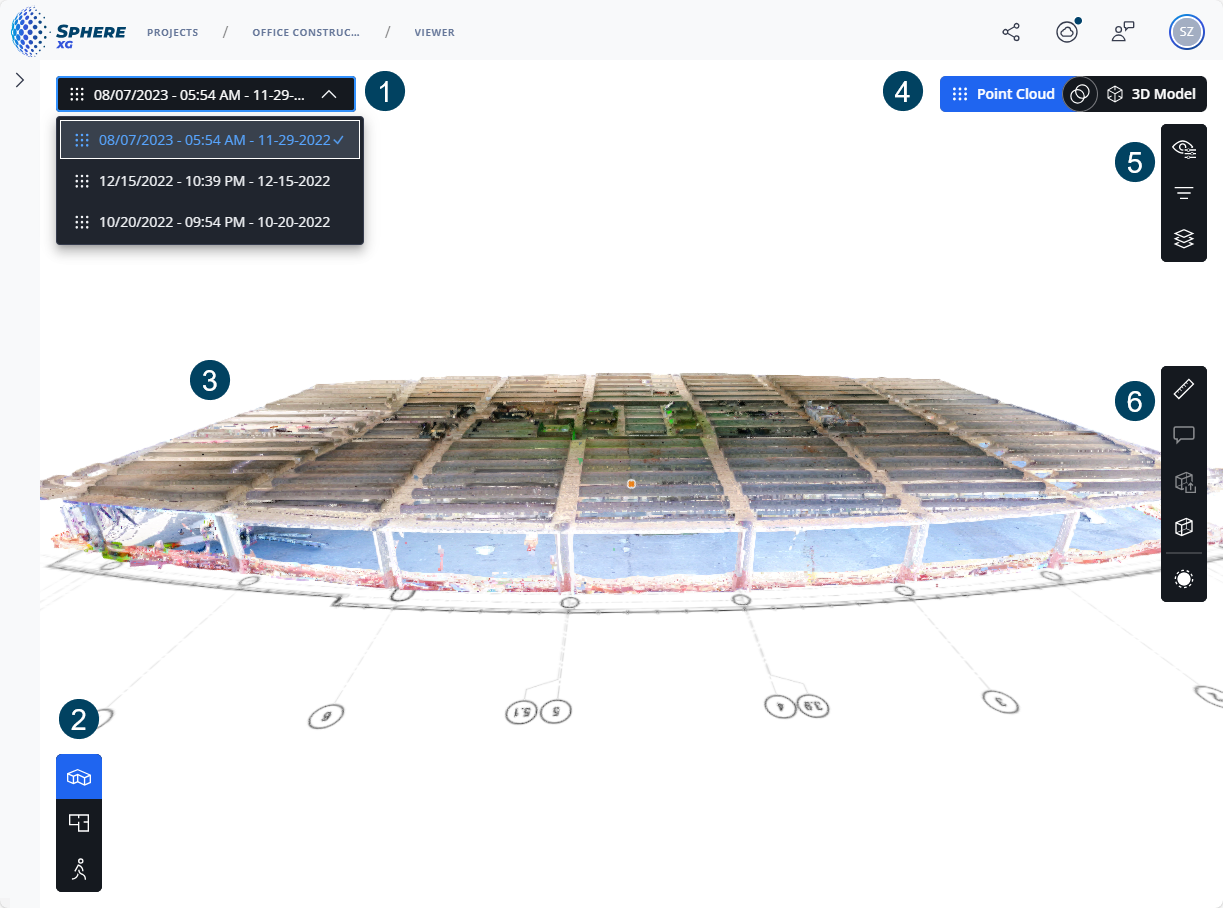
 Time travel: If there are more than one point clouds, Flash scans or 360° photos in the project, you can select these elements from the dropdown list to "go through time", i.e. see the status of a project at various points in time. For more information on the time travel feature, see Time travel Through your Project.

 3D view of the project. If your project also contains a 3D model, you can switch between the 3D model and point cloud and also overlay the 3D model and the point cloud.
The icons in the 3D view may contain:
![]() Flash scans
Flash scans
![]() Waypoints (light blue dots)
Waypoints (light blue dots)
![]() 360° photos (blue and white dots)
360° photos (blue and white dots)
![]() measurement. If you zoom in, the measurement details are displayed, see also Make Measurements in a Project.
measurement. If you zoom in, the measurement details are displayed, see also Make Measurements in a Project.
![]() Annotation. If you zoom in, the annotation details are displayed, see also Create and Manage Annotations.
Annotation. If you zoom in, the annotation details are displayed, see also Create and Manage Annotations.
![]() Measurement with an annotation.
Measurement with an annotation.
![]() Point cloud analysis, see Run a Point Cloud Analysis.
Point cloud analysis, see Run a Point Cloud Analysis.
If you click a waypoint, a Flash scan or a 360° photo, the view changes to the walk mode view assuming the perspective from the selected point.
If the point cloud has a valid coordinate system, you can copy the coordinates of a location in the point cloud to the clipboard. Right-click it in the 3D view, then select the coordinates entry. You can also place a pin to mark a location and its coordinates. See Get and Mark the Coordinates of a Location for more information.
Note that you can change the color of scans in the General View Settings. Unconnected scans are displayed with a yellow rim.
 With the buttons Point Cloud and 3D Model, you can change between the point cloud and the 3D model. By clicking the
 ![]() icon, you can overlay the point cloud and the 3D model, see also figure above.
icon, you can overlay the point cloud and the 3D model, see also figure above. ![]() icon, see also 3D View Toolbar.
icon, see also 3D View Toolbar.
If your project was captured with the Orbis scanner and contains mobile scans as well as Flash scans, the point cloud icon has a dropdown list from which you can select either the mobile scan or the Flash scan. You can find further information in the Orbis user manual in chapter Flash Scans.
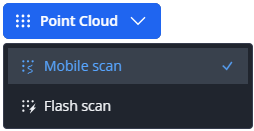
Figure 1-45 Scan selection dropdown


